For many home cooks, the vibrant hue of a purple sweet potato recipe remains an exotic mystery, often encountered in upscale dining but rarely replicated with success in the domestic kitchen. Unlike their orange-fleshed cousins, purple sweet potatoes (specifically varieties like the Okinawan, Stokes, or Ube) possess a denser cellular structure and a significantly lower moisture content.
The most common frustration when preparing these tubers is the “dry-core” syndrome—where the exterior appears cooked, but the interior remains chalky and fibrous. Achieving a professional-grade result requires a departure from standard roasting techniques in favor of a dual-phase thermal process. This guide provides a definitive technical deconstruction of the Roasted Purple Sweet Potato, focusing on starch conversion and moisture preservation to transform this anthocyanin-rich root into a velvety, dessert-like delicacy.
Ingredient Breakdown: The Chemistry of the Tuber
To execute a flawless purple sweet potato recipe, you must understand the functional roles of your ingredients, as they work together to counteract the potato’s natural dryness.
1. The Purple Sweet Potato (The Anthocyanin Powerhouse)
The star of the dish contains high levels of anthocyanins—the same antioxidants found in blueberries. These pigments are pH-sensitive. When shopping, look for “Stokes” (purple skin, purple flesh) for a savory profile, or “Okinawan” (tan skin, purple flesh) for a sweeter, creamier result. Their high starch content means they require more heat and time to break down into simple sugars than orange sweet potatoes.
2. High-Smoke Point Fats (The Conductive Medium)
Because purple sweet potatoes require a longer roasting time, using extra virgin olive oil can sometimes lead to an acrid, burnt flavor. We recommend refined avocado oil or melted ghee. These fats provide the thermal conductivity needed to crisp the skin while standing up to the extended oven duration.
3. Pure Maple Syrup or Honey (The Hygroscopic Agent)
In this purple sweet potato recipe, a sweetener is used not just for flavor, but as a “hygroscopic” agent—meaning it helps attract and hold moisture. A light glaze prevents the exterior from becoming woody during the long roast.
4. Coarse Sea Salt (The Moisture Draw)
Salt is essential for seasoning, but it also helps break down the pectin in the potato skin, leading to a thinner, more edible exterior.
Preparation Strategy: Hydration and Heat
The secret to a world-class purple sweet potato recipe lies in “pre-hydration.” Because these potatoes are naturally dry, they benefit from a controlled environment that mimics a steam-bake.
- The Scrub and Soak: After scrubbing the skins, soak the whole potatoes in cold water for 30 minutes. This allows the exterior cells to hydrate, which prevents the skin from hardening into a shell before the interior is cooked.
- The Slicing Uniformity: If roasting rounds or wedges, a thickness of ¾ inch is the professional standard. Anything thinner will dehydrate into a “chip” before the center softens; anything thicker will remain raw in the middle.
- The “Foil-Tent” Start: Unlike orange potatoes that can be roasted “open-air” from the start, purple varieties benefit from being covered for the first half of the cooking process to trap their internal steam.
Cooking Instructions: The Dual-Phase Roast
This method ensures the purple sweet potato recipe yields a “custard-like” interior and a caramelized exterior.
1. The Tempering and Pre-Heat
Preheat your oven to 400°F (200°C). While the oven heats, pat your soaked potatoes dry. If the surface is wet, the oil won’t adhere, and you’ll end up with a steamed, pale potato.
2. The Seasoning Matrix
In a large bowl, toss your sliced purple sweet potatoes with 2 tbsp avocado oil, 1 tsp coarse sea salt, and ½ tsp black pepper. If you prefer a sweeter profile, add 1 tbsp maple syrup and a pinch of cinnamon at this stage.
3. Phase One: The Steam-Bake
Arrange the potatoes in a single layer on a heavy-rimmed baking sheet. Cover the pan tightly with aluminum foil. This creates a micro-environment where the potato’s own moisture is used to soften its dense starch. Bake for 20 minutes.
4. Phase Two: The Caramelization
Remove the foil. You will notice the potatoes are tender but pale. Return them to the oven, uncovered. Bake for another 15–20 minutes. During this phase, the sugars undergo the Maillard reaction, and the edges will begin to turn a dark, “burnt-sugar” purple.
5. The Internal Check
A purple sweet potato is only finished when a fork slides into the center with zero resistance. Because of their density, they don’t “give” as easily as Russets.
6. The Aromatic Finish
Remove from the oven and immediately toss with fresh thyme or rosemary. The residual heat will activate the herbs’ oils without scorching the leaves.
Flavor & Texture Indicators
A successfully executed purple sweet potato recipe should be judged by these professional markers:
- The “Creamy” Crumb: When broken open, the flesh should look unified and moist, almost like a fudge. If it looks “flaky” or “sandy,” it needed more time or a higher moisture environment.
- The Color Shift: The violet hue should actually deepen during roasting. If the potatoes turn grey or brown, they were likely oxidized (left out too long after cutting) or overcooked at too high a temperature.
- The Earthy-Sweet Balance: Purple sweet potatoes have a distinct “chestnut” or “malted” flavor profile. It should taste less like a vegetable and more like a rich, earthy starch.
Adjustments for Different Skill Levels
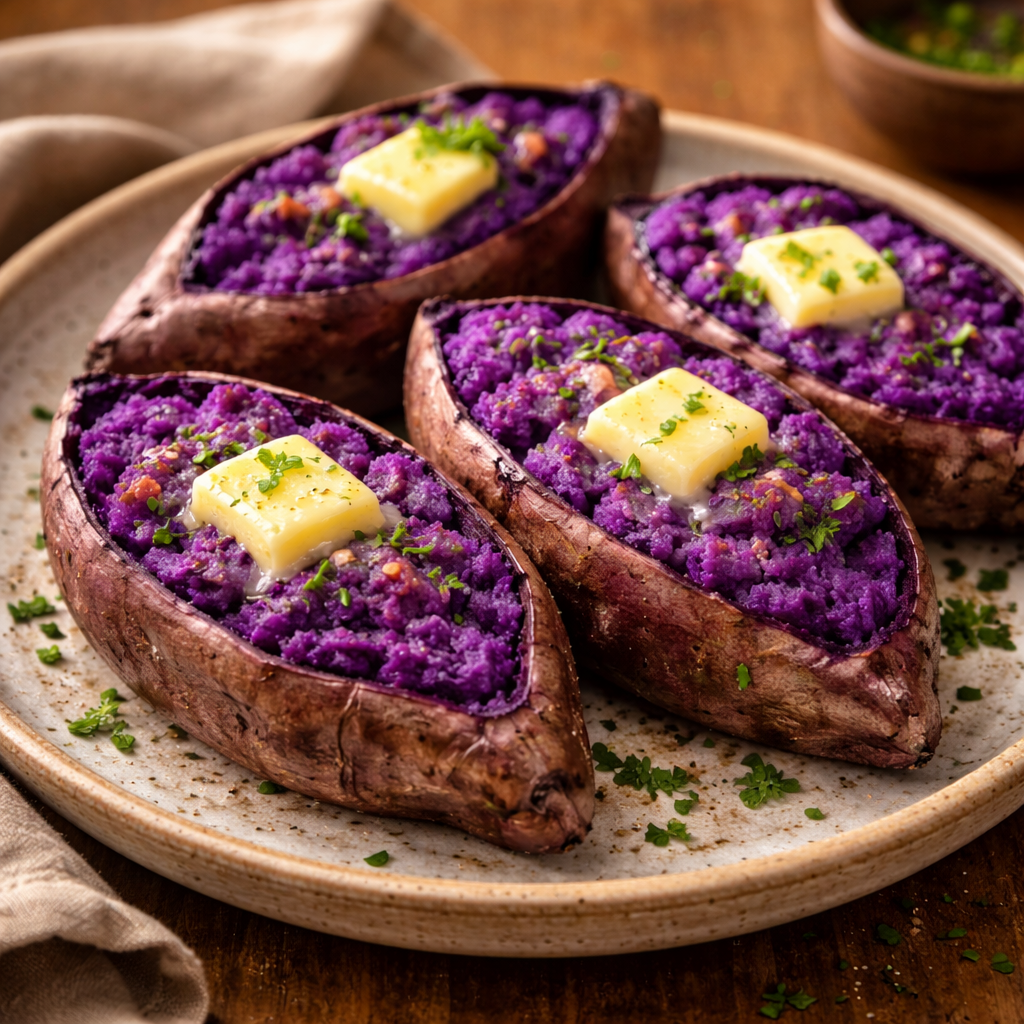
For the Beginner
Stick to the “Whole-Roast” method. Prick the potato multiple times with a fork, wrap it in foil, and bake at 400°F for 60–75 minutes. This is the foolproof way to ensure a soft interior without worrying about slicing techniques.
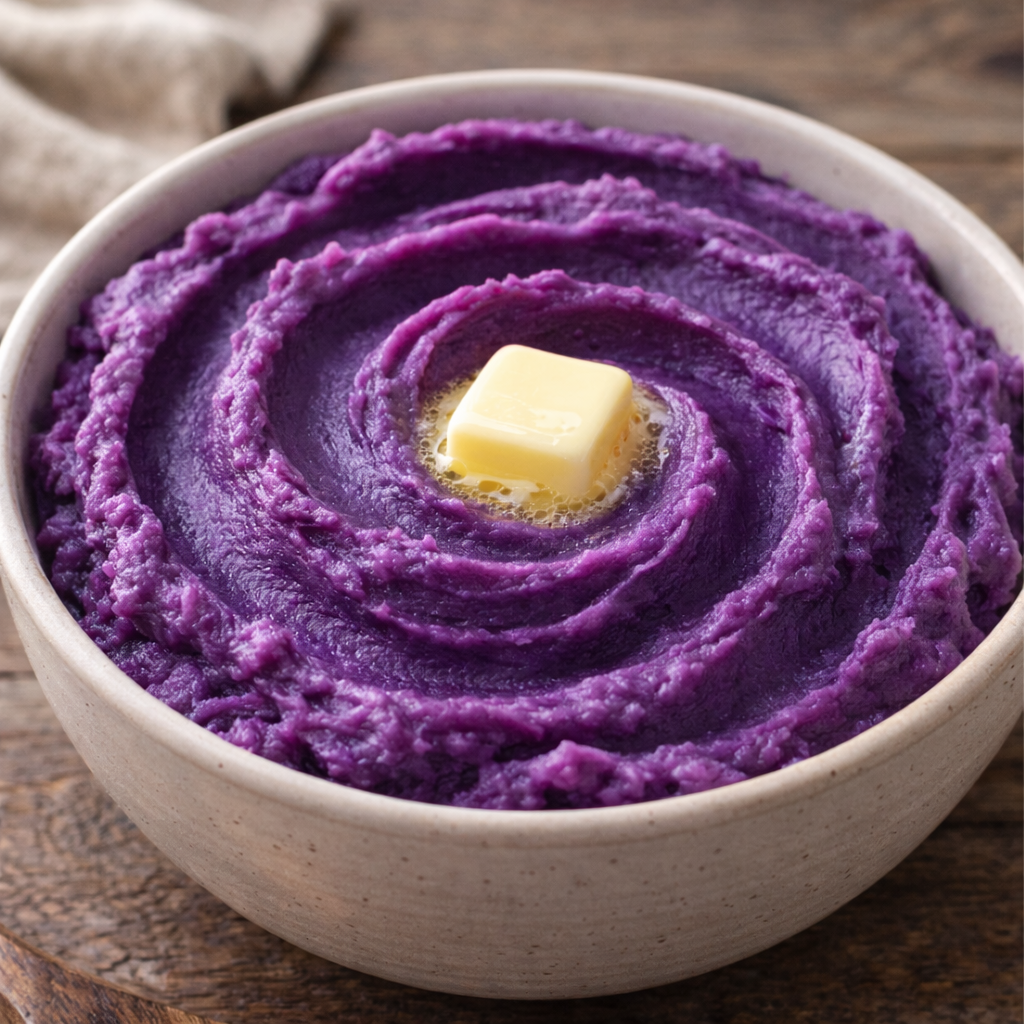
For the Intermediate Cook
Master the “Purple Sweet Potato Mash.” Boil the peeled cubes in salted water until tender, then pass them through a ricer. Because they are dry, you will need to add about 30% more butter or cream than you would for a standard mash to achieve a silky texture.
For the Advanced Artisan
Try a “Purple Sweet Potato Fondant.” Sear thick cylinders of the potato in a pan with butter, then partially submerge them in a savory broth and finish them in the oven. The starch in the purple potato will thicken the broth into a rich glaze unlike any other variety.
Storage & Shelf Life
Purple sweet potatoes are sturdier than orange ones, making them excellent for meal prep.
- Refrigeration: Cooked purple sweet potatoes can be stored in an airtight container for up to 5 days.
- The Reheating Hack: These potatoes can become very firm when cold. To reheat, wrap them in a damp paper towel before microwaving for 60 seconds. This re-introduces the steam necessary to soften the starches.
- Freezing: You can freeze roasted cubes for up to 3 months. When ready to use, don’t thaw them; put them directly into a 400°F oven or an air fryer to restore the crisp exterior.
Reader Questions
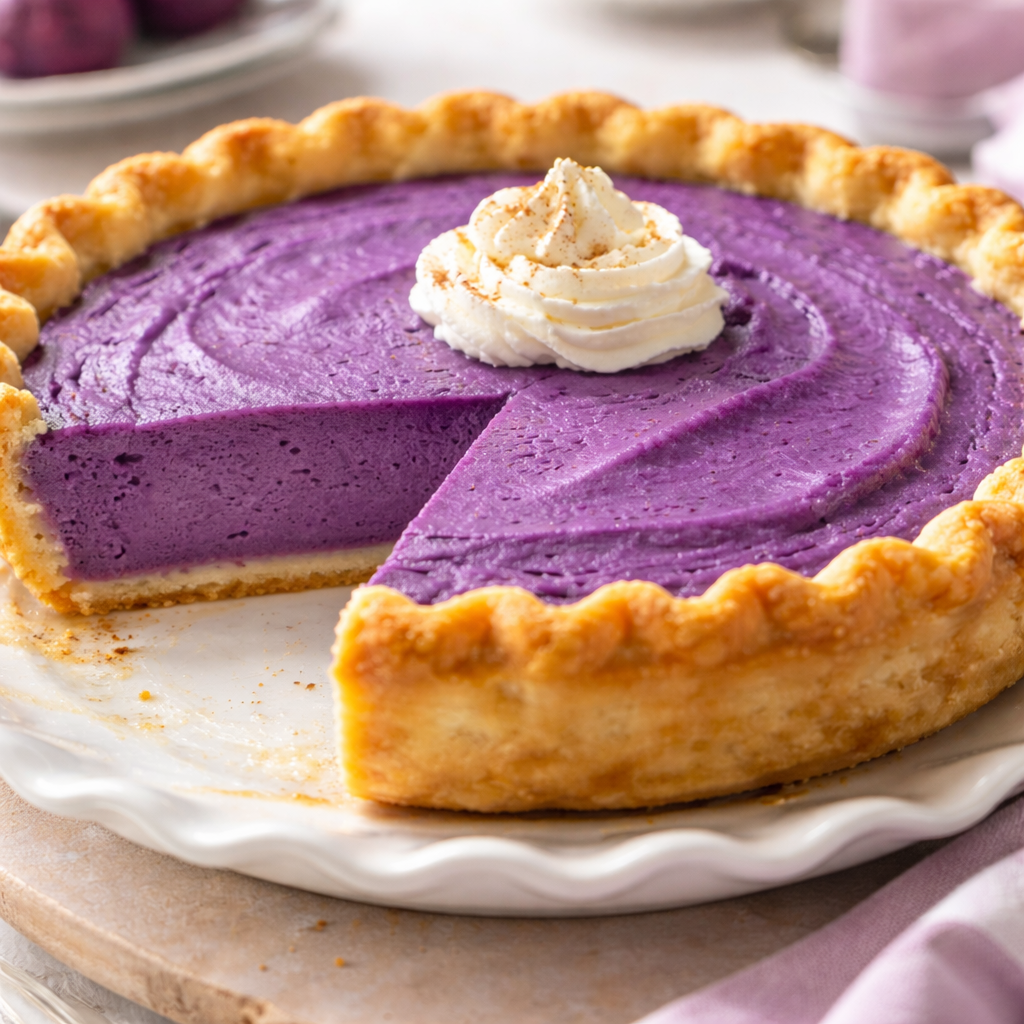
Q: Are purple sweet potatoes the same as Ube? A: No. This is a common point of confusion. Ube is a Philippine water yam with a bark-like skin and a very bright purple color. Ube is almost always used in desserts. Purple sweet potatoes (like Stokes) are true sweet potatoes and have a more savory, earthy application.
Q: Why did my purple sweet potatoes turn green after cooking? A: This is a harmless chemical reaction! The anthocyanin pigments can turn green if they come into contact with alkaline ingredients (like baking soda or some types of “hard” tap water). Adding a squeeze of lemon juice (acid) will usually shift the color back to purple.
Q: Can I eat the skin of a purple sweet potato? A: Absolutely. The skin contains a high concentration of nutrients. However, because it is thicker than orange sweet potato skin, ensure you scrub it well and use the “Phase One” steaming method described above to soften it.
Q: My potatoes are still hard after an hour in the oven. What happened? A: Purple sweet potatoes can be temperamental. If they are very old (long storage time), the starches become even more resistant. If they are still hard, add a splash of water to the pan, re-cover with foil, and give them another 15 minutes.