Peri Peri Chicken Recipe The most pervasive frustration when attempting a Peri Peri chicken recipe at home is the “surface-burn” dilemma. We have all experienced it: you crave that iconic, charred, Zimbabwean-Portuguese fusion flavor, but you end up with a piece of poultry that is blackened and bitter on the outside while remaining dangerously raw at the bone. Most home cooks struggle because they treat Peri Peri sauce like a standard barbecue glaze. However, because of the high acidity and capsaicin content in African Bird’s Eye chilies, this sauce requires a specific thermal strategy to move from “acidic and sharp” to “smoky and succulent.“
The professional solution lies in the “Two-Stage Infusion.” Instead of just brushing sauce on at the end, a true authentic Peri Peri chicken depends on a deep-tissue marinade followed by a controlled charring process. This guide deconstructs the science of the Bird’s Eye chili and the mechanics of flame-grilling to ensure your kitchen produces chicken with a vibrant, citrusy heat and a perfectly rendered, crispy skin.
Why This Recipe Works
This approach to the best Peri Peri chicken recipe succeeds by utilizing a chemical breakdown of the muscle fibers and a stabilized emulsion.
- Capsaicin Distribution: By blending the chilies with oil and vinegar into a stable emulsion, we ensure the heat is evenly distributed. This prevents “hot spots” and allows the floral notes of the peppers to shine through the spice.
- Acidic Tenderization: The high lemon and vinegar content in the Peri Peri marinade acts as a mild brine. This breaks down the tough exterior proteins of the chicken, allowing the spice to penetrate up to half an inch into the meat.
- The Char-Reduction Method: We cook the chicken over indirect heat first, then finish with a high-heat sear. This allows the natural sugars in the red peppers and onions to caramelize (the Maillard reaction) without the bitter acridity of burnt chili skin.
- Piri Piri Essential Oils: We use fresh oregano and roasted garlic, which contain fat-soluble oils. These oils bind to the chicken skin during the grilling process, creating a waterproof barrier that keeps the internal juices from evaporating.
Ingredients & Measurements
For a professional-grade Peri Peri chicken, the quality of the chilies is non-negotiable. This recipe is designed for one whole “spatchcocked” chicken (approx. 3.5 lbs).
The Protein
- 1 Whole Chicken: Spatchcocked (backbone removed and flattened). This ensures the breast and thighs cook at the same rate.
- 2 tbsp Coarse Sea Salt: For the initial dry brine.

The Peri Peri Sauce (The “Liquid Gold”)
- 8-12 African Bird’s Eye Chilies: (Piri Piri peppers). If unavailable, substitute with Thai Bird’s Eye chilies.
- 4 Large Red Bell Peppers: Roasted and peeled. These provide the body and sweetness of the sauce.
- 6 Cloves Garlic: Toasted in a pan for a mellower, nuttier profile.
- 1/2 cup Extra Virgin Olive Oil: To create the emulsion.
- 1/2 cup Fresh Lemon Juice & Zest of 2 Lemons.
- 1/4 cup Red Wine Vinegar: For that signature Portuguese tang.
- 1 tbsp Smoked Paprika: For color and a “faux-grill” depth.
- 1 handful Fresh Oregano: Roughly chopped.
Step-by-Step Cooking Guide
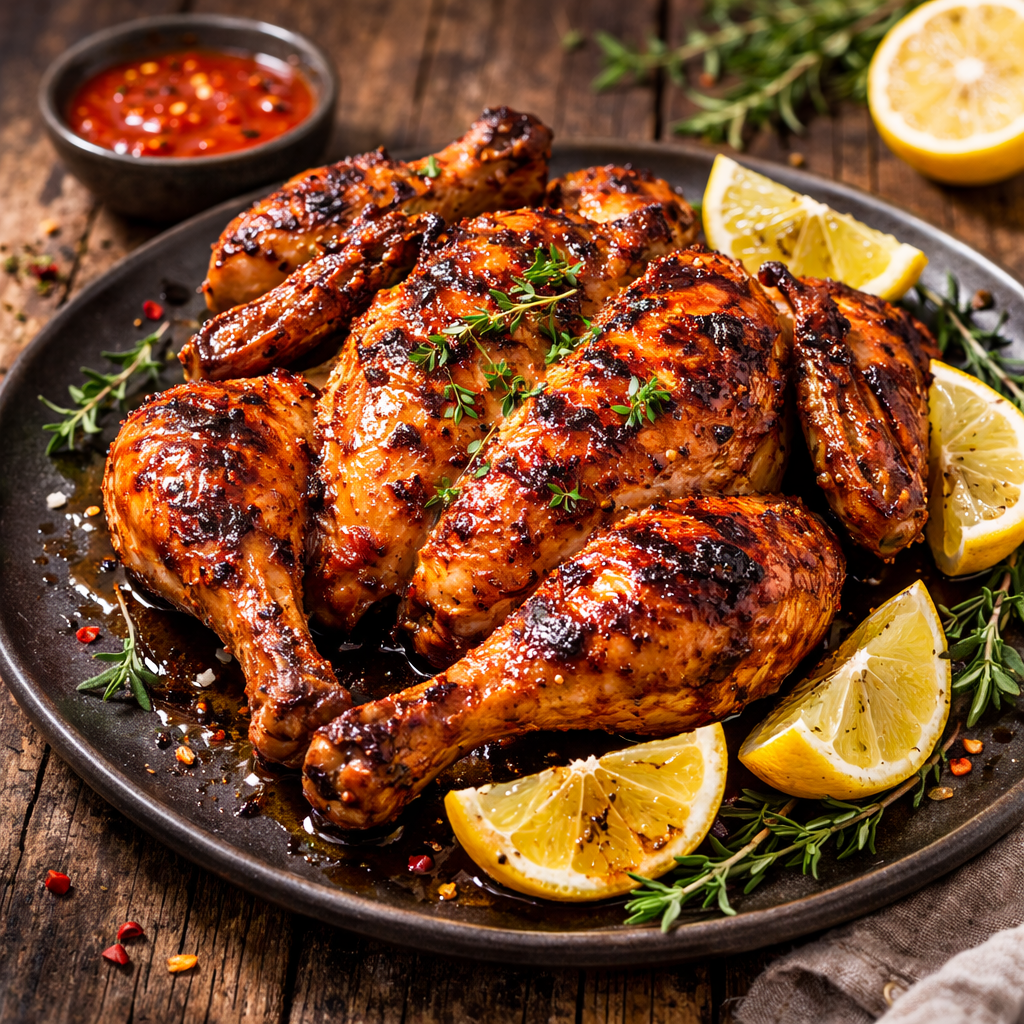
1. The Spatchcock and Dry Brine
Remove the backbone of the chicken using heavy-duty kitchen shears. Flip it over and press down on the breastbone until it cracks and the chicken lies flat. Season both sides with sea salt and let it sit at room temperature for 30 minutes. This draws out surface moisture, ensuring a crispier skin.
2. Crafting the Peri Peri Emulsion
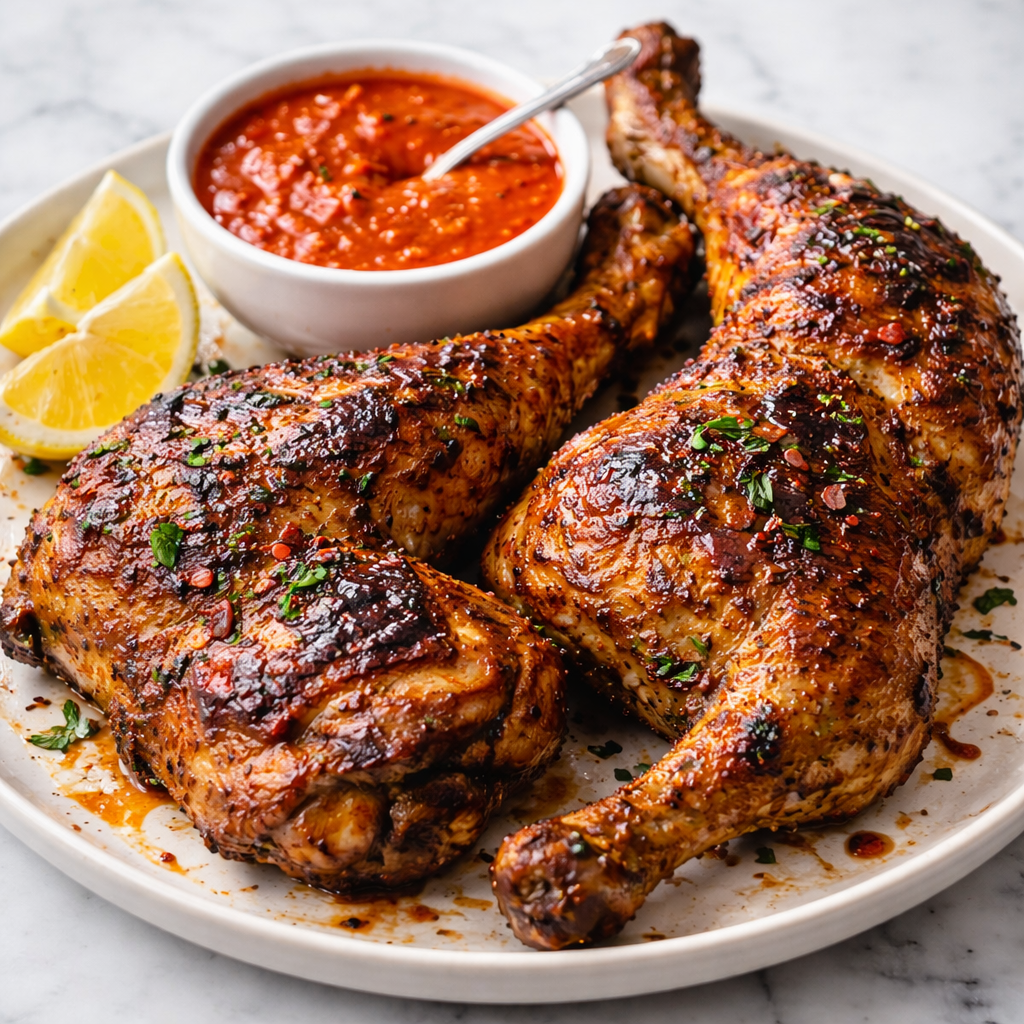
In a blender or food processor, combine the chilies, roasted bell peppers, garlic, lemon juice, vinegar, paprika, and oregano. While blending on high, slowly drizzle in the olive oil. This creates a thick, vibrant orange-red sauce. Pro Tip: Reserve 1/3 of this sauce in a separate jar for dipping later; never use sauce that has touched raw chicken.
3. The Deep-Tissue Marinade
Place the chicken in a large glass dish or a heavy-duty vacuum bag. Pour the marinade over the bird, ensuring it gets under the skin and into the joints. Let this marinate in the refrigerator for at least 6 hours, though 24 hours is the “Gold Standard” for flavor depth.
4. The Indirect Roast
Prepare your grill for two-zone cooking (coals on one side, empty on the other) or preheat your oven to 375°F (190°C). Place the chicken skin-side up on the “cool” side of the grill or in a roasting pan. Cook for 35–45 minutes. This slow-rise temperature ensures the internal meat reaches 155°F (68°C) without the skin burning.
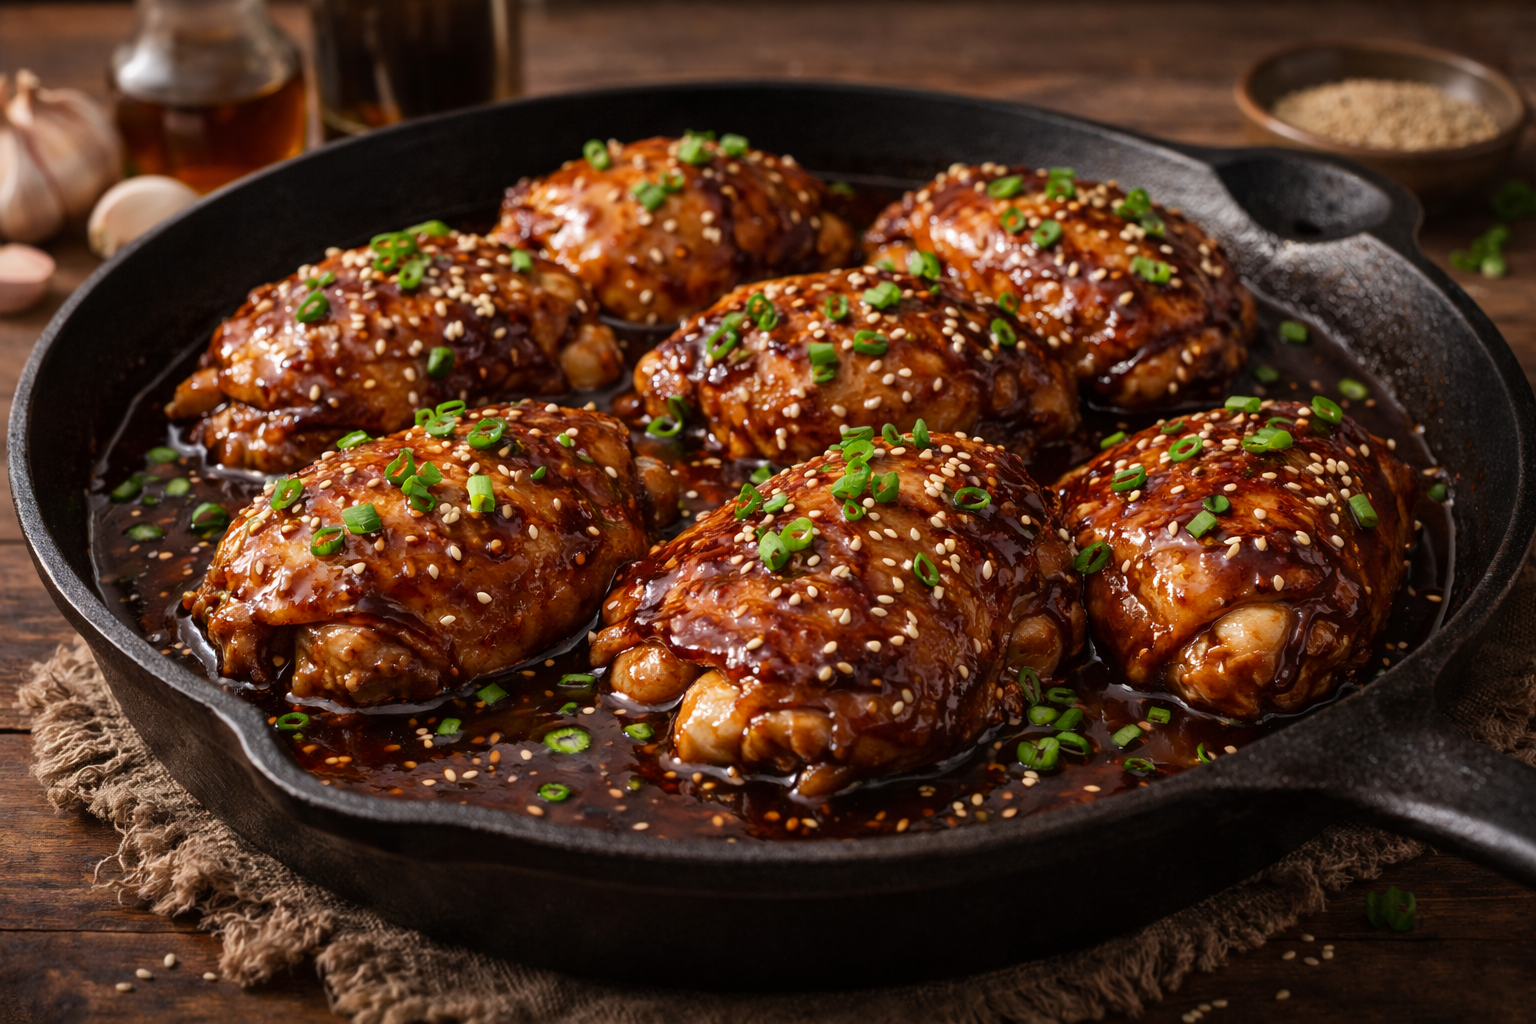
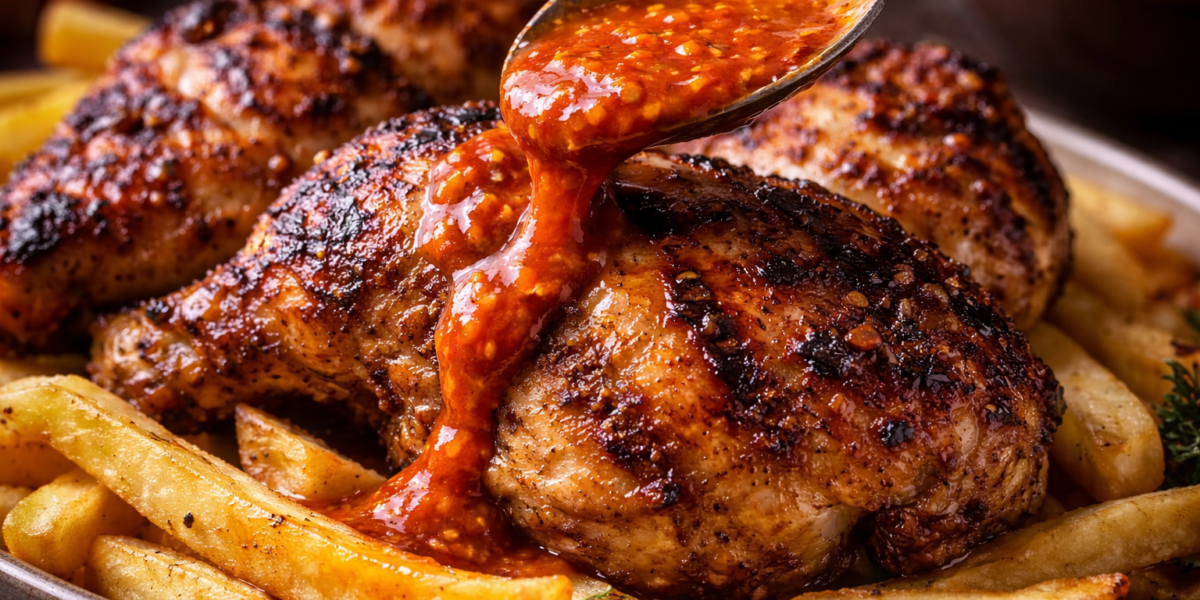
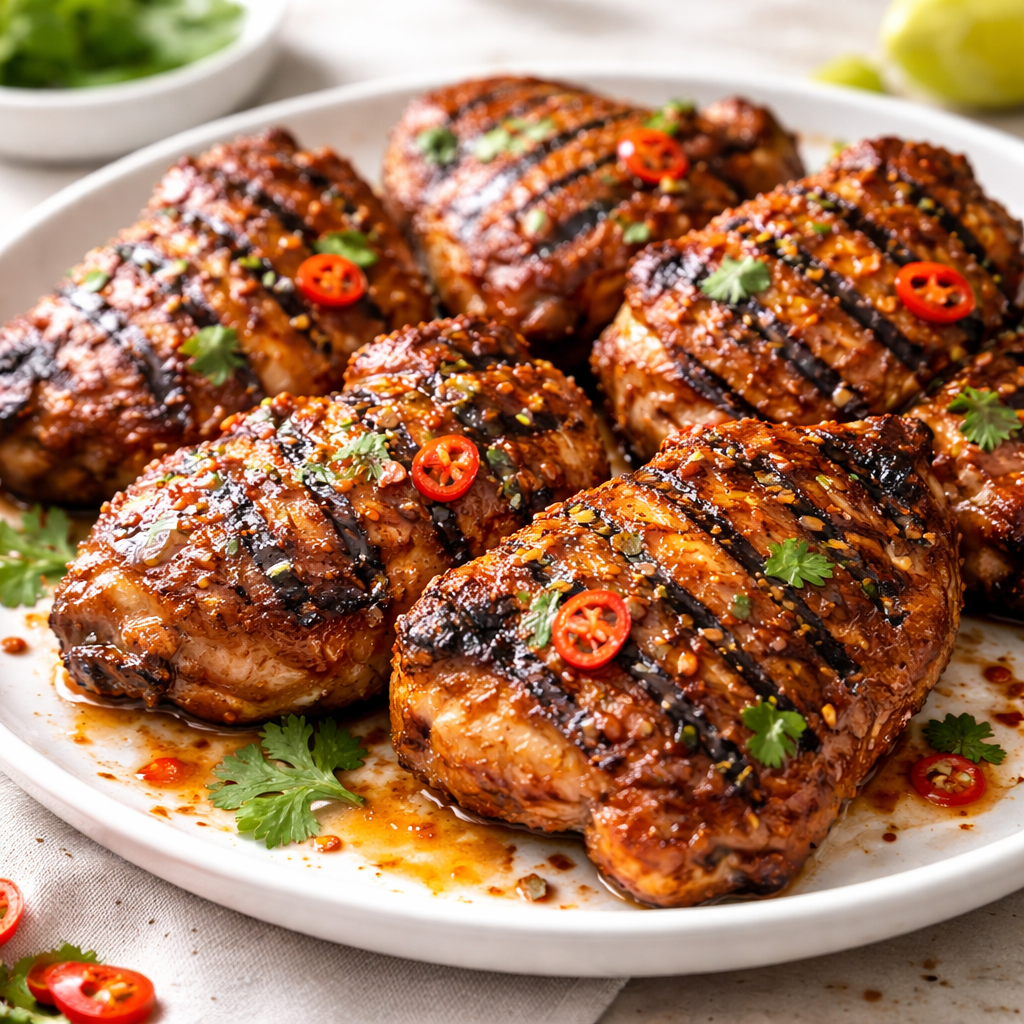
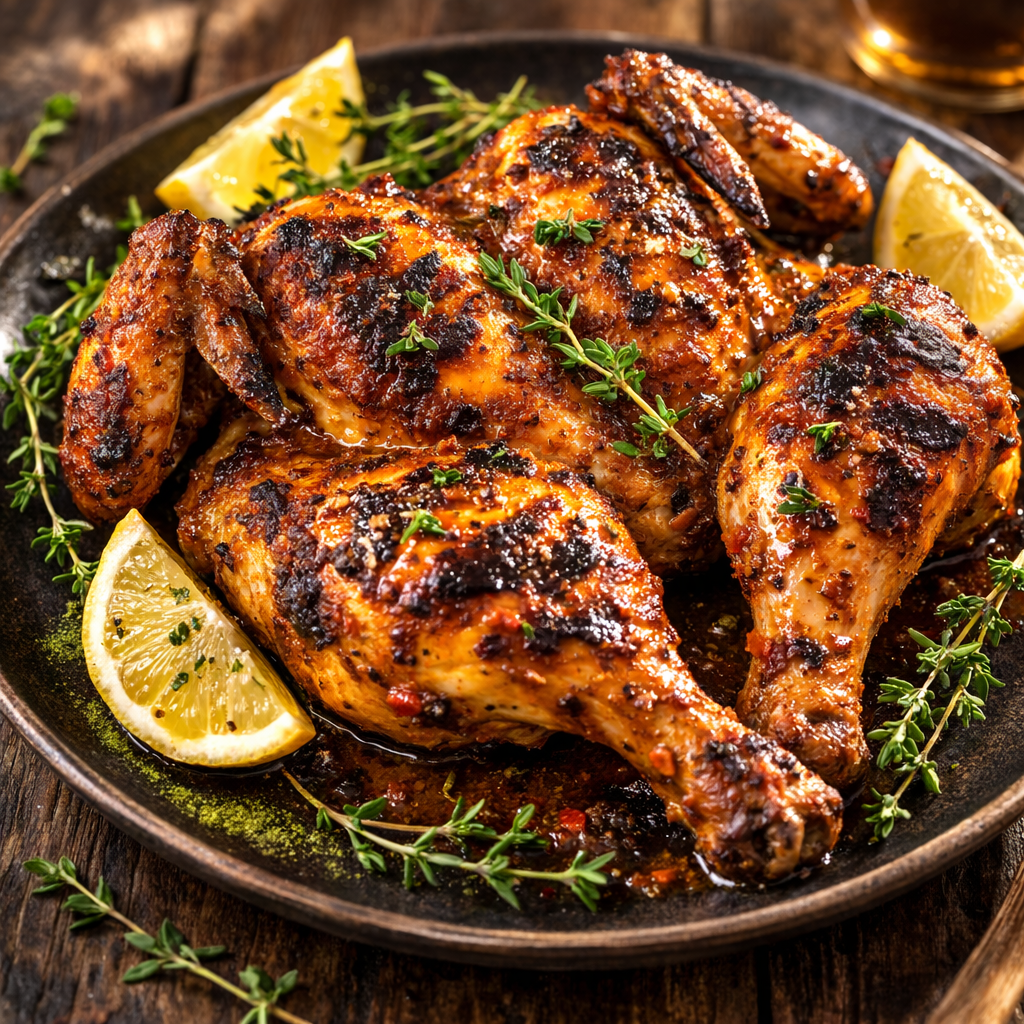
5. The Flame Finish (The “Nando’s” Glow)
Move the chicken to the “hot” side of the grill or turn your oven to the highest broil setting. Brush a fresh layer of marinade over the skin. Sear for 3–5 minutes per side, watching closely. The sauce should bubble and develop small charred spots (leopard spotting). This is where the smoky, addictive flavor is born.
6. The Carry-Over Rest
Remove the chicken from the heat when the internal temperature hits 160°F (71°C) in the thickest part of the thigh. Cover loosely with foil and rest for 10 minutes. The temperature will carry over to the safe 165°F (74°C) while the juices redistribute.
Common Mistakes to Avoid
- Using Only Dried Spices: A Peri Peri chicken recipe relies on the moisture and pulp of fresh peppers. Using only dried Peri Peri powder results in a one-dimensional, “dusty” heat.
- Forgetting to Spatchcock: A whole, un-flattened chicken will have dry breast meat by the time the dark meat is safe to eat. Flattening the bird is the only way to achieve even cooking.
- High Heat from Start to Finish: If you grill over direct flames for the entire cook, the vinegar in the sauce will turn bitter and the chilies will scorch. Always use the “Indirect-to-Direct” method.
- Rushing the Rest: Slicing into a hot chicken immediately will cause all the Peri Peri-infused juices to spill onto the board, leaving the meat dry.
Timing & Doneness Indicators
Serving Suggestions
Authentic Peri Peri chicken needs sides that can stand up to its aggressive heat and acidity:
- Portuguese Spicy Rice: Long-grain rice cooked with turmeric, bell peppers, and a splash of the reserved Peri Peri sauce.
- Chargrilled Corn on the Cob: Slathered in butter and lime to provide a sweet contrast to the chili heat.
- The “Cooling” Factor: A crisp heirloom tomato and cucumber salad with plenty of red onion and white wine vinegar.
- The Essential Dip: Serve with a small bowl of the reserved (clean) Peri Peri sauce mixed with a dollop of mayonnaise for a “Perinaise” experience.
FAQ: Solving Your Peri Peri Frustrations
Q: My Peri Peri sauce is way too hot! How can I fix it? A: The heat of Bird’s Eye chilies varies wildly. If your sauce is overwhelming, blend in another roasted red bell pepper or a tablespoon of brown sugar. The sugar and the extra bulk will dilute the capsaicin without ruining the flavor profile.
Q: Can I make this Peri Peri chicken recipe in an Air Fryer? A: Absolutely. Air fry at 360°F (182°C) for 25 minutes, then increase to 400°F (204°C) for the final 5 minutes to get that flame-grilled char effect.
Q: Why does my chicken skin feel rubbery? A: This usually happens if the chicken wasn’t dried properly before marinating or if the oven/grill temperature was too low. The dry-brining step (Step 1) is essential for removing the moisture that causes rubbery skin.
Q: I can’t find African Bird’s Eye chilies. What is the best substitute? A: Thai Bird’s Eye chilies (Rawit) are the closest in terms of heat and size. If those are also unavailable, use Habaneros, but use only 2 or 3, as they have a more floral, fruity heat than the sharp, peppery bite of the Piri Piri.
Q: Is Peri Peri chicken gluten-free and Paleo? A: Yes! As long as you ensure your red wine vinegar and spices are certified, this healthy Peri Peri chicken recipe is naturally gluten-free, Paleo, and Keto-friendly.