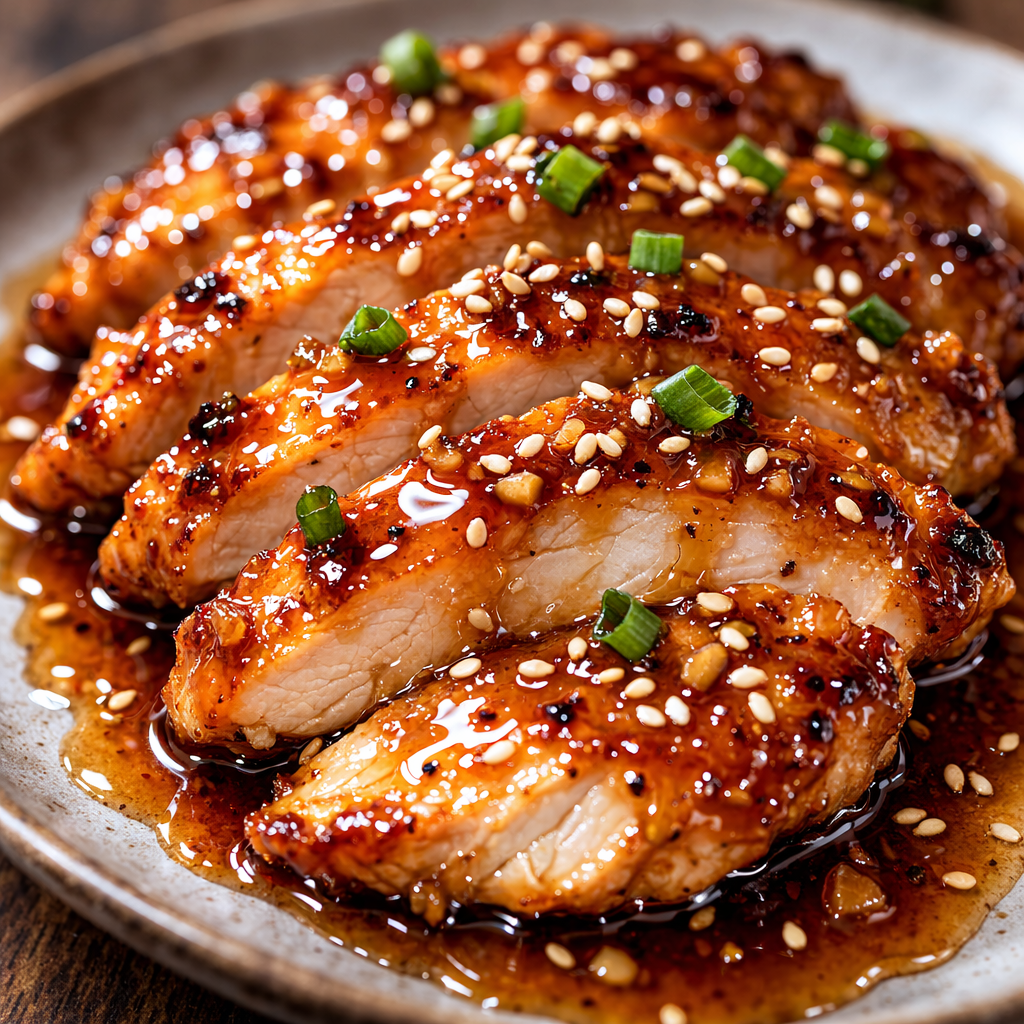
The thin sliced chicken breast recipes is the workhorse of the modern kitchen. Often labeled as “cutlets” in the butcher’s case, these slender portions are frequently misunderstood as a mere convenience item. In reality, they are a precision tool. Because they lack the insulating bulk of a full breast, they offer a vastly superior surface-area-to-volume ratio. This means more Maillard reaction—that savory, golden-brown crust—and a cooking window so brief that the meat retains its moisture before the proteins have a chance to fully tighten and toughen.
Mastering thin-sliced chicken is less about following a rigid recipe and more about understanding the physics of high-heat, short-duration cooking. Whether you are dredging them for a classic Piccata or searing them plain for a vibrant summer salad, the principles remain the same: speed, seasoning, and temperature control.Thin Sliced Chicken Breast Recipes
Ingredient Breakdown: The Anatomy of a Cutlet
To elevate a simple piece of poultry, you must understand how each component interacts with the heat.
- The Chicken (The Protein): We are looking for slices roughly $1/4$ to $1/2$ inch thick. At this thickness, the heat penetrates to the center almost as soon as the exterior begins to brown. This prevents the “rubbery” texture common in thicker breasts cooked over high heat.
- The Dredge (Flour or Cornstarch): Even if you aren’t making a heavy breading, a light dusting of flour is essential. Flour acts as a sacrificial barrier; it browns and crisps while protecting the delicate chicken proteins from direct, searing heat. It also provides “grip” for sauces later on.
- The Fat (High-Smoke Point Oil + Butter): For the initial sear, use an oil with a high smoke point (avocado or grapeseed). Save the butter for the final sixty seconds. Butter contains milk solids that burn quickly; by adding it at the end, you get the nutty, toasted flavor without the bitterness of scorched fat.
- The Acid (Lemon or Vinegar): Chicken breast is lean and lacks the deep “umami” of dark meat. Acid is non-negotiable. It brightens the flavor profile and helps break down any residual surface proteins, ensuring each bite is tender.
- The Aromatics (Garlic, Shallots, Thyme): Because the cooking time is so fast (often under 3 minutes per side), aromatics should be finely minced. Large chunks of garlic won’t have time to mellow and will likely burn before the chicken is done.
Preparation Strategy: The “Evenness” Principle
Success with thin-sliced chicken is decided before the pan even touches the stove. The enemy of a good cutlet is uneven thickness. If one side is a half-inch thick and the other tapers to a sliver, the sliver will be sawdust by the time the center is safe to eat.
The Uniformity Tactic
Place your chicken slices between two sheets of plastic wrap or inside a heavy-duty freezer bag. Using the flat side of a meat tenderizer—or a heavy skillet—gently pound the meat from the center outward. You aren’t trying to pulverize the fibers; you are simply evening out the topography. Aim for a consistent thickness across the entire piece.
The Dry-Brine Shortcut
Salt your chicken at least 15 minutes before cooking. This allows the salt to dissolve into a brine on the surface, which is then reabsorbed into the meat. This seasons the chicken deeply and changes the protein structure so it holds onto more water during the “squeeze” of the cooking process.
Cooking Instructions: The High-Heat Sear
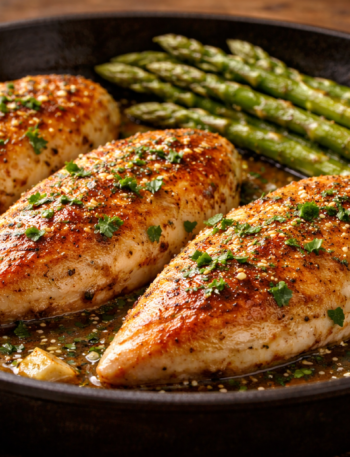
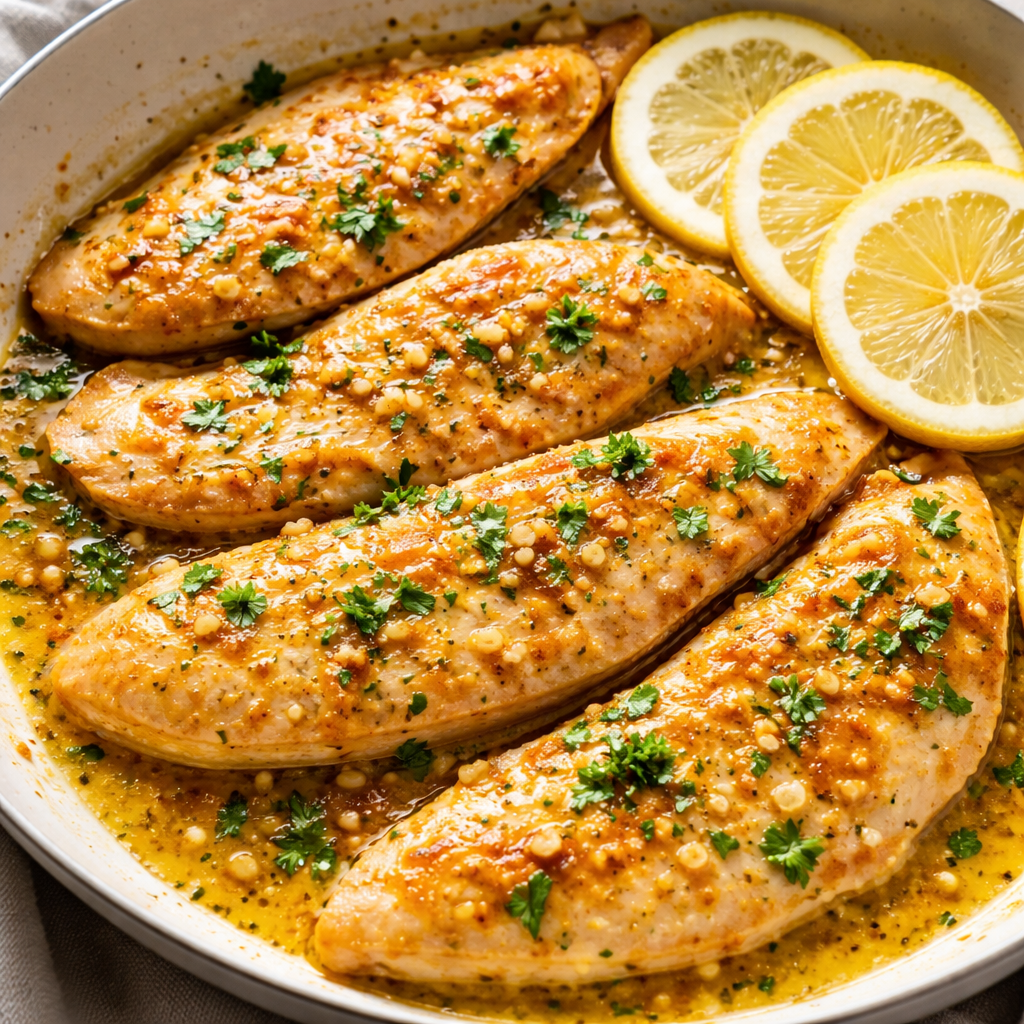
This method focuses on a versatile Pan-Seared Lemon-Herb Cutlet, the foundation for dozens of other variations.
- Dry the Surface: Use paper towels to pat the chicken bone-dry. Moisture is the enemy of the sear. If the surface is damp, the chicken will steam rather than brown.
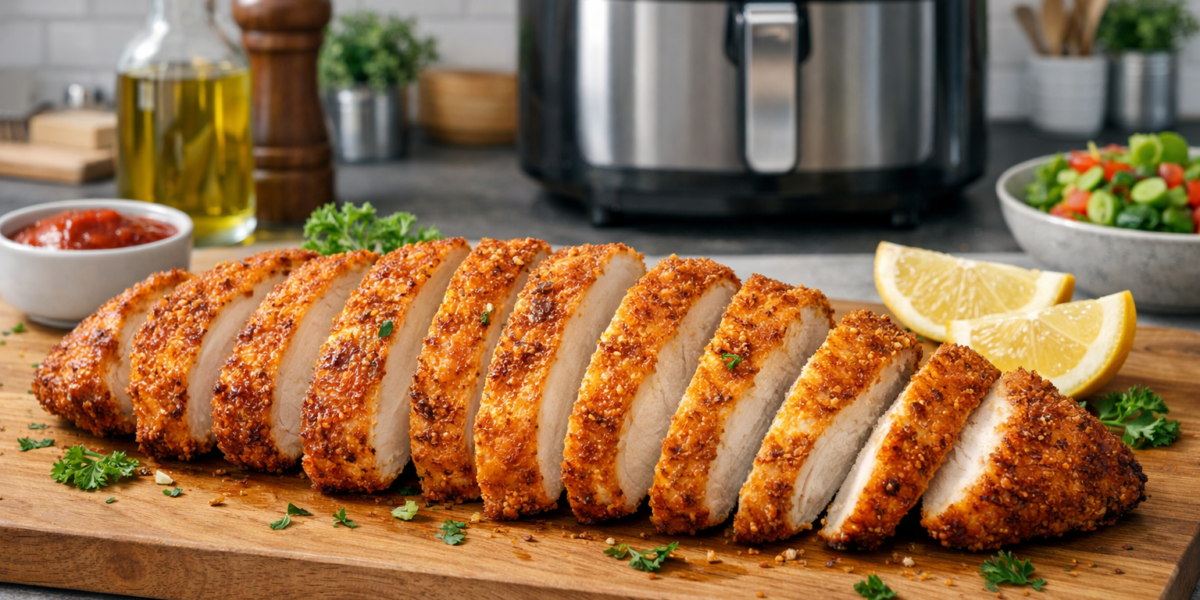
- The Light Dredge: Season your flour with salt, pepper, and perhaps a touch of paprika. Drag the chicken through the flour, then shake it vigorously. You want a ghostly coating, not a heavy crust.
- The Pan Setup: Use a large stainless steel or cast-iron skillet. Heat 2 tablespoons of oil over medium-high heat until it shimmers. If the oil isn’t hot, the flour will absorb the fat and become soggy.
- The Two-Minute Rule: Lay the chicken into the pan, moving away from yourself to avoid splashes. Do not crowd the pan; if the temperature drops too much, the juices will leak out. Sear for 2 to 3 minutes without moving the meat.
- The Flip and Finish: Flip the chicken. It should be a deep, golden mahogany. Add a tablespoon of butter and a smashed clove of garlic to the pan. Tilt the pan and spoon the foaming butter over the chicken for the final 60 seconds.
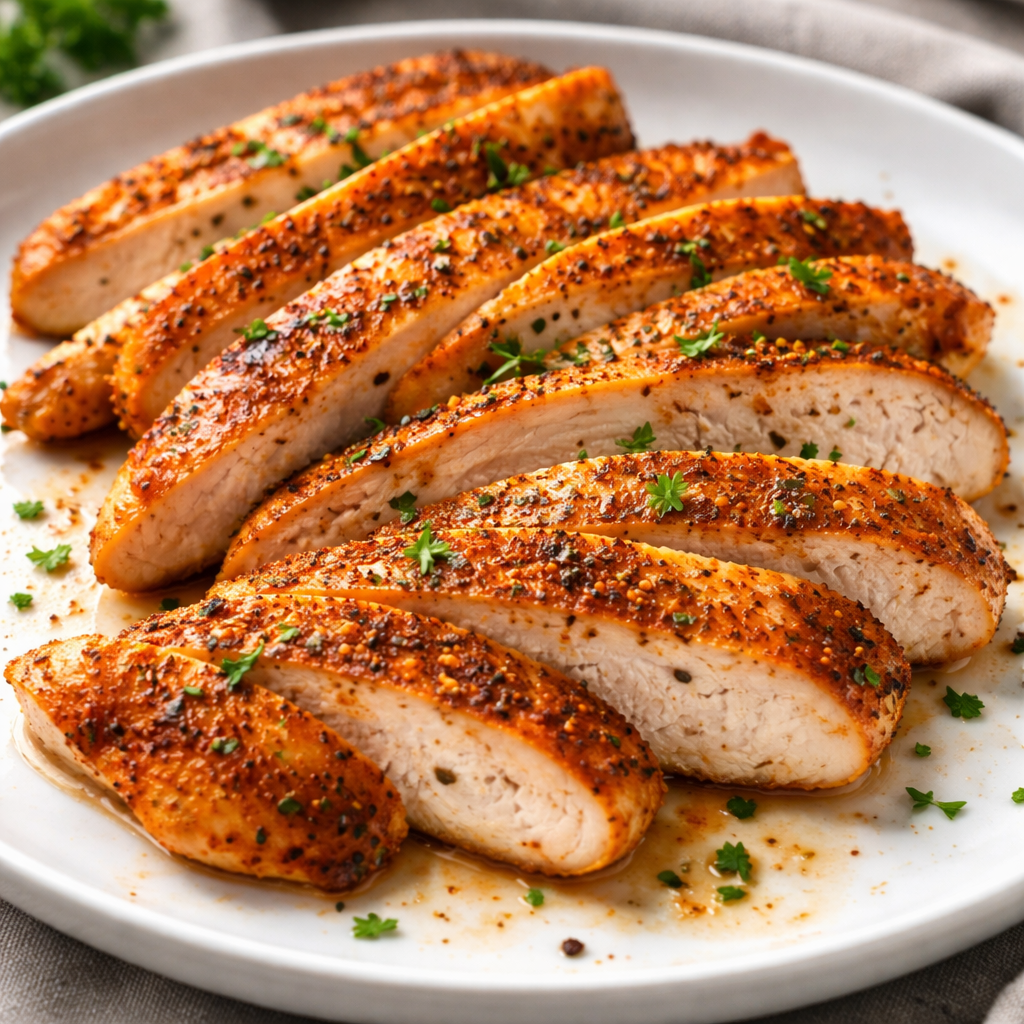
- The Rest: Remove to a warm plate. Let the meat rest for 3 minutes. This allows the internal juices to redistribute.
Flavor & Texture Indicators
How do you know it’s perfect without a thermometer? (Though a thermometer reading $165^\circ F$ is the gold standard).
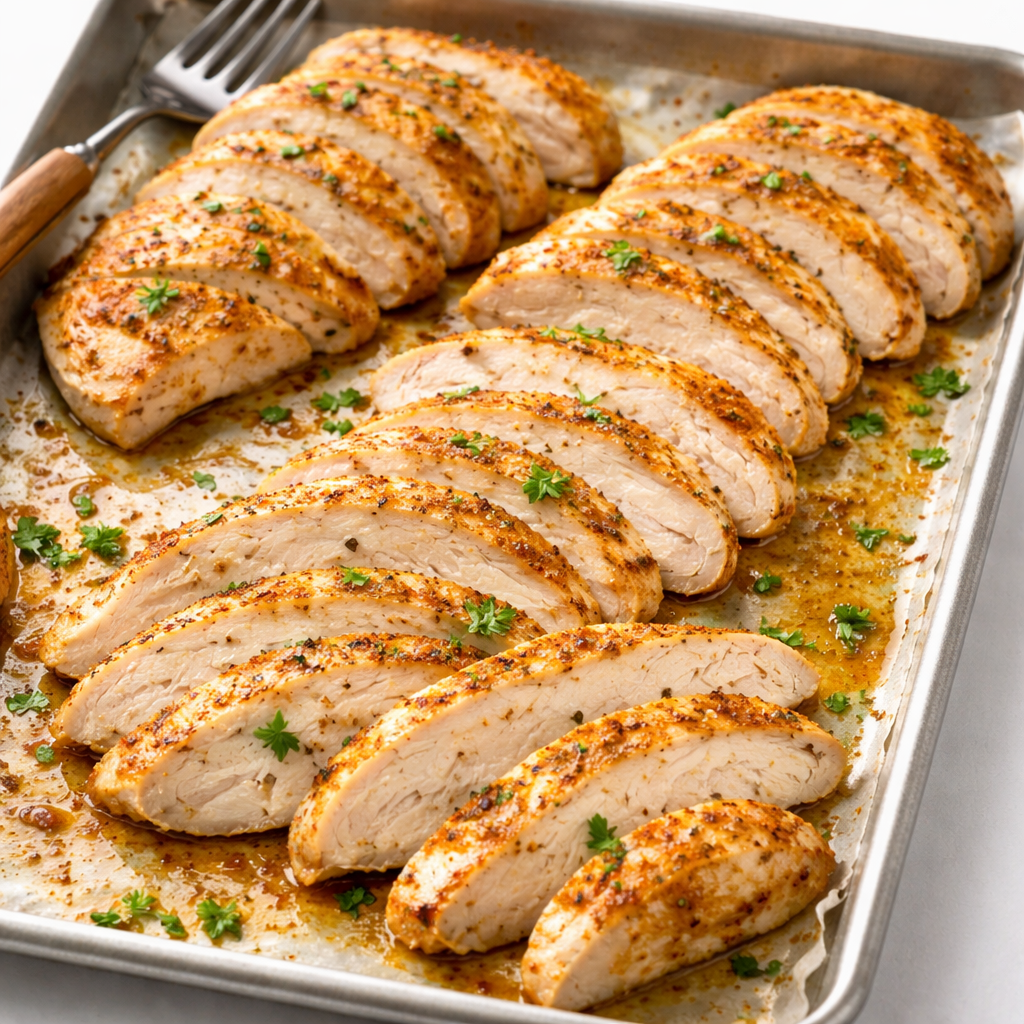
- Visual: The edges should look opaque and slightly curled. The golden-brown crust should be dry to the touch, not oily.
- Tactile: Give the center a gentle poke. It should feel firm but have a slight “spring” back. If it feels hard and unyielding, it’s overcooked. If it feels soft and squishy like a sponge, it needs another thirty seconds.
- The Pan: If the pan is dry and the “fond” (the brown bits on the bottom) is turning black, your heat is too high. If there is a pool of grey liquid in the pan, your heat was too low or the pan was too crowded.
Adjustments for Different Skill Levels
- The Beginner: Focus entirely on the “Cold Pan Start” method if you’re intimidated by high heat. Place the chicken in a cold, oiled non-stick pan and turn the heat to medium. It’s slower and yields less crust, but it’s nearly impossible to overcook.
- The Intermediate: Master the Pan Sauce. Once the chicken is removed, deglaze the pan with a splash of white wine or chicken stock. Scrape up the brown bits, whisk in a cold knob of butter and some capers, and you have a restaurant-quality meal in 90 seconds.
- The Advanced: Experiment with Velveting. This is a Chinese technique where chicken is coated in a mixture of cornstarch and egg white (and sometimes par-blanched in oil or water) before searing. It creates an impossibly silky, tender texture that is impervious to drying out.
Storage & Shelf Life
Thin-sliced chicken is best eaten immediately, as the high surface area makes it prone to drying out when reheated. However, if you have leftovers:
- Refrigeration: Store in an airtight container for up to 3 days.
- The Reheating Secret: Avoid the microwave; it will turn the chicken into leather. Instead, heat a teaspoon of oil in a skillet over medium heat. Add the chicken and a tablespoon of water or stock, then cover with a lid for 60 seconds. The steam will revive the moisture without overcooking the protein.
- Freezing: Raw, pounded cutlets freeze exceptionally well. Layer them between parchment paper so you can pull out exactly what you need for a quick weeknight meal.
Homemade Peri Peri Chicken Recipe
Chicken and Yellow Rice Recipe
Quick Chicken and Orzo Recipes
Reader Questions
“Why does my breading always fall off the chicken?”
Usually, this is because the chicken was too wet before the flour hit it, or you moved the chicken too soon in the pan. Let that crust form! The protein needs to bond with the starch before you agitate it.
“Can I use this method for frozen chicken?”
No. Because thin-sliced chicken cooks so fast, the outside will burn before the inside thaws. Always defrost completely in the refrigerator or under cold running water.