Birria Sauce Recipe Most home cooks approach birria with a mix of excitement and secret dread. You’ve seen the viral videos—the glistening, deep-crimson tacos being dunked into a rich, fatty consommé—but when you try to recreate it at home, the results are often… underwhelming. Perhaps the sauce is too thin, lacking that velvety body. Or maybe the heat is one-dimensional, tasting more like generic chili powder than a complex, layered masterpiece.
The biggest frustration? The “Muddy” Flavor. Many recipes result in a sauce that tastes murky because the dried chilis weren’t handled correctly, or the aromatics weren’t properly toasted.
True Birria de Res (or the traditional goat, chivo) isn’t just a pot of stew; it’s a masterclass in the Mexican Adobo. This sauce is a concentrated paste of rehydrated chilis, warm spices, and vinegar that transforms tough cuts of meat into something celestial. This guide will walk you through the nuances of building a sauce that has soul, depth, and that signature “red gold” oil.
Why This Recipe Works
This isn’t a “dump and go” slow cooker recipe. We are utilizing a few key culinary principles to ensure maximum flavor extraction:
- Triple-Chili Harmony: We use a specific ratio of Guajillo (for color and tea-like sweetness), Ancho (for dark, raisin-like richness), and Arbol (for a clean, sharp heat).
- The Maillard Reaction: Instead of just boiling the aromatics, we hard-sear the onions, garlic, and ginger. This creates complex sugars that balance the bitterness of the dried peppers.
- Emulsified Fat: By blending the sauce with a portion of the meat’s rendering fat and the soaking liquid, we create a stable emulsion. This ensures the sauce clings to the meat rather than just pooling at the bottom of the bowl.
- Acidity Balancing: The use of apple cider vinegar doesn’t just add tang; it breaks down the collagen in the meat during the long braise, resulting in a more tender finished product.
Ingredients & Measurements
Yields approximately 5–6 cups of sauce, enough for 5 lbs of meat.
The Chili Base
- Guajillo Chilis: 10–12 large (Stemmed and deseeded)
- Ancho Chilis: 4 medium (Stemmed and deseeded)
- Chilis de Árbol: 3–6 (Keep seeds in for more heat; adjust to preference)
The Aromatics & Spices
- White Onion: 1 large, quartered
- Garlic: 1 entire head, cloves peeled and smashed
- Fresh Ginger: 1-inch knob, sliced into rounds (The “secret” ingredient for brightness)
- Whole Cloves: 4 pieces
- Black Peppercorns: 1 tsp
- Cumin Seeds: 1 tsp
- Coriander Seeds: 1 tsp
- Mexican Oregano: 1 tbsp (Crucial: it’s more citrusy than Mediterranean oregano)
- Cinnamon Stick: 1 small (Preferably Ceylon/Mexican Canela)
The Liquids & Seasoning
- Apple Cider Vinegar: ½ cup
- Beef Bone Broth: 2 cups (Low sodium is best so you can control the salt)
- Tomato Paste: 2 tbsp (For body and umami)
- Kosher Salt: To taste (Usually about 1 tbsp for the sauce itself)
Step-by-Step Cooking Guide
1. Toasting the Chilis
Before you add water, you must add heat. In a dry skillet over medium-high heat, press the flat pieces of dried chilis down for about 30–60 seconds per side. The Science: Heat wakes up the essential oils in the dried pepper skins. You’ll know they’re ready when they become fragrant and slightly more pliable. Do not burn them, or the sauce will be irredeemably bitter.
2. The Hydration Phase
Place the toasted chilis in a heat-proof bowl and cover them with boiling water. Weigh them down with a plate to ensure they stay submerged. Let them sit for at least 20 minutes. Pro Tip: Taste the soaking water. If it’s not bitter, you can use it as part of your blending liquid. If it tastes like burnt wood, discard it and use fresh broth.
3. Charring the Aromatics
In the same skillet you used for the chilis, add a tablespoon of oil. Char the onions, garlic, and ginger until they have dark, blackened spots. This “burnt” exterior provides a smoky depth that mimics the traditional underground cooking pits used in Jalisco.
4. Blooming the Spices
Push the vegetables to the side and add your whole cloves, peppercorns, cumin, coriander, and cinnamon. Toast them for 60 seconds until you can smell them from across the room. This process—called “blooming”—fat-solubilizes the flavors, making them more intense.
5. The Master Blend
In a high-powered blender, combine the hydrated chilis, the charred aromatics/spices, vinegar, tomato paste, oregano, and 2 cups of broth (or soaking liquid). Note: Remove the cinnamon stick before blending unless you have a professional-grade blender (like a Vitamix) that can pulverize wood.
6. The Strain (The Most Important Step)
Even a great blender leaves behind bits of tough chili skin. Pour the sauce through a fine-mesh sieve into a bowl. Use a ladle to push it through. The result should be a silky, thick adobo. If it’s too thick to move, add a splash more broth.
Common Mistakes to Avoid
- Forgetting to Deseed: While the seeds hold heat, they also hold bitterness and a gritty texture. Remove 90% of them for a professional finish.
- Using Pre-Ground Spices: Pre-ground cumin and clove lose their volatile oils within weeks. Toasting whole spices and blending them fresh is the difference between “good” and “restaurant-quality.”
- Skipping the Vinegar: People often think the sauce tastes “flat.” Usually, it’s not lacking salt; it’s lacking acid. The vinegar brightens the heavy fats of the beef.
- Rushing the Hydration: If the chilis aren’t fully soft, the sauce will be grainy. Patience here pays off in texture.
Timing & Doneness Indicators
Since this sauce is usually used for braising, you need to know when the sauce is ready to meet the meat:
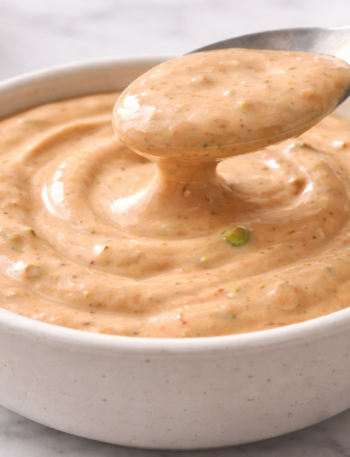
- The Texture Test: Dip a spoon into the blended sauce. It should coat the back of the spoon thickly (nappe consistency). If it runs off like water, simmer it in a pot for 10 minutes to reduce.
- The Color Shift: Freshly blended sauce is often a bright, brick red. As it cooks with the meat, it will deepen into a dark mahogany. This indicates the sugars in the chilis are caramelizing.
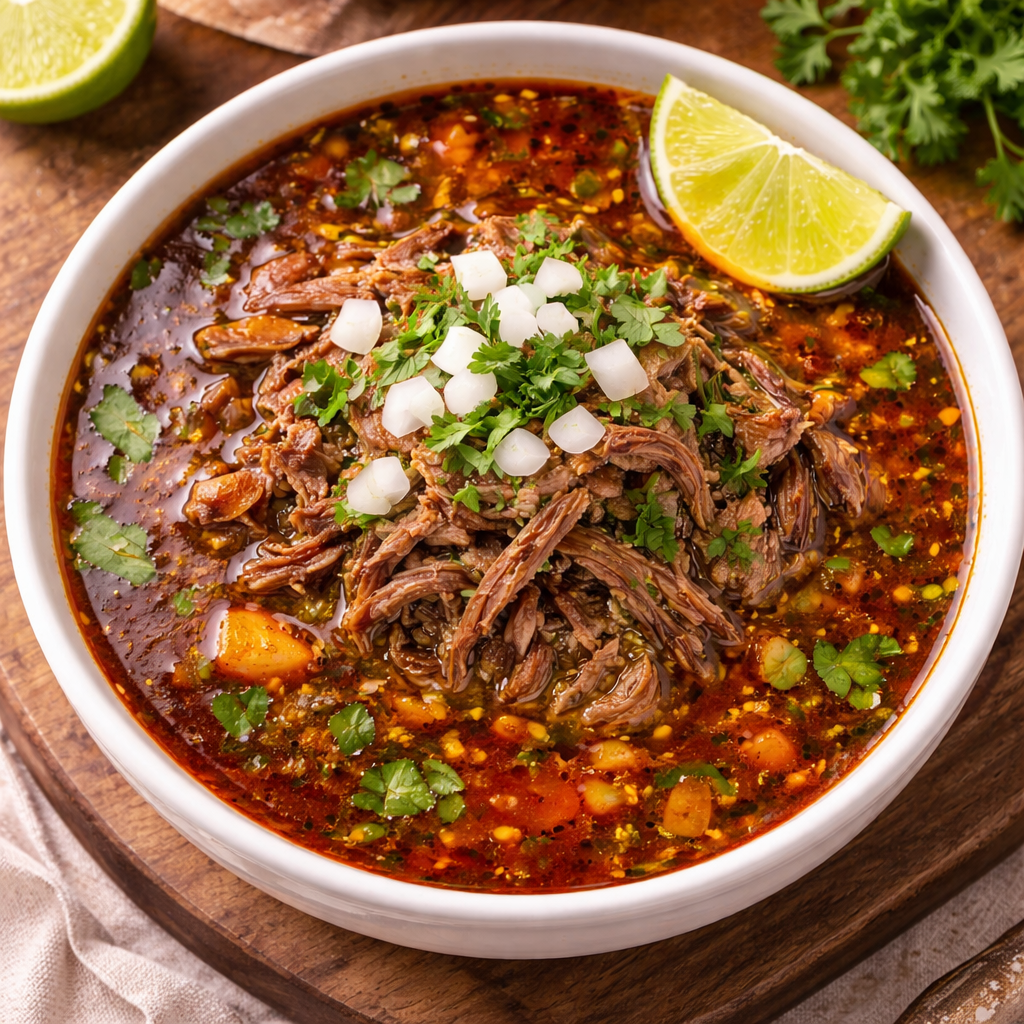
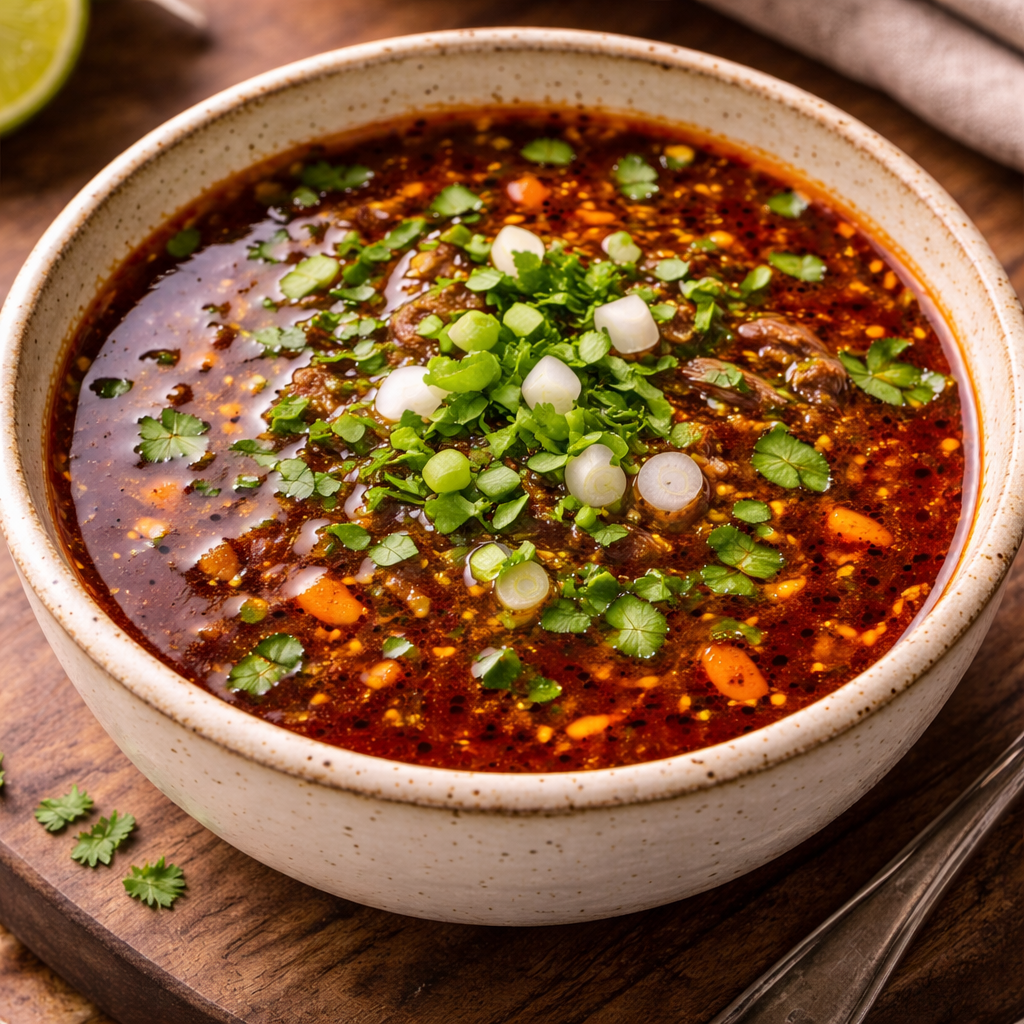
- The Oil Separation: About 2 hours into cooking your birria, you should see a layer of vibrant red oil rising to the top. Do not skim this off. This is the consomé gold you’ll dip your tortillas in later.
Serving Suggestions
Once your meat is tender and shredded, the sauce becomes your primary tool:
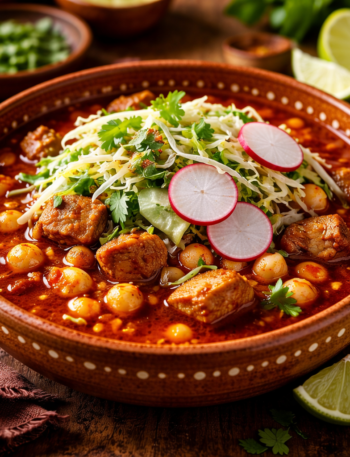
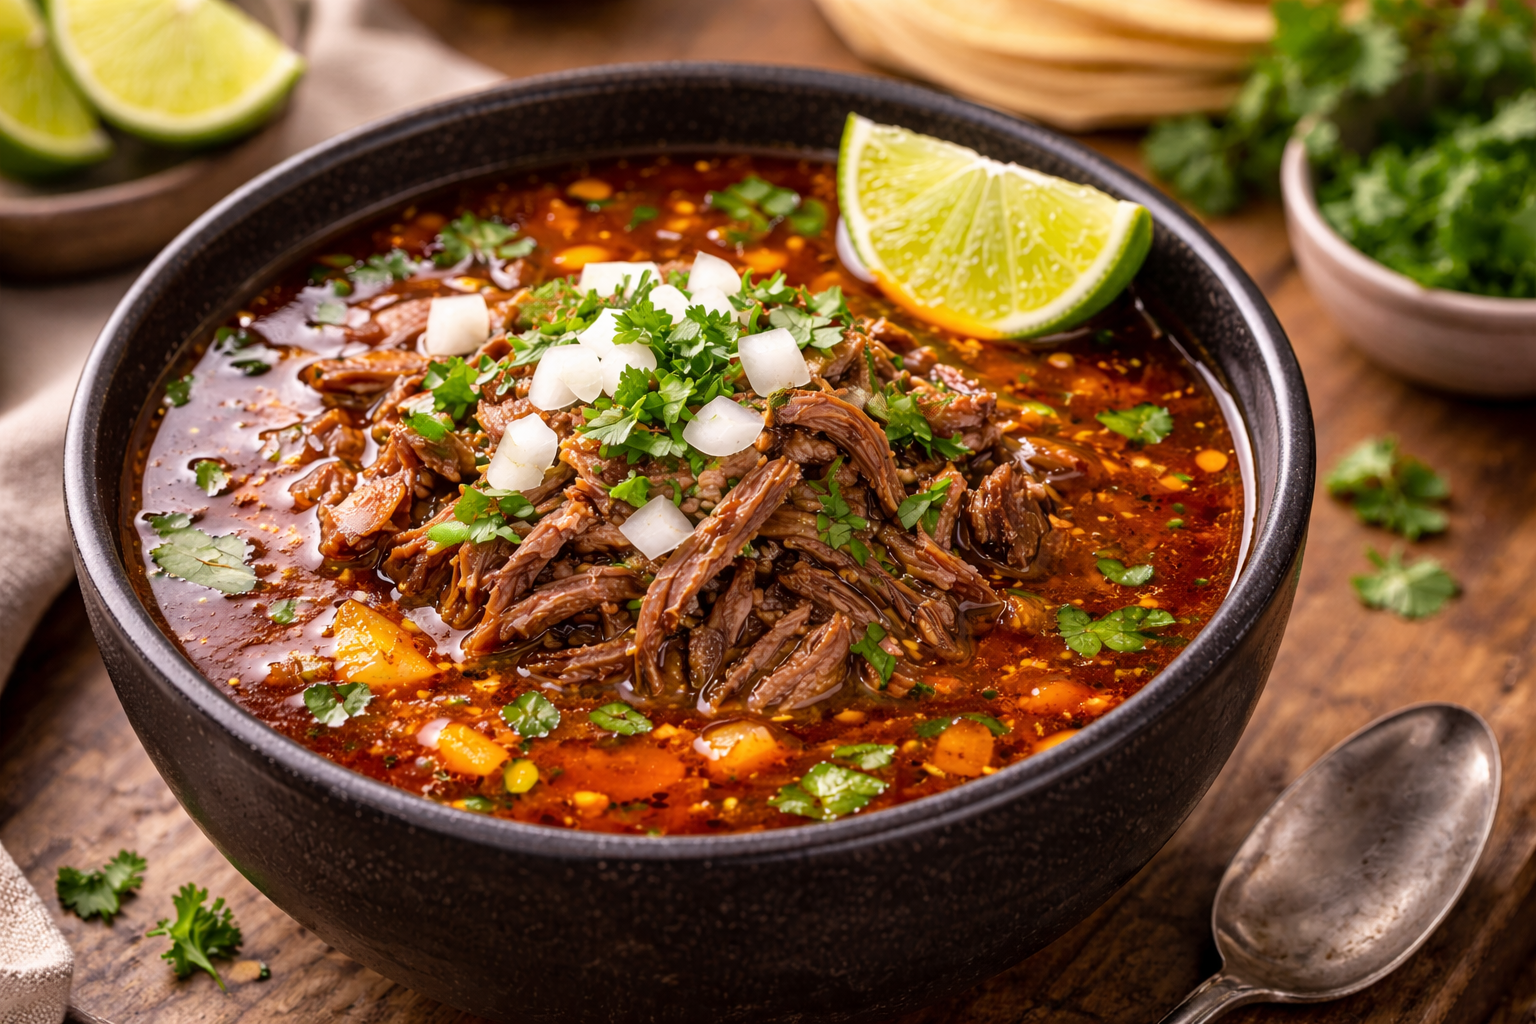
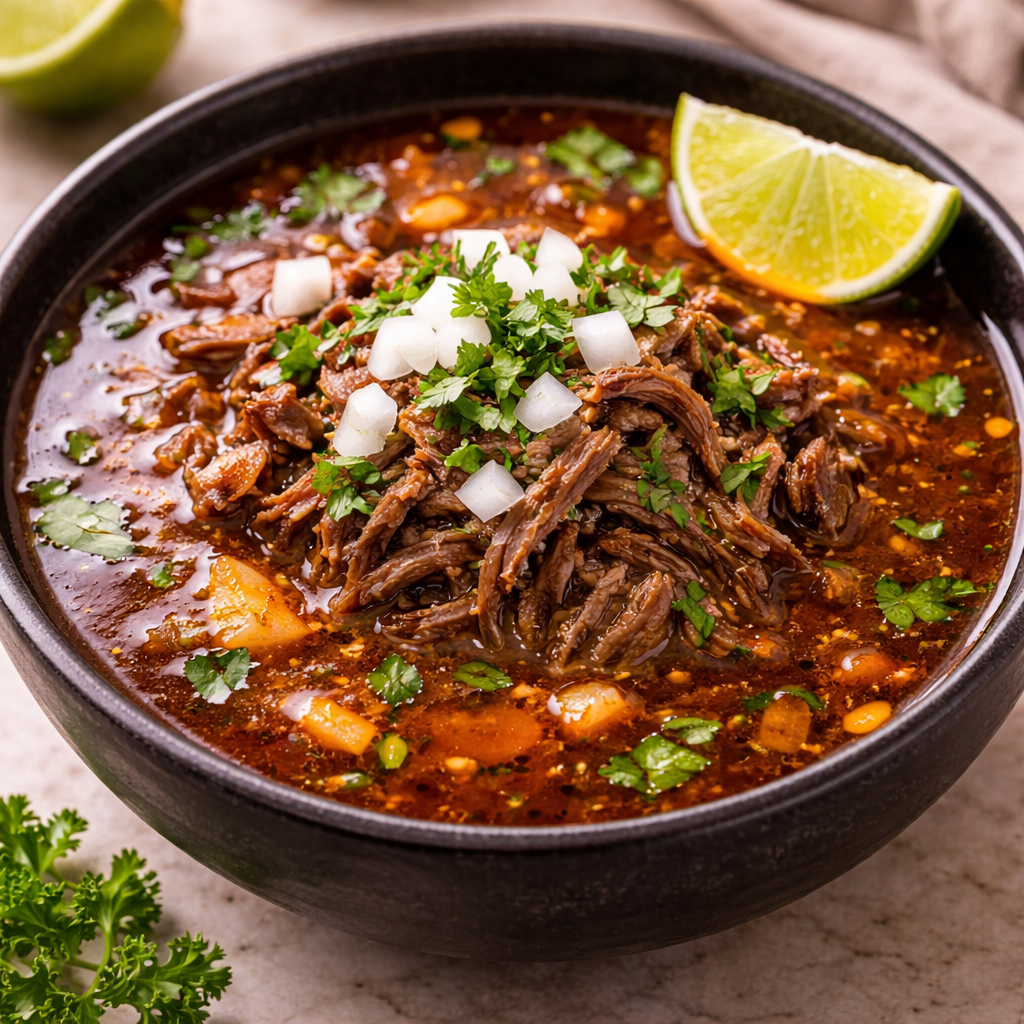
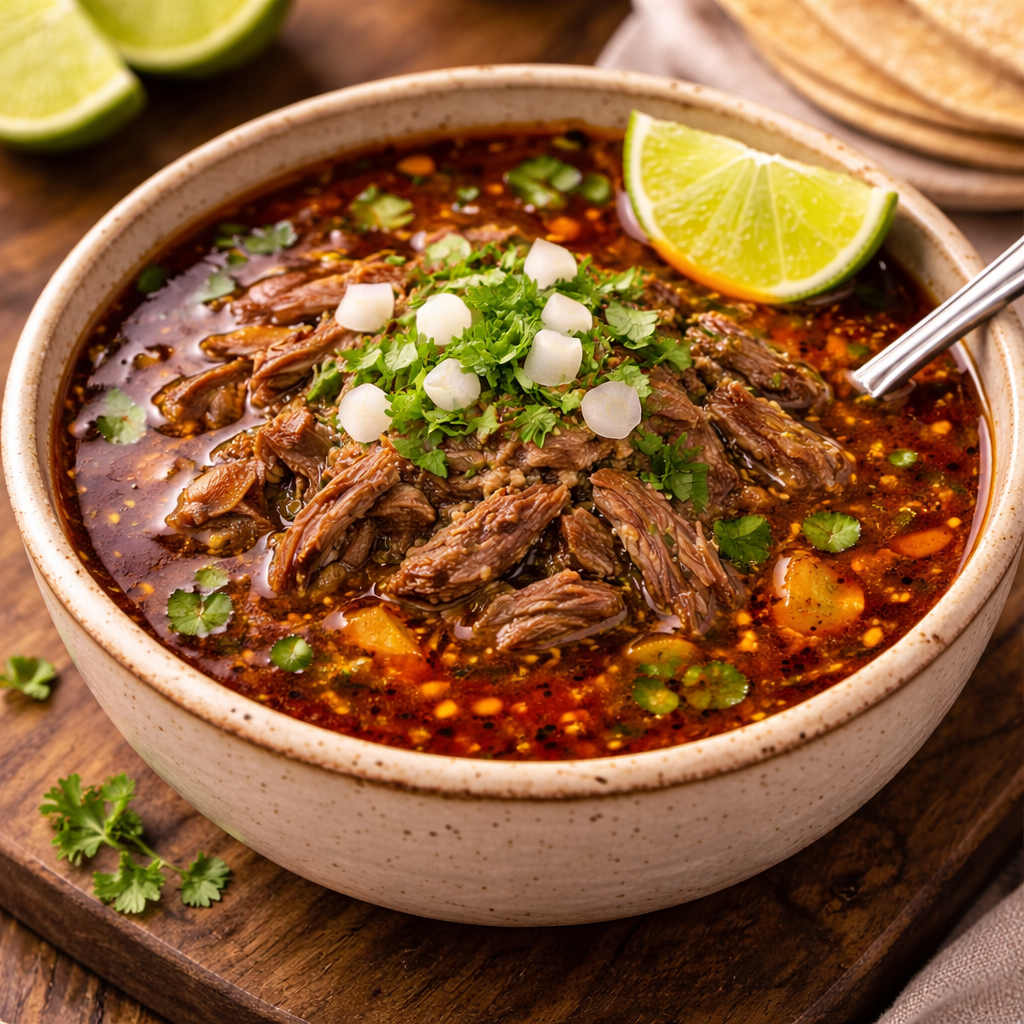
- The Consomé: Ladle the liquid into small cups. Garnish with finely diced white onion, fresh cilantro, and a squeeze of lime.
- Quesabirria: Dip a corn tortilla directly into the red oil at the top of the pot. Place it on a hot griddle, add Oaxaca cheese and shredded meat, and fold. The sauce fried into the tortilla creates a crispy, flavorful crust.
- Birria Ramen: Use the leftover sauce as a base for a rich ramen broth, topping with a soft-boiled egg and radishes.
FAQ
“My sauce tastes bitter. Can I save it?” Bitterness usually comes from over-toasting the chilis or using the seeds. You can counteract this by adding a small pinch of brown sugar or a teaspoon of cocoa powder. The sweetness and earthiness will help mask the bitter notes.
“I don’t have a blender. Can I use a food processor?” You can, but the texture won’t be as smooth. You will definitely need to strain it through a sieve, and you might lose more volume in the process.
“How long does the sauce keep?” This sauce is an excellent candidate for meal prep. It stays fresh in the fridge for 7 days or can be frozen for up to 3 months. In fact, many chefs argue the flavor improves after 24 hours in the fridge as the spices meld.
“Is this sauce very spicy?” As written, this is a “medium” heat. Most of the flavor comes from the Guajillos, which are mild. The heat comes strictly from the Chilis de Árbol. If you want it mild, use only one Árbol; if you want it fiery, use ten.