Pulled Beef Recipe The pursuit of the perfect pulled beef is often born out of a specific kind of culinary heartbreak: the “tough-yet-dry” roast. You spend eight hours waiting for a heavy cut of beef to transform into succulent, falling-apart shreds, only to find it has the texture of wet twine. It looks right, but it lacks that unctuous, melt-in-the-mouth richness that makes a sandwich or a taco truly memorable.
The problem usually isn’t your patience; it’s a fundamental misunderstanding of the relationship between temperature, connective tissue, and time. Pulled beef is not simply “cooked” beef; it is the result of a precise chemical conversion where tough collagen dissolves into gelatin.
This guide is designed to strip away the guesswork. We are going to move past the “set it and forget it” clichés and look at the actual mechanics of braising to ensure your beef is consistently juicy, deeply flavored, and effortless to shred.
Why This Recipe Works
Great pulled beef relies on three pillars: the right cut, the right environment, and the right exit strategy.
- The Collagen Conversion: By using a Chuck Roast (the shoulder), we are selecting a muscle group rich in intramuscular fat and connective tissue. We cook it low and slow to reach an internal temperature of roughly 95°C to 98°C ($203°F$ to $208°F$). At this point, the collagen—which holds the muscle fibers together like glue—melts into gelatin, providing that “silky” mouthfeel even if the meat is technically “well-done.”+1
- The Maillard Foundation: We don’t just throw raw meat into a pot. A heavy sear creates a crust of complex sugars and amino acids. This doesn’t “lock in juices” (a common kitchen myth), but it does season the braising liquid, creating a depth of flavor that a slow cooker alone cannot achieve.
- The Emulsified Braise: We use a combination of aromatics and a slightly acidic braising liquid (often containing apple cider vinegar or tomato paste). This acid helps weaken the surface proteins, while the slow-rendered beef fat creates a natural emulsion in the sauce, coating every shredded fiber.
Ingredients & Measurements
Yields approximately 6–8 servings.
The Protein
- 2.5kg (approx. 5.5 lbs) Beef Chuck Roast: Look for heavy marbling and a thick cut. Avoid “lean” roasts like Top Round; they will turn into sawdust.
The Dry Rub
- 2 tbsp Kosher Salt: Coarse grains are essential for a crust.
- 1 tbsp Coarse Black Pepper: For a bite that cuts through the fat.
- 1 tbsp Smoked Paprika: Adds a “faux-smoke” depth if you aren’t using a smoker.
- 1 tsp Garlic Powder & 1 tsp Onion Powder: For savory baseline notes.
- 1/2 tsp Cayenne Pepper: Optional, for a subtle back-of-the-throat warmth.
The Braising Base
- 2 large Yellow Onions: Sliced into thick half-moons. They will melt into the sauce.
- 6 cloves Garlic: Smashed, not minced (minced garlic burns during the sear).
- 500ml (2 cups) Beef Bone Broth: Low-sodium is preferred so you can control the salt.
- 2 tbsp Tomato Paste: For umami and body.
- 60ml (1/4 cup) Apple Cider Vinegar: Crucial for balancing the richness.
- 2 sprigs Fresh Rosemary or Thyme: Woody herbs hold up better during long cooks.
- 2 tbsp Neutral Oil: Grapeseed or Avocado oil for the high-heat sear.
Step-by-Step Cooking Guide
1. The Prep and the Salt
Start by patting the beef bone-dry with paper towels. Moisture is the enemy of a good sear; if the meat is damp, it will steam rather than brown. Generously coat all sides with your dry rub, pressing the spices into the meat.
Pro Tip: If you have time, salt the meat 2 hours before cooking and leave it uncovered in the fridge. This allows the salt to penetrate the fibers, seasoning the roast from the inside out.
2. The Hard Sear
Heat a large Dutch oven or heavy-bottomed pot over medium-high heat. Add the oil. Once it shimmers, add the beef. You are looking for a dark, mahogany-colored crust on all sides. This should take about 4–5 minutes per side. Do not rush this. This “fond” (the brown bits stuck to the bottom) is the soul of your sauce. Remove the beef and set it aside on a plate.
3. Building the Aromatics
Lower the heat to medium. Toss in your onions. Use the moisture from the onions to begin scraping the bottom of the pot. Once the onions are translucent and slightly browned, add the garlic and tomato paste. Stir constantly for 2 minutes until the paste turns a rusty brick color—this removes the metallic “raw” taste of the tomato.
4. Deglazing and Submerging
Pour in the apple cider vinegar first, using a wooden spoon to vigorously scrape up every remaining bit of flavor from the pot. Add the beef broth and herbs. Return the beef (and any accumulated juices) to the pot. The liquid should come about halfway up the side of the roast. We aren’t boiling the beef; we are braising it.
5. The Low and Slow Descent
Oven Method (Recommended): Cover with a tight-fitting lid and place in a preheated oven at 150°C (300°F). The oven provides more consistent, omnidirectional heat than a stovetop.
Slow Cooker Method: Transfer everything to your slow cooker and set to “Low” for 8–9 hours.
6. The Rest and the Shred
Once the beef is fork-tender (see “Doneness Indicators” below), remove it from the liquid and let it rest on a cutting board for at least 15 minutes. This allows the fibers to relax and reabsorb some of the internal moisture.
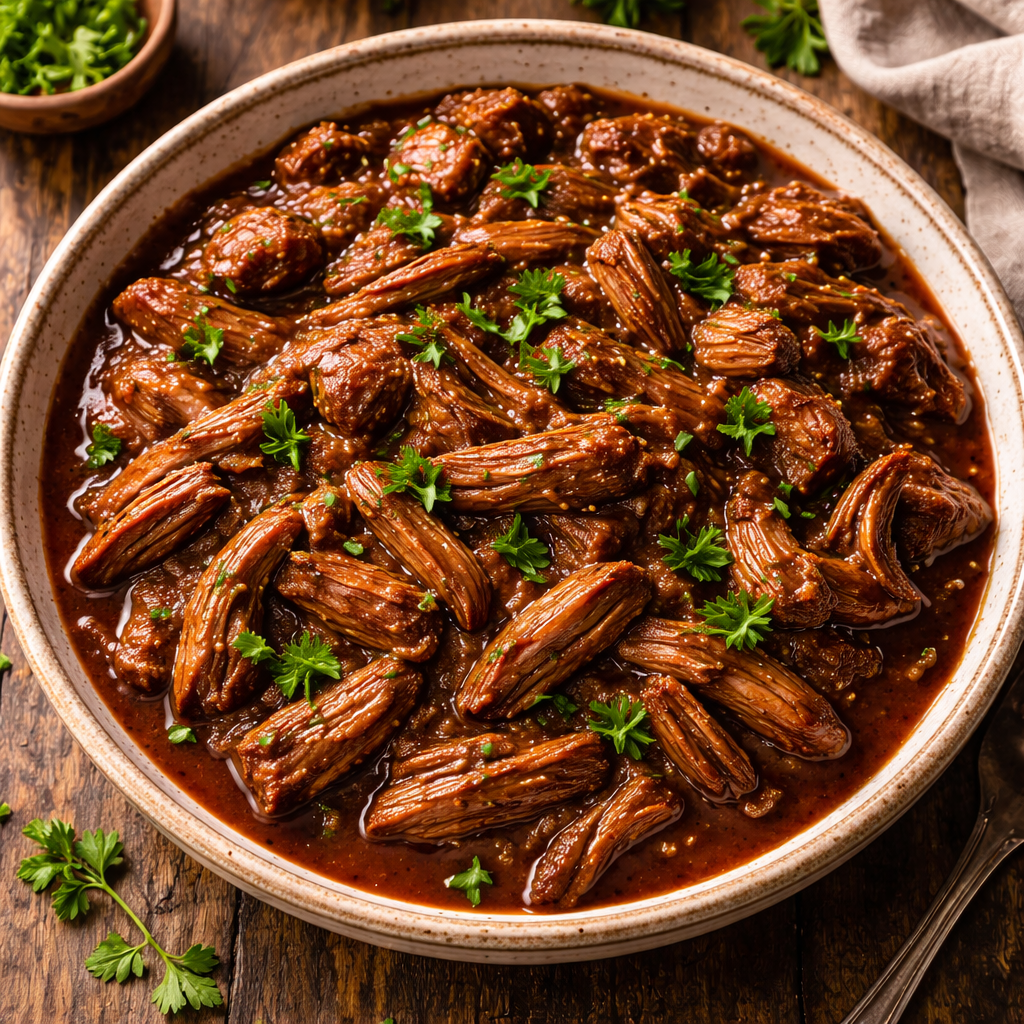
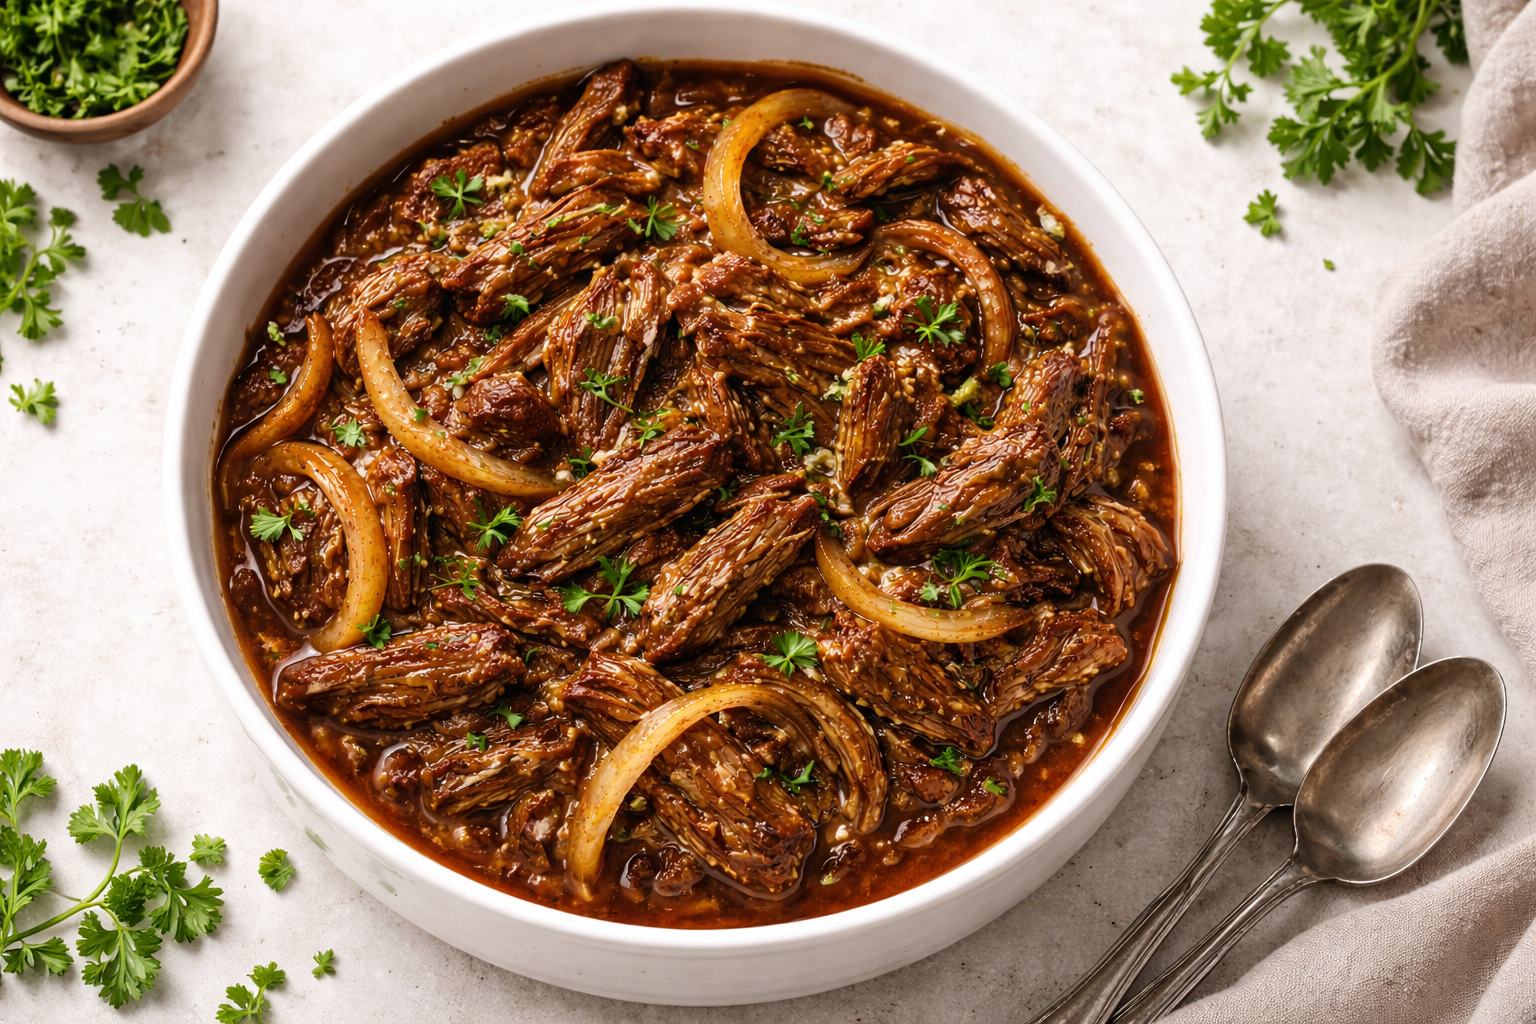
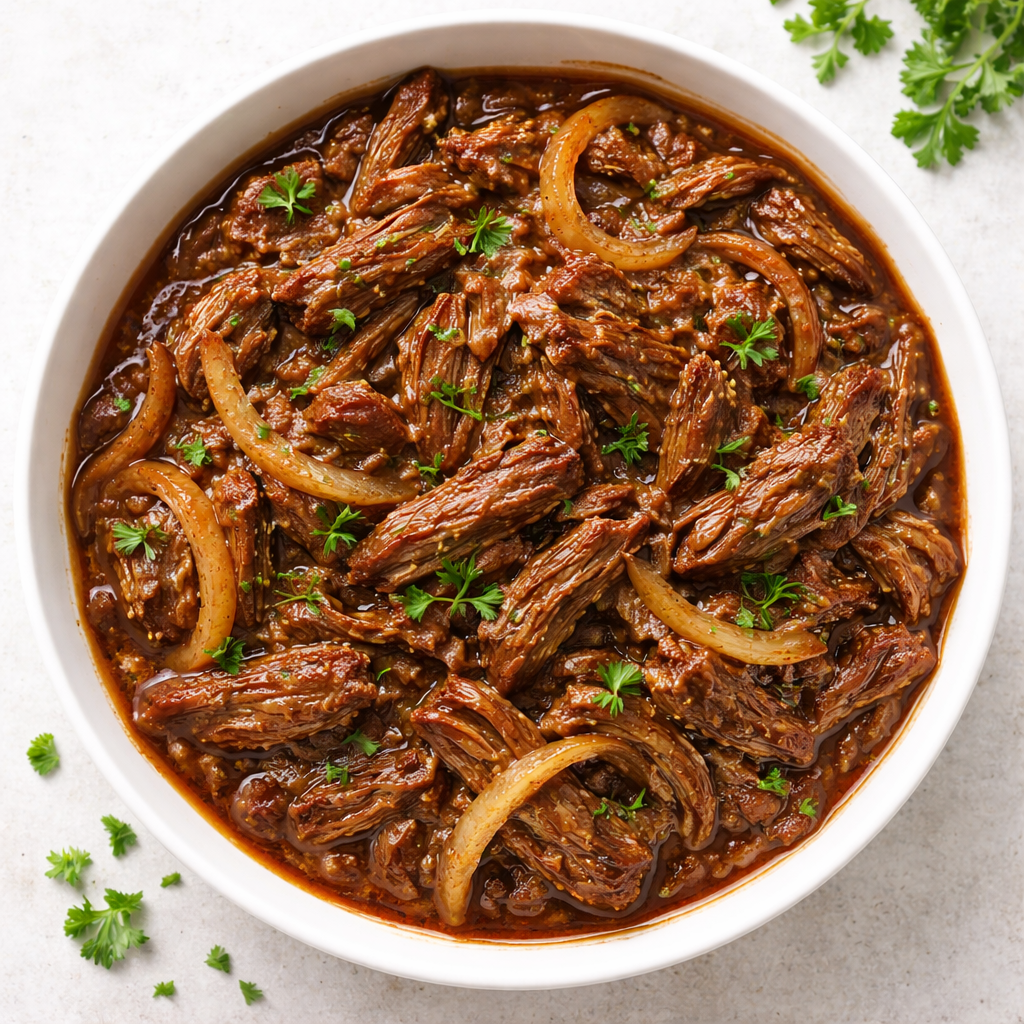
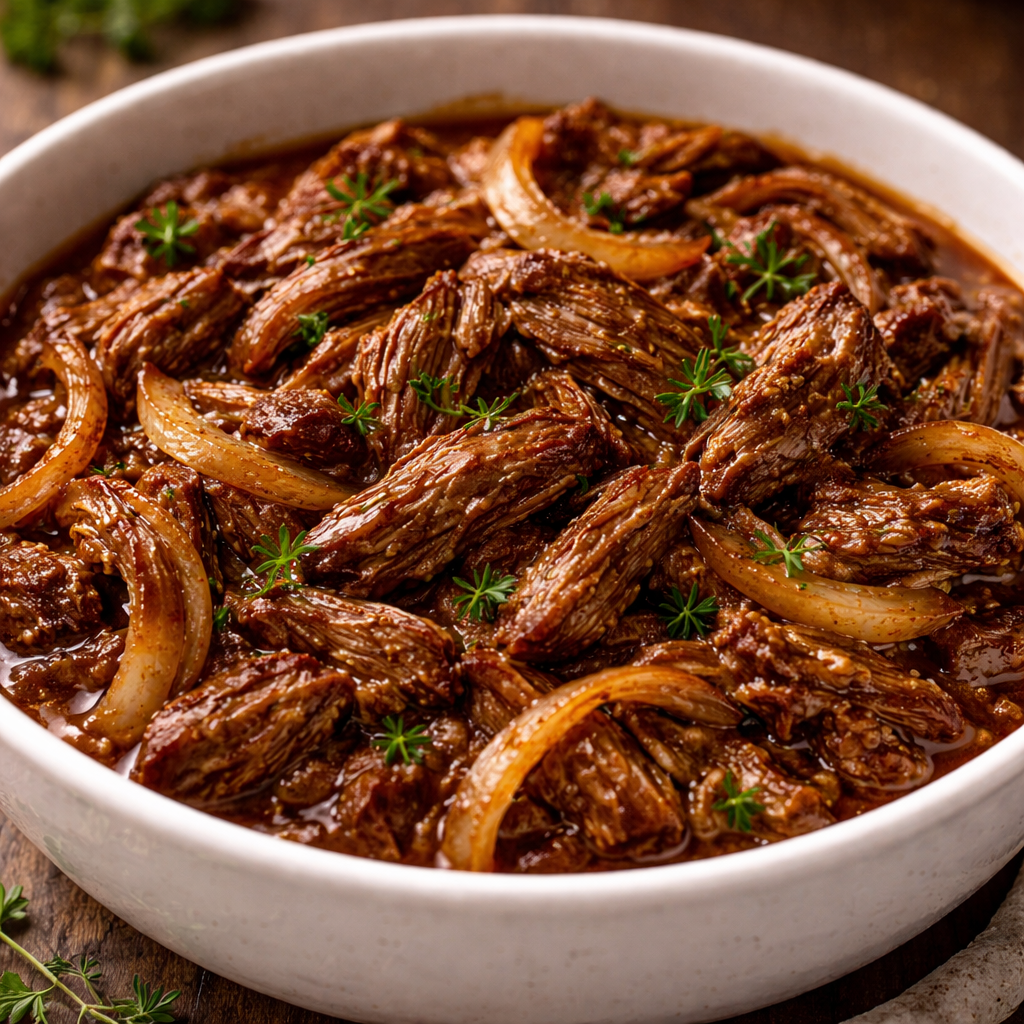
Meanwhile, skim the excess fat off the top of the braising liquid. You can reduce the liquid on the stovetop by half to create a concentrated glaze. Shred the beef using two forks, then toss it back into the reduced liquid.
Common Mistakes to Avoid
- Pulling Too Early: The biggest mistake is stopping when the meat is “cooked.” Beef is safe to eat at $145°F$, but it won’t shred until it hits $200°F+$. If it resists the fork, it’s not done. Put the lid back on.
- Boiling, Not Braising: If your liquid is at a violent roll, the muscle fibers will tighten and squeeze out all their moisture, leaving you with dry meat. You want a very gentle simmer—the occasional bubble.
- Ignoring the Rest: If you shred the beef the second it comes out of the pot, the steam (which is actually the meat’s internal moisture) will escape instantly. Your beef will go from juicy to dry in seconds.
- Too Much Liquid: If you submerge the meat entirely, you are boiling it. This dilutes the flavor of the beef. Keep the liquid at the “waistline” of the roast.
Timing & Doneness Indicators
Every roast is different based on its shape and fat content. Use these visual and physical cues rather than relying strictly on the clock:
| Stage | Visual/Physical Cue | Action |
| 3 Hours | Meat is firm; knife meets resistance. | Keep cooking. |
| 5 Hours | Meat yields to a knife but stays in one piece. | Almost there. |
| 6-7 Hours | The “Twist” Test: A fork inserted into the center can be twisted with zero resistance. | Done. Remove from heat. |
Internal Temperature Goal: For the perfect shred, aim for 96°C ($205°F$).
Serving Suggestions
The beauty of pulled beef is its versatility. Because we kept the seasoning savory but neutral, you can take it in several directions:

- The Classic Sandwich: Pile high on a toasted brioche bun with pickled red onions and a smear of horseradish aioli.
- Street Tacos: Toss the shredded beef in a pan with a little lime juice and cumin to crisp up the edges, then serve in corn tortillas with cilantro and white onion.
- Rich Ragu: Stir the beef and its reduced braising liquid into pappardelle pasta with a grating of Pecorino Romano.
- Poutine/Loaded Fries: Smother crispy fries with the beef and its gravy, topped with fresh cheese curds.
Healthy Easy Beef and Broccoli Recipe
FAQ
Can I use a leaner cut like Top Round or Eye of Round?
Technically yes, but I wouldn’t recommend it. Those cuts lack the collagen needed to produce a “pulled” texture. They will become stringy and stuck in your teeth. If you must use a leaner cut, you’ll need to add significantly more fat (like butter or tallow) to the pot.
Why is my beef “shreddy” but dry?
You likely overcooked it or didn’t have enough fat in the cut. Once the collagen has melted, if you keep cooking, the muscle fibers themselves will eventually break down and lose their ability to hold liquid. If this happens, toss the meat in a very heavy sauce or extra beef broth to compensate.
Can I make this ahead of time?
Actually, pulled beef is better the next day. The flavors in the braising liquid have more time to marry. Store the shredded meat in its liquid in the fridge. The fat will solidify on top; just reheat it gently on the stove, and it will melt back into a luscious sauce.