Why You’ll Love This Recipe
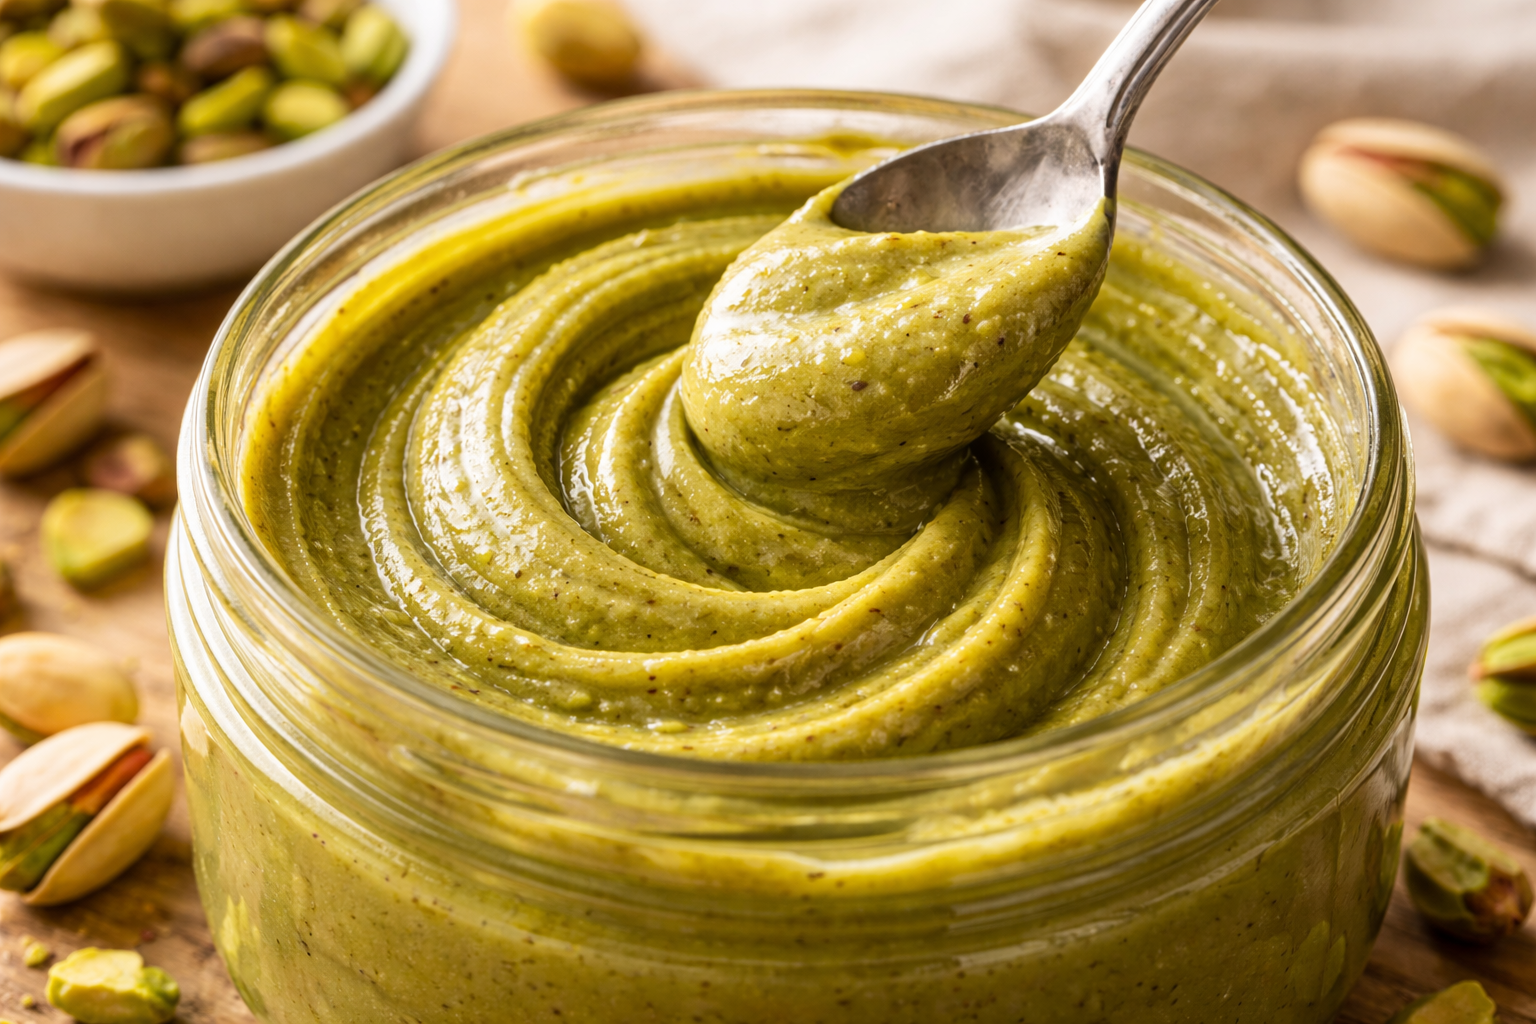
Listen, we need to have a heart-to-heart about the “green gold” of the culinary world. If you’ve ever walked into a fancy patisserie and wondered why the pistachio croissant costs more than your monthly streaming subscription, it’s because of the paste. Authentic, pure pistachio paste is the velvet rope of ingredients—it’s elite, it’s vibrant, and it tastes like a dream.Pistachio Paste Recipe
You’re going to love making this at home because, frankly, the store-bought stuff is often a lie. Have you ever looked at the back of a cheap jar? It’s usually 10% pistachios and 90% sunflower oil, sugar, and green food coloring that looks like a radioactive spill. By making it yourself, you control the purity. You get that intense, nutty, slightly floral flavor that makes people stop talking and start humming in appreciation.
Plus, there is a weirdly satisfying power trip that comes with making your own nut butter. You take these stubborn little salted rocks and turn them into a silky, emerald elixir. It’s chemistry, it’s art, and it makes you look like a total pro. It is the ultimate “flex” ingredient for your baking repertoire.
What You Need to Get Started
We aren’t building a rocket, but we do need quality parts. If you start with stale nuts, you’ll end up with a paste that tastes like a dusty attic.
- The Main Event: 2 cups of raw, unsalted pistachios. Shelled is better unless you really want to spend three hours ruining your fingernails. Look for the ones that look the greenest!
- The Liquid Gold: 1 to 2 tablespoons of a neutral oil (grapeseed or avocado work best). Don’t use extra virgin olive oil unless you want your frosting to taste like a salad.
- The Flavor Enhancer: A pinch of sea salt. Even if you want a sweet paste, salt wakes up the nuttiness.
- The Sweet Option: If you want “Pistachio Praline,” you’ll need a 1/4 cup of powdered sugar. If you want pure paste, skip it.
- The Gear: A high-speed blender or a very determined food processor. This is not the time for a hand-cranked device from the 1970s.
How to Prepare the Ingredients
Before we start the “great grind,” we have to prep the nuts. If you just toss raw pistachios into a blender, you’ll get a brownish, gritty sand. We want emerald silk.
The Blanching Ritual: This is the secret step that separates the amateurs from the masters. Boil a pot of water, toss the pistachios in for exactly 60 seconds, and then shock them in an ice bath. The skins will loosen up and practically leap off the nuts.
The Peeling Party: Squeeze the nuts between a clean kitchen towel or your fingers to remove those purple and brown skins. Yes, it takes ten minutes. Yes, it’s tedious. But do you want a vibrant green paste or something that looks like mud? Peeling the skins is the only way to get that iconic neon-green color.
Once they are naked and green, pat them bone-dry. Water is the mortal enemy of nut butter. If they are even slightly damp, your paste will seize up and turn into a chunky, sad mess.
Step-by-Step Cooking Instructions
Ready to make some noise? Let’s turn these nuts into butter.
- The Toast (Optional but Recommended): Toss your dry, peeled pistachios in a skillet over low heat for 3–5 minutes. We aren’t trying to brown them; we just want to warm up the natural oils.
- The First Grind: Toss the warm nuts into your food processor. Pulse until they look like coarse sand.
- The Gritty Phase: Keep processing. It will turn into a thick, dry paste. Your machine might start making a high-pitched whine. That’s just it singing the song of its people. Keep going.
- The Oil Introduction: Add your tablespoon of oil and the pinch of salt. This is where the magic happens. The oil helps the blades catch the nuts and emulsify everything into a liquid state.
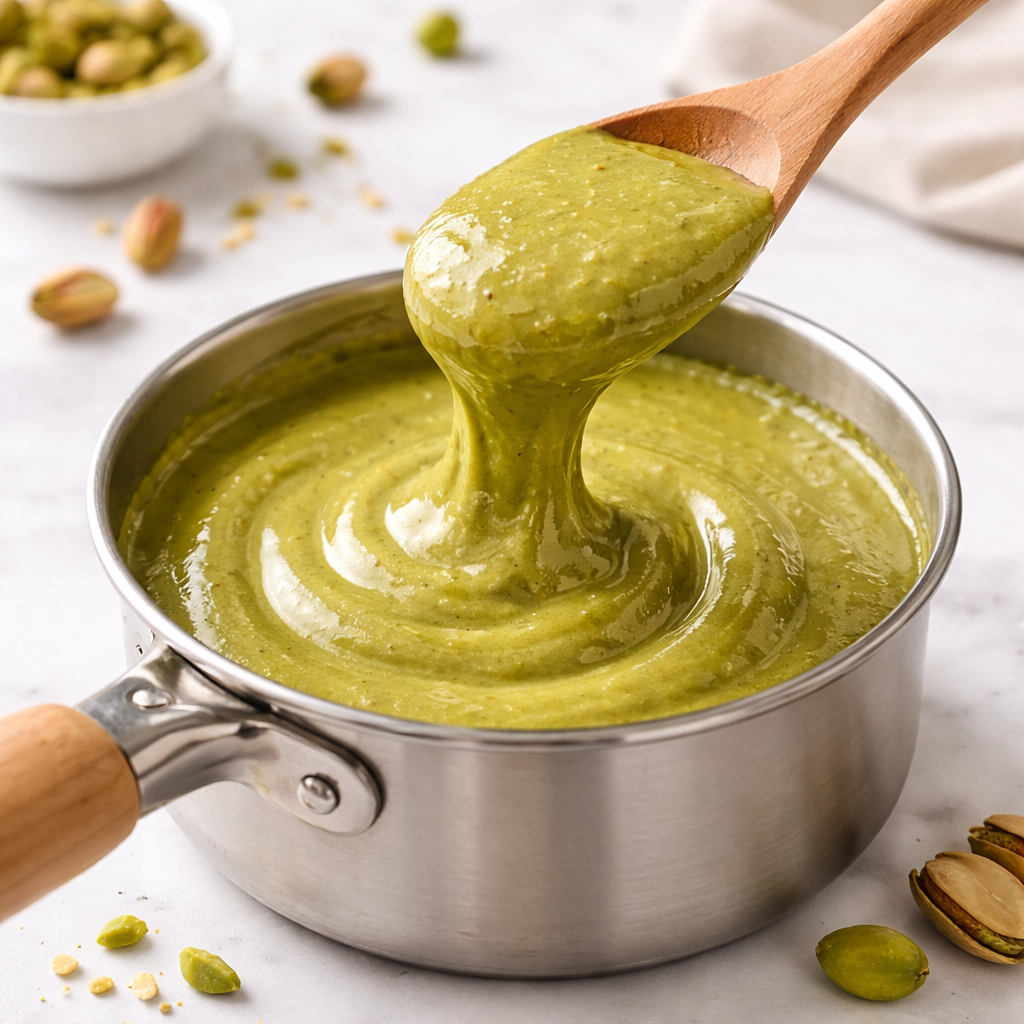
- The Patience Test: Scrape down the sides every minute. High-speed blenders might get hot; if the paste feels hot to the touch, stop and let it cool for a few minutes. Heat can cook the oils and ruin the fresh flavor.
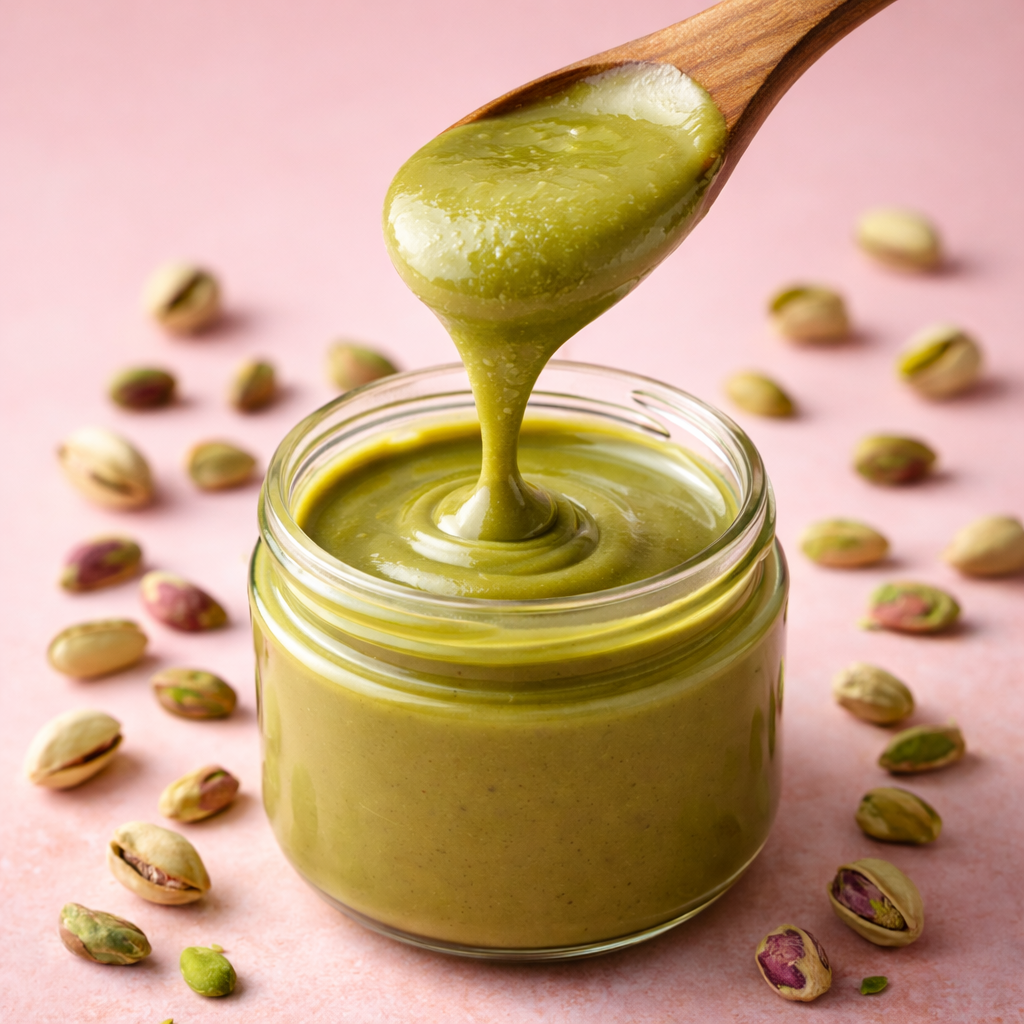
- The Smooth Finish: Keep blending until the paste is glossy and drips off a spoon. If you want it even smoother, you can pass it through a fine-mesh sieve, but that’s only for the truly obsessed.
Best Time to Serve This Dish
When is the best time for pistachio paste? Whenever you want to elevate a “meh” dessert into a “wow” dessert.
It is the hero of the weekend brunch. Stir a spoonful into your pancake batter or swirl it into some Greek yogurt. It’s also the ultimate holiday baking ingredient. Imagine a pistachio-filled linzer cookie or a pale green macaron.
IMO, it’s also a top-tier “midnight snack” ingredient. A slice of toasted sourdough, a thick layer of pistachio paste, and a drizzle of honey? That’s not just a snack; that’s a spiritual awakening. It’s fancy enough for a dinner party but simple enough to eat while standing over the sink in your bathrobe.
Flavor Tips for Better Results
You want to be the person everyone asks for tips? Here is the inside scoop:
- Freshness Check: Taste a nut before you start. If it tastes like cardboard, your paste will taste like cardboard. Pistachios are high in fat and can go rancid quickly.
- The Vanilla Touch: A tiny drop of vanilla bean paste (the kind with the little black dots) adds a floral note that makes the pistachio taste even more “expensive.”
- Temperature Control: Don’t let the blender run for five minutes straight. The friction creates heat, which turns the bright green color into a dull olive. Pulse, scrape, and rest.
- The Sugar Timing: If you’re adding sugar, add it at the very end. Adding it too early can mess with the friction needed to break down the nut proteins.
Optional Add-Ins and Variations
The pure stuff is great, but sometimes we want to get a little “mad scientist” with it.
- The White Chocolate Hybrid: Stir in some melted white chocolate after the paste is smooth. It turns it into a decadent spread that rivals any hazelnut cocoa cream.
- The Matcha Boost: Add a teaspoon of high-quality matcha powder. It deepens the green color and adds an earthy, caffeinated “zing.”
- The Salted Caramel Twist: Swirl in some homemade salted caramel for a “Pistachio Praline” that will make you want to eat the whole jar with a spoon.
- The Cardamom Dream: Pistachio and cardamom are a classic Middle Eastern pairing. A 1/4 teaspoon of ground cardamom makes the paste smell like a boutique perfume.
How to Store and Reheat Properly
Nut oils are delicate little things. You can’t just leave this on the counter and expect it to stay perfect forever.
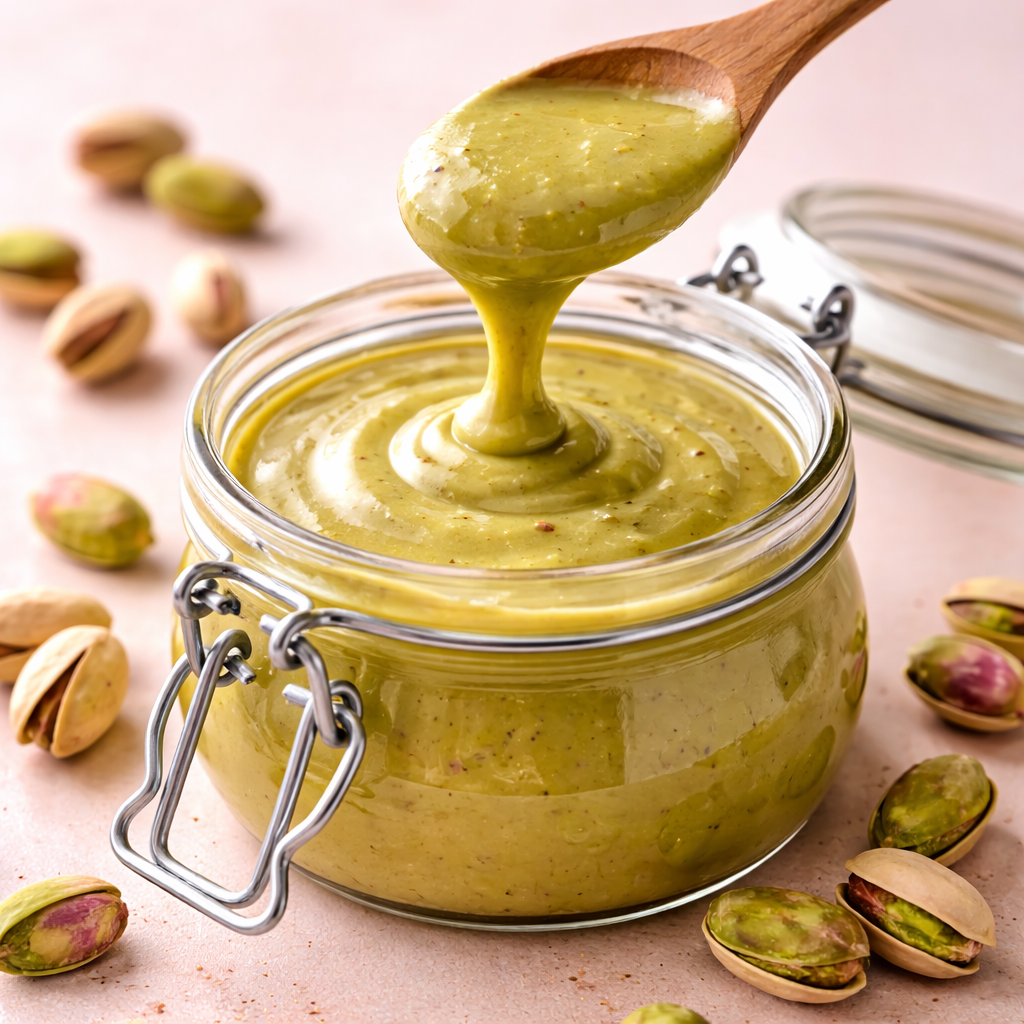
Storage: Store your paste in a small glass jar. The fridge is your friend here. Because we didn’t add preservatives, the oils can go rancid at room temperature. It’ll stay fresh for about a month in the fridge, or you can freeze it for up to six months.
Reheating: You shouldn’t really “reheat” the whole jar. When you take it out of the fridge, it will be firm (like cold peanut butter). Let it sit on the counter for 20 minutes to soften up naturally. If you’re in a massive rush, a 5-second (literally, 5 seconds) zap in the microwave will loosen it up, but be careful not to cook it. —
Serving Ideas for a Beautiful Presentation
If you’re giving this as a gift or serving it at a party, let’s make it look like it came from a Parisian boutique.
- The Jar Aesthetic: Use a small, clean Mason jar or a Weck jar. Tie a piece of twine around the lid with a sprig of dried lavender or a little wooden spoon.
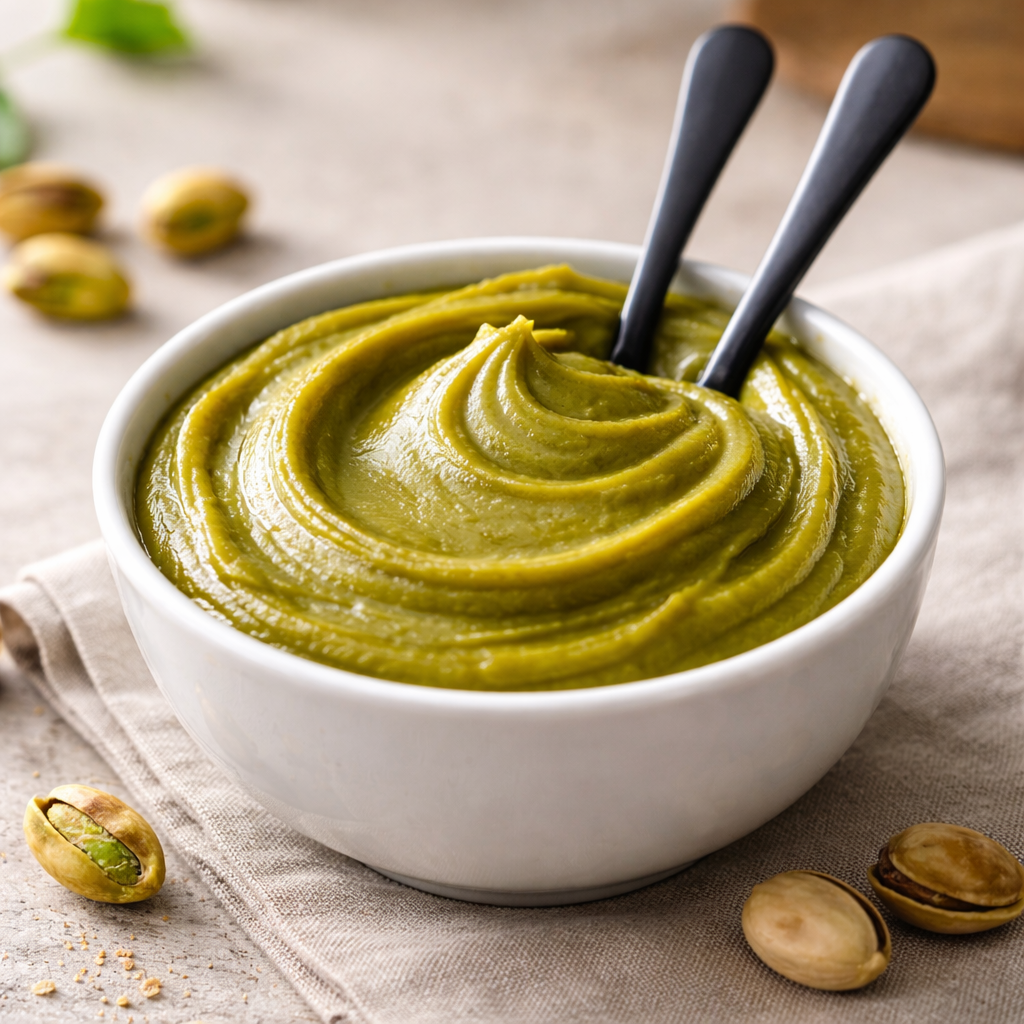
- The Swirl: When topping cakes or ice cream, don’t just dump it on. Use a toothpick to create elegant green swirls.
- The Contrast: Serve the green paste on white porcelain or dark slate. The color is the star of the show; don’t distract from it with a busy plate.
- The “Deconstructed” Look: Sprinkle a few crushed, bright-green whole pistachios on top of the smooth paste to show people exactly what went into it.
Helpful Tips and Common Mistakes
Let’s keep you from making the mistakes I’ve already made for you:
- The “Seizing” Disaster: Never, ever add a drop of water to your paste. It will turn into a gritty, hard clump instantly. If you need to thin it out, always use more oil, never water.
- The Skin Sin: I know I said it’s tedious, but if you leave the skins on, your paste will be brown and bitter. Do not skip the blanch-and-peel ritual.
- The Motor Burnout: If you smell smoke coming from your blender, stop. Give it a break. Your smoothie maker wasn’t necessarily designed for the heavy-duty labor of nut-crushing.
- Over-toasting: If the nuts turn brown in the pan, the green color is gone forever. Keep the heat low and the time short.
FYI: Your paste might separate over time. This is totally normal! It just means you made a natural product with no stabilizers. Just give it a quick stir with a spoon and it will be back to its beautiful self in seconds.
Classic Tomato Feta Pasta Recipe
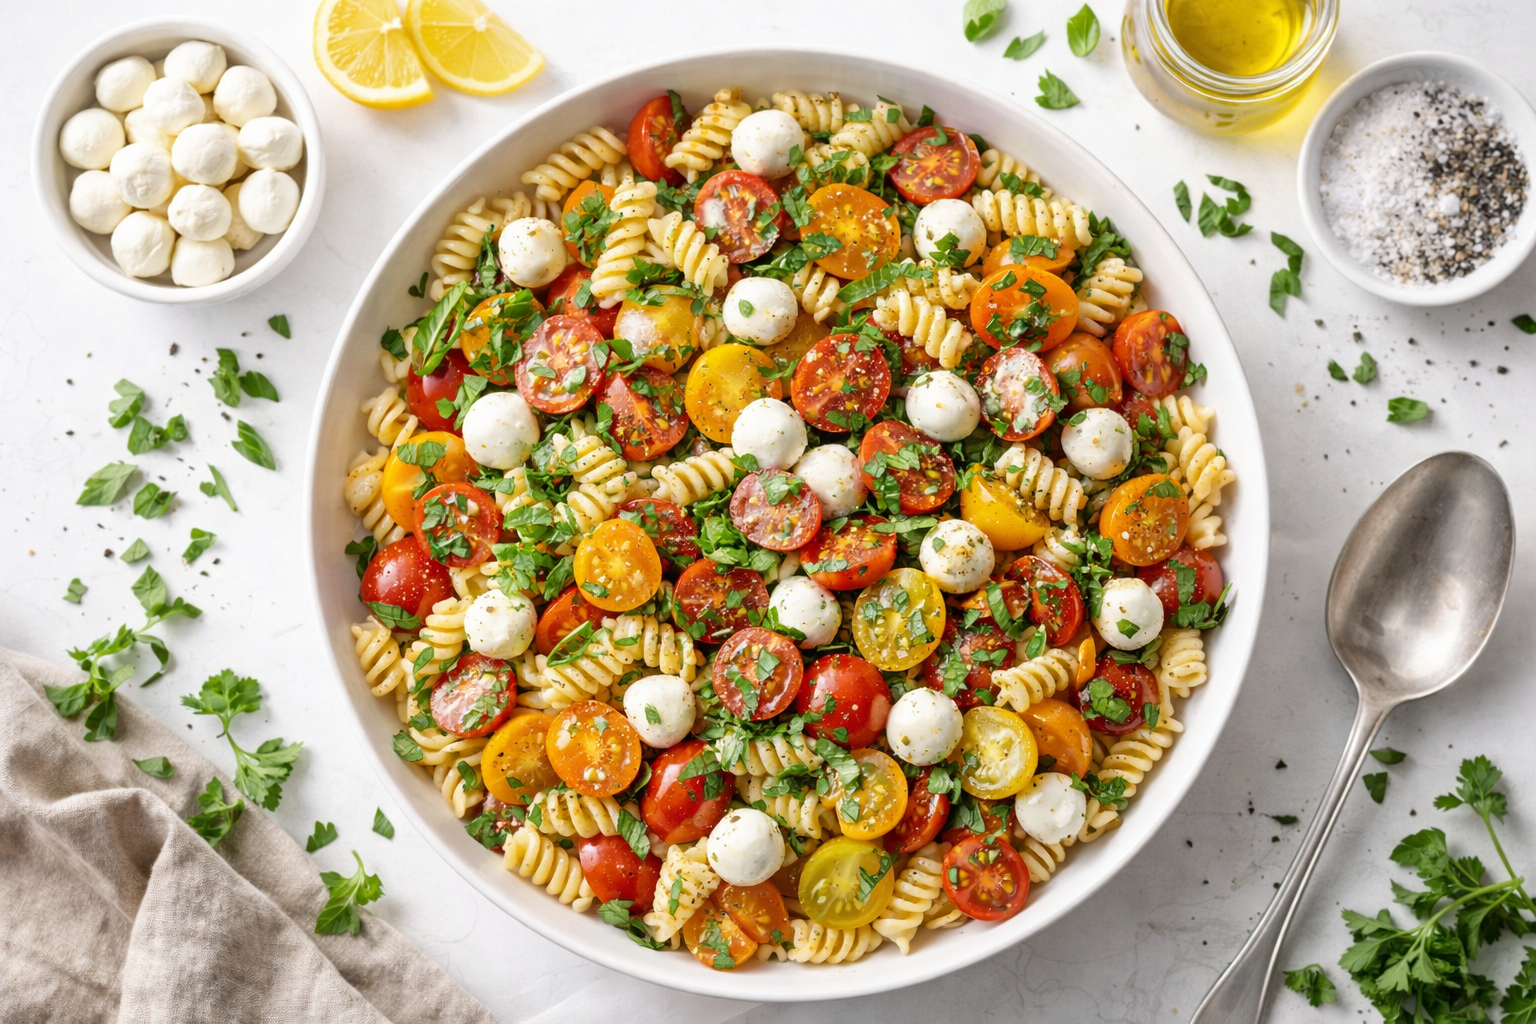
Best Caprese Pasta Salad Recipe
Mediterranean Pasta Salad Recipe