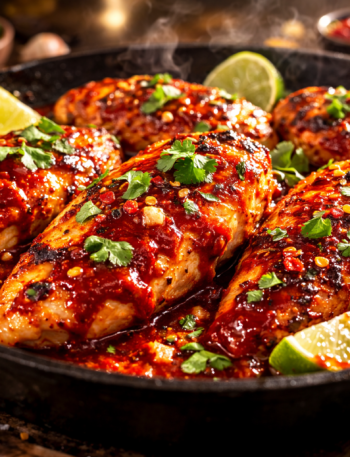
Let’s be honest: the standard chicken breast has a bit of a reputation problem. It’s often the “beige cardigan” of the culinary world—reliable, sure, but frequently dry, boring, and about as exciting as watching paint dry. But that’s only because people treat it like a brick. When you go thin, everything changes.Thin Chicken Breast Recipes
You are going to love thin chicken breast recipes because they are the ultimate “weeknight warrior.” We’re talking about a protein that cooks in under ten minutes. It’s the closest thing to “fast food” you can make in your own kitchen without a deep fryer. Because the meat is thin, it stays juicy and develops a gorgeous, golden-brown crust before the center even thinks about drying out.
This is the ultimate canvas for flavor. Whether you want to go full Italian piccata, zesty Mexican lime, or just a classic garlic butter vibe, the thin cut carries the sauce better than its chunky counterparts. It’s basically a shortcut to a five-star meal. Plus, it makes you feel like a pro with a mallet, which is great for venting any pent-up office frustration.
What You Need to Get Started Thin Chicken Breast Recipes
Before we start the transformation, let’s gather the essentials. You don’t need a specialized kit, just a few kitchen basics and a decent piece of poultry.
- The Protein: 2 large boneless, skinless chicken breasts. Quality matters—try to find “air-chilled” chicken if you can. It doesn’t have that extra water weight.
- The Fat: A combination of unsalted butter and extra virgin olive oil. The oil prevents the butter from burning, and the butter makes everything taste like a dream.
- The Coating: All-purpose flour. Just a light dusting is all you need for that golden crunch.
- The Aromatics: Fresh garlic (at least 3 cloves), a shallot or small onion, and a lemon.
- The Liquid: Chicken broth or a splash of dry white wine (like Pinot Grigio or Sauvignon Blanc).
- The Seasoning: Kosher salt, freshly cracked black pepper, and maybe a pinch of red pepper flakes if you like a little “hello!” from your dinner.
- The Herb: Fresh parsley. It adds that “I actually cook” vibrance to the final plate.
How to Prepare the Ingredients
First things first: we need to get that chicken thin. You have two choices here. You can slice the breasts horizontally (butterfly style), or you can go the satisfying route: the pound-down.
The Mallet Method: Place your chicken breast between two sheets of plastic wrap or inside a gallon-sized freezer bag. Grab a meat mallet or a heavy rolling pin. Start from the center and work your way out. You want a uniform thickness of about 1/4 inch. If one side is a mountain and the other is a molehill, it won’t cook evenly.
FYI: Don’t beat the meat like it owes you money. You want to flatten it, not pulverize it into a paste. Use firm, glancing blows. Once flattened, season both sides generously with salt and pepper.
Mince your garlic and shallots while the chicken is hanging out. Set up a shallow plate with your flour. Pro tip: Season the flour too! Adding a little garlic powder or paprika to the flour ensures flavor at every single layer.
Step-by-Step Cooking Instructions
Ready? This moves fast, so make sure your side dishes (like pasta or a salad) are almost ready to go before the chicken hits the pan.
- The Dredge: Press each chicken piece into the seasoned flour. Shake off the excess. You want a “barely there” coating, not a heavy breading.
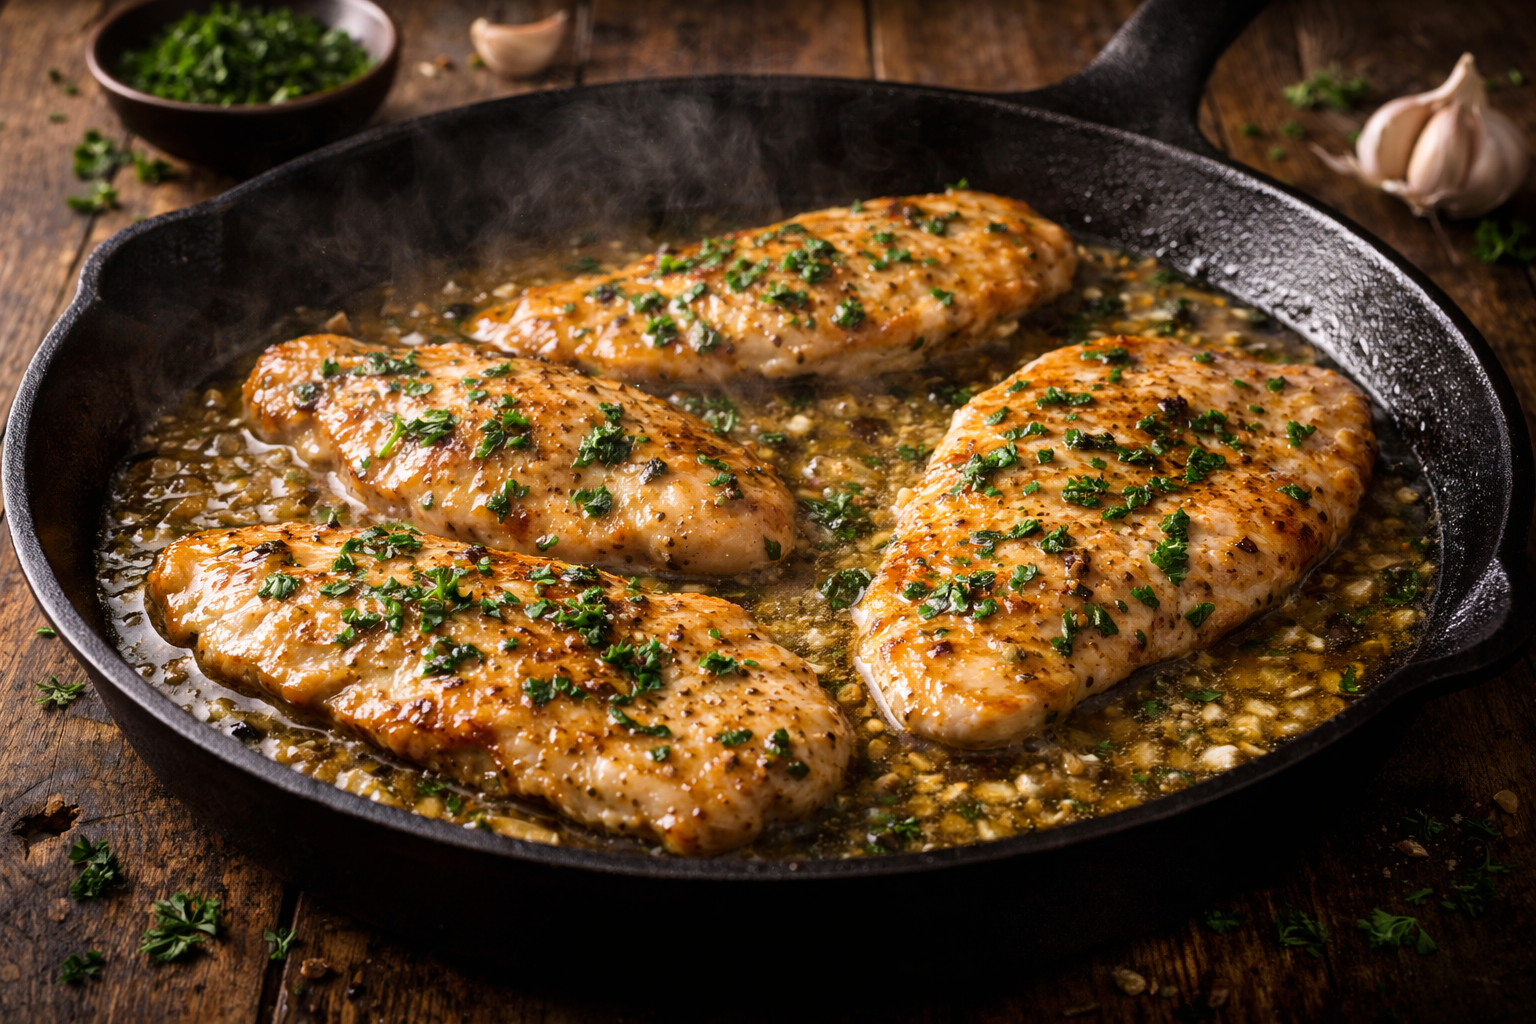
- The Sear: Heat your oil and half the butter in a large skillet over medium-high heat. When the butter stops foaming and starts to shimmer, lay the chicken in. Don’t crowd the pan. If you have to cook in two batches, do it.
- The Gold Standard: Cook for about 3–4 minutes per side. You’re looking for a deep, golden brown. Once done, remove the chicken to a plate and tent it loosely with foil.
- The Sauce Base: Lower the heat to medium. Toss in your shallots and garlic. Sauté for about 60 seconds until they’re fragrant but not burnt.
- The Deglaze: Pour in your wine or broth. Use a wooden spoon to scrape up all those delicious brown bits (the fond) stuck to the bottom. Let the liquid reduce by half.
- The Emulsion: Squeeze in the juice of half a lemon and stir in the remaining cold butter. Swirl the pan until the sauce looks glossy and thick.
- The Reunion: Slide the chicken back into the pan for 30 seconds just to coat it in the sauce. Sprinkle with fresh parsley and serve immediately.
Best Time to Serve This Dish
When is the best time for thin chicken? Honestly, any night when your brain is fried and your stomach is growling. It is the King of the 20-Minute Dinner. It’s also an excellent “I’m hosting a dinner party but I don’t want to spend the whole night in the kitchen” meal. Because it cooks so fast, you can spend more time holding a wine glass and less time hovering over a stove. IMO, it’s also the perfect meal for a “First Date at Home.” It looks sophisticated, tastes expensive, and doesn’t leave you feeling too bloated to move.
Flavor Tips for Better Results
Want to take your chicken from “okay” to “award-winning”? Try these hacks:
- The Dry Pat: Before dredging in flour, make sure the chicken is bone-dry. Use paper towels. If the chicken is wet, the flour will turn into a gummy paste instead of a crispy crust.
- Cold Butter Finish: Always add your final knob of butter when the heat is low and the butter is cold. This creates a creamy, emulsified sauce rather than just melted oil.
- Brine if You Have Time: Even 15 minutes in a simple saltwater bath can make the chicken incredibly juicy.
- The Lemon Zest: Don’t just use the juice; use the zest too! The oils in the skin carry a much more intense citrus punch.
Optional Add-Ins and Variations
Think of this as your base template. Here is how to remix it:
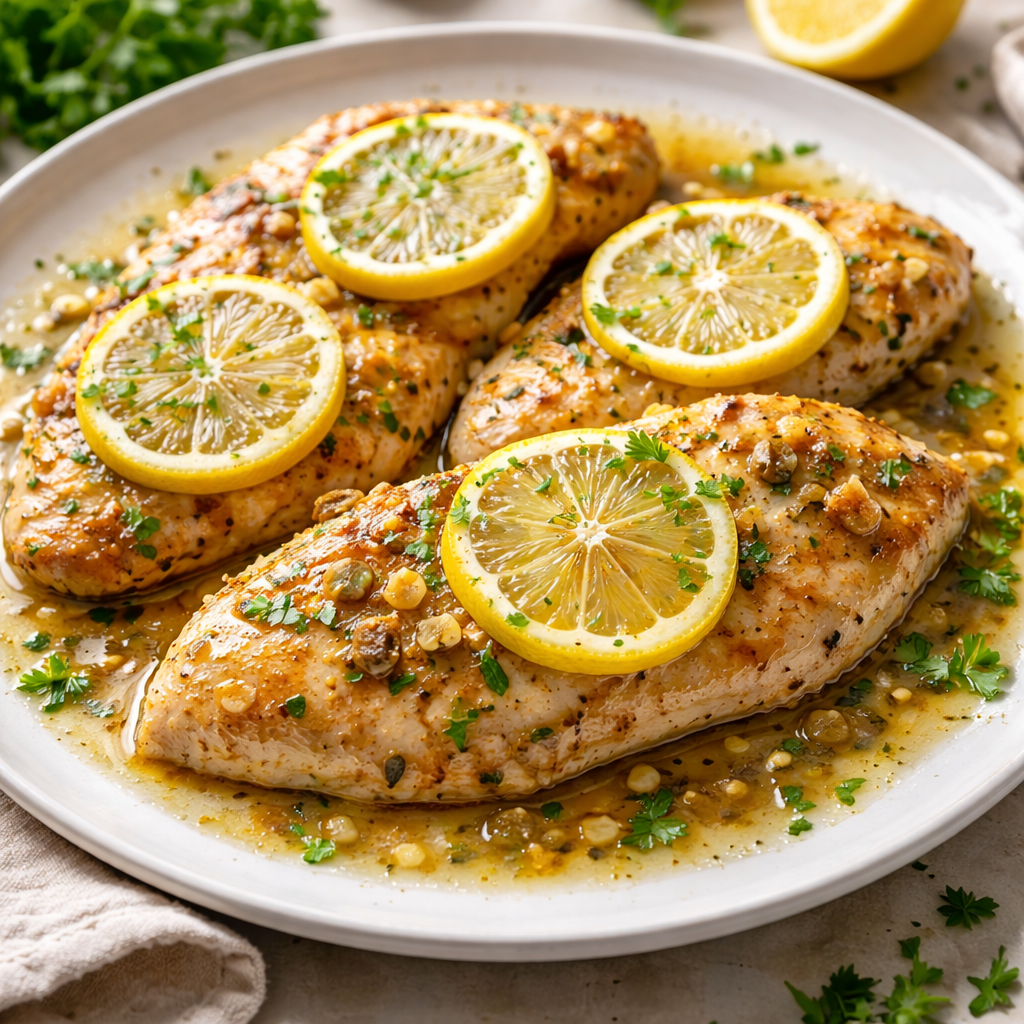
- The Piccata Path: Add two tablespoons of drained capers when you add the lemon juice. The salty, briny pop is legendary.
- The Mushroom Move: Sauté some sliced cremini mushrooms in the pan after you remove the chicken but before you make the sauce.
- The Creamy Dream: Add a splash of heavy cream at the very end for a richer, more indulgent sauce.
- The Mediterranean Twist: Toss in some sundried tomatoes and feta cheese right before serving.
How to Store and Reheat Properly
Thin chicken is at its absolute peak the second it leaves the pan. However, if you have leftovers, you can still save them.
Storage: Put it in an airtight container for up to 3 days.
Reheating: This is the tricky part. Since it’s so thin, it’s very easy to overcook it the second time around. Avoid the microwave if possible. Instead, heat a skillet over medium-low heat with a tiny splash of water or broth. Place the chicken in and cover with a lid for 2 minutes. This steams it back to life without drying it out.
Serving Ideas for a Beautiful Presentation
Presentation is what makes a $10 chicken breast look like a $30 bistro plate.
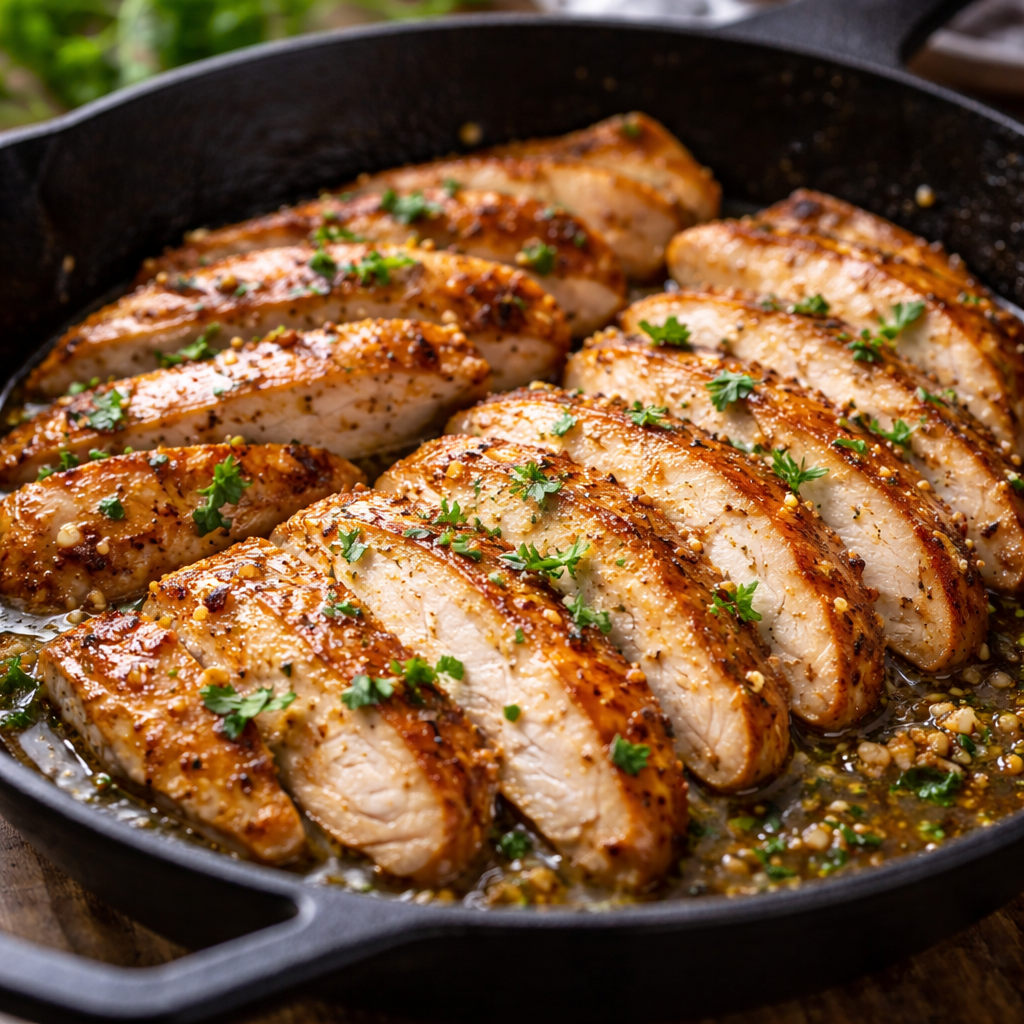
- The Fan-Out: If you pounded the chicken into large pieces, slice it at an angle (on the bias) and fan the pieces out over a bed of pasta or mashed potatoes.
- The Sauce Drizzle: Don’t just dump the sauce on. Use a spoon to create a nice pool on the plate first, then place the chicken on top so the crust stays crispy.
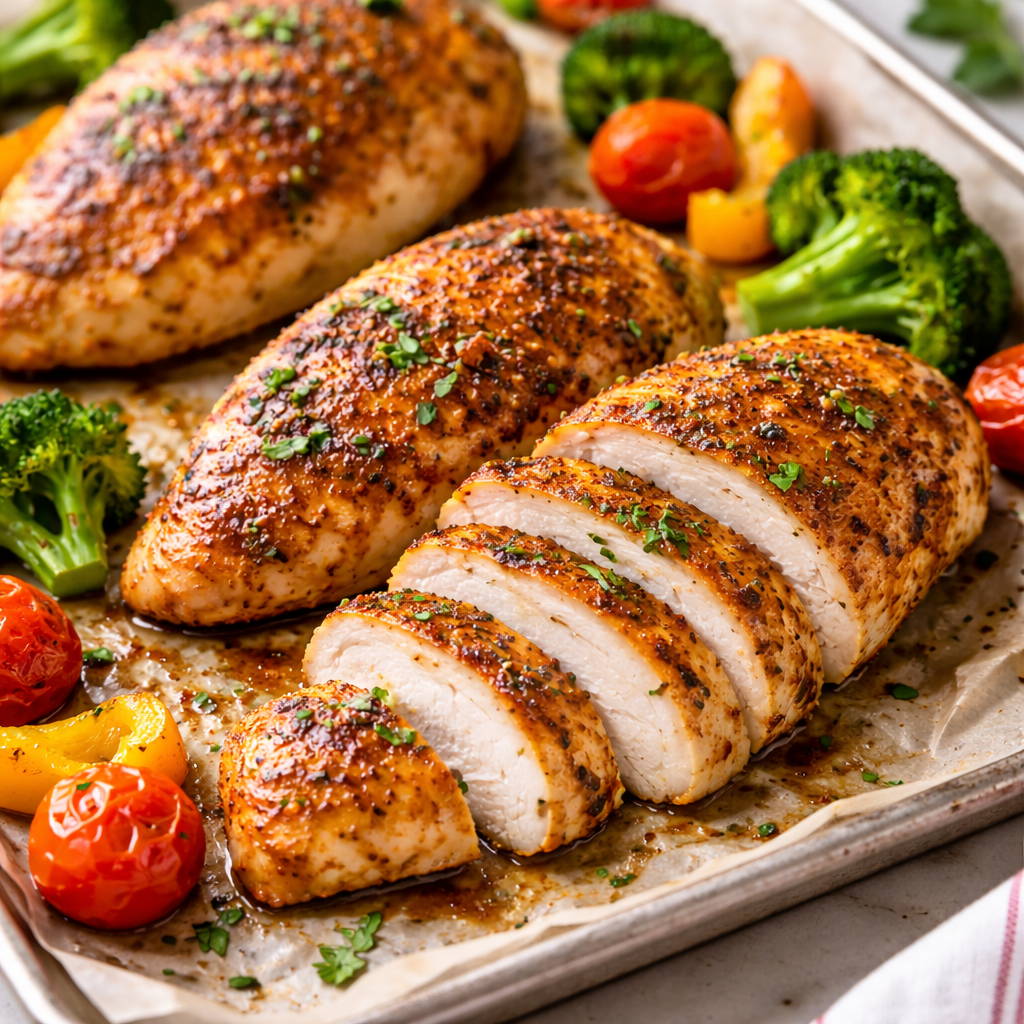
- The Color Contrast: Serve alongside bright green asparagus or roasted broccolini. The green against the golden chicken is a classic look.
- The Herb Dusting: Don’t just chop the parsley; sprinkle it from high up like you’re a salt-bae protege. It covers the plate evenly and looks professional.

Helpful Tips and Common Mistakes
Avoid these pitfalls to keep your chicken game strong:
- The “Grey” Chicken: This happens if your pan isn’t hot enough. You want to hear a loud sizzle the moment that meat touches the oil.
- Over-Pounding: If you can see through the chicken, you’ve gone too far. We want a cutlet, not lace.
- Burning the Garlic: Garlic turns bitter the second it turns dark brown. Add it late and keep it moving!
- The Flour Clump: If you dredge the chicken and then let it sit for 10 minutes, the flour will get soggy. Dredge only when you are ready to drop it in the pan.
Simple Blackstone Chicken Recipes
Chicken and Broccoli Casserole Recipe
Chicken and Stuffing Casserole Recipe
Homemade Chicken Sliders Recipe