Let’s be real for a second: sometimes you want to be a world-class pastry chef, and sometimes you just want a dessert that requires the same amount of effort as putting on a pair of sweatpants. Enter the Strawberry Dump Cake recipe.
The name isn’t exactly “fine dining,” is it? It sounds like something a distracted toddler would come up with. But don’t let the unrefined title fool you. This dish is a glorious, bubbling, buttery masterpiece that defies the laws of culinary physics. You literally “dump” things into a pan, and somehow, the oven converts those random piles into a cobbler-like dream.
You’re going to love this because it is the ultimate “emergency dessert.” Unexpected guests? Dump cake. Need a potluck win? Dump cake. Had a long day and need to eat your feelings in strawberry form? You guessed it. It’s basically a hug in a 9×13 dish. It’s sweet, it’s tart, and that golden, buttery crust is more addictive than scrolling through a celebrity’s drama at 2:00 AM.
What You Need to Get Started Strawberry Dump Cake Recipe
Before we start the great dumping process, let’s make sure your pantry is stocked. The beauty here is that we aren’t measuring flour or worrying about “leavening agents.” We’re letting the food scientists at the cake mix factory do the heavy lifting.
- The Fruit Base: 2 cans (21 oz each) of strawberry pie filling. If you’re feeling extra, you can toss in a cup of fresh sliced strawberries too.
- The Crust: 1 box (15.25 oz) of yellow or white cake mix. Don’t follow the instructions on the box! We just want the dry powder.
- The Magic Binder: 1 cup (2 sticks) of unsalted butter. Yes, two whole sticks. We are here for a good time, not a heart-health seminar.
- The Flavor Enhancer: A teaspoon of vanilla extract or almond extract. (Almond extract and strawberry are basically soulmates, trust me).
- The Crunch (Optional): Half a cup of sliced almonds or chopped pecans.
How to Prepare the Ingredients
Since this is a dump cake, “preparation” is a very generous term. It’s more like “opening things.”
First, slice your butter. Some people melt the butter and pour it over, but IMO, slicing the butter into thin, uniform pats is the secret to a perfect crust. If you melt it, you might get “soup” in some areas and dry flour in others. Thin slices ensure every inch of that cake mix gets its buttery baptism.
Next, prep your pan. Give a 9×13 baking dish a quick spray with non-stick cooking spray. Even though this cake is about 40% butter, strawberry sugar can be surprisingly clingy.
FYI: Make sure your cake mix doesn’t have giant lumps. If the bag feels like it’s full of pebbles, give it a quick shake or use a fork to break them up before you open it. We want a smooth, sandy layer, not boulders of dry flour.
Step-by-Step Cooking Instructions
Ready? Put on your favorite playlist—something upbeat, because you’re about to be the hero of the kitchen.
- The Base Layer: Empty both cans of strawberry pie filling into your prepared baking dish. Use a spatula to spread it out evenly. If you’re using fresh berries, scatter them on top of the filling now.
- The Extract Drizzle: If you’re using vanilla or almond extract, drizzle it directly over the fruit. Give it a tiny stir if you’re feeling fancy.
- The “Dump”: Sprinkle the dry cake mix evenly over the strawberries. Do not stir it. I know every instinct in your body is telling you to mix it. Resist! Let it sit there like a fresh blanket of snow.
- The Butter Blanket: Place your thin butter slices on top of the cake mix. Try to cover as much of the surface as possible. Think of it like a delicious, yellow tile floor.
- The Nutty Topping: If you’re using nuts, sprinkle them over the butter.
- The Bake: Slide it into a preheated 350°F oven. Bake for 45 to 55 minutes.
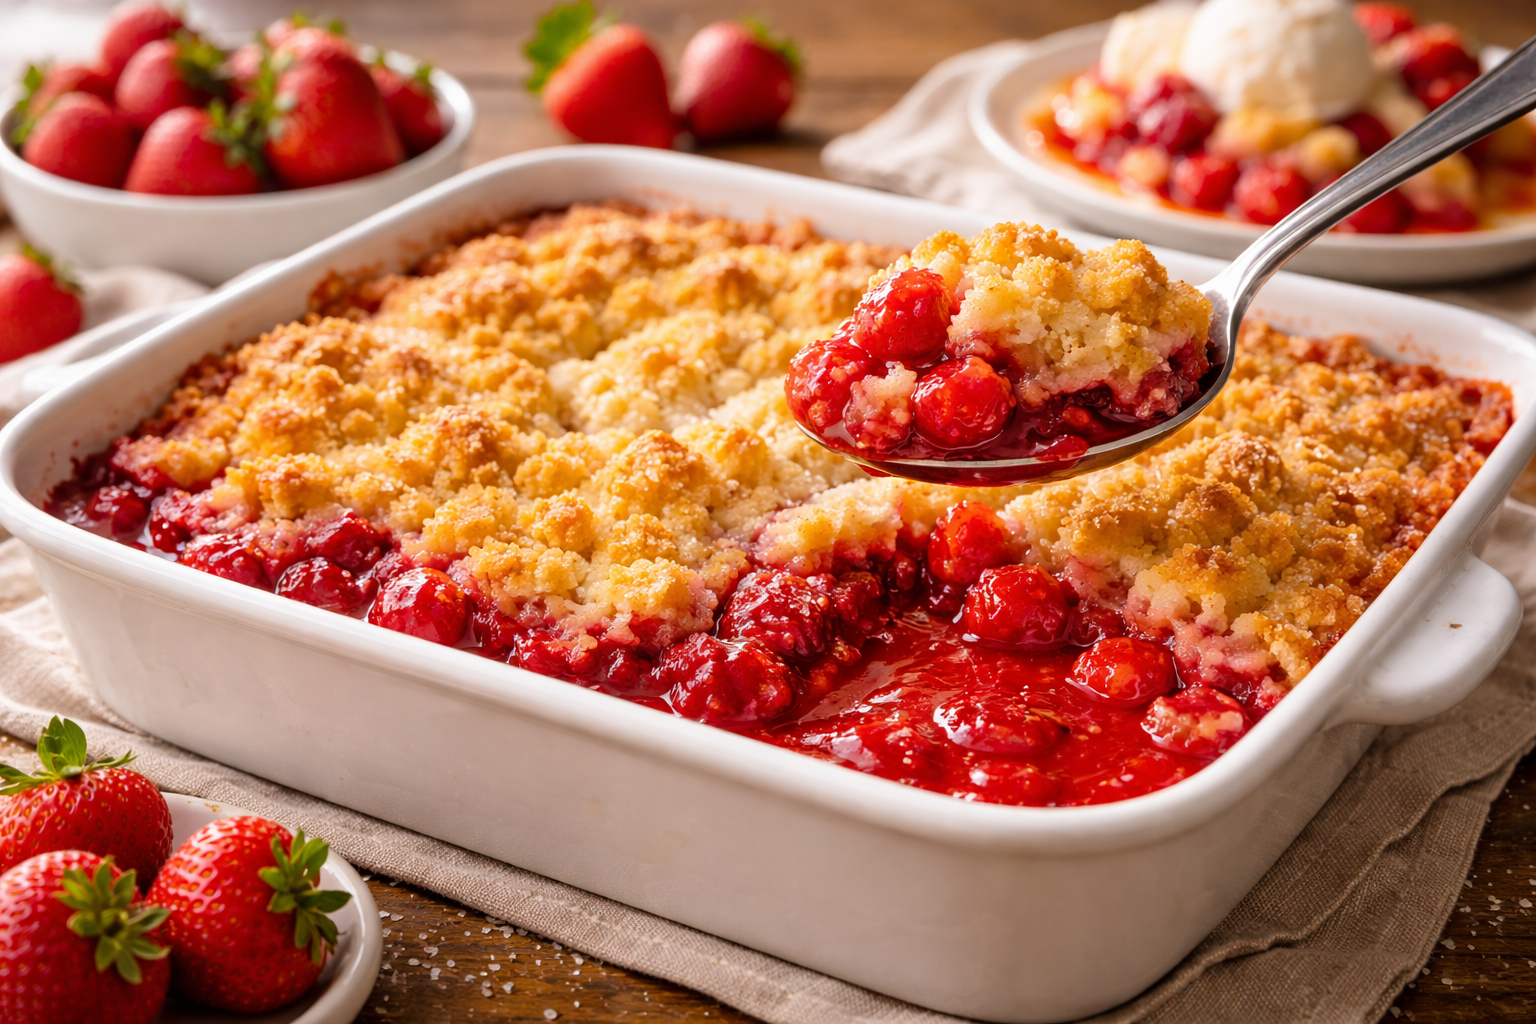
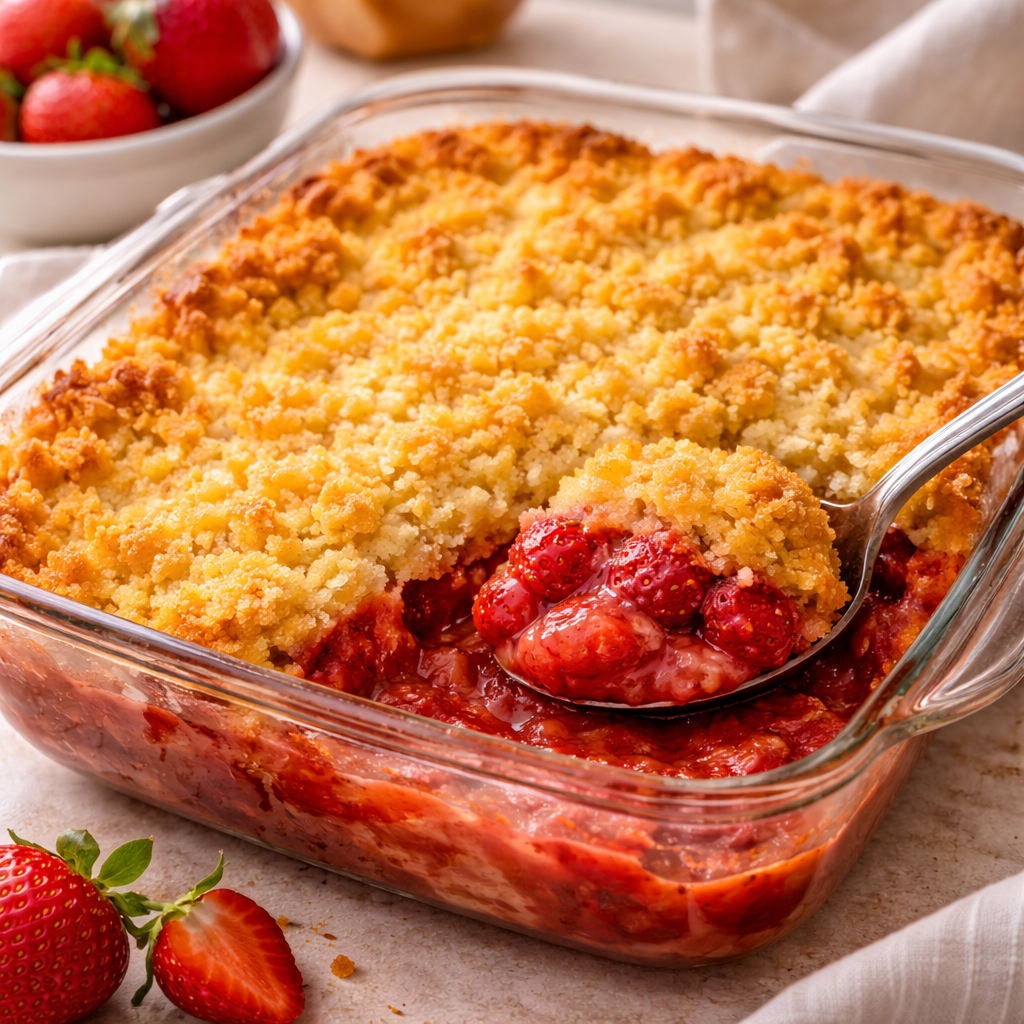
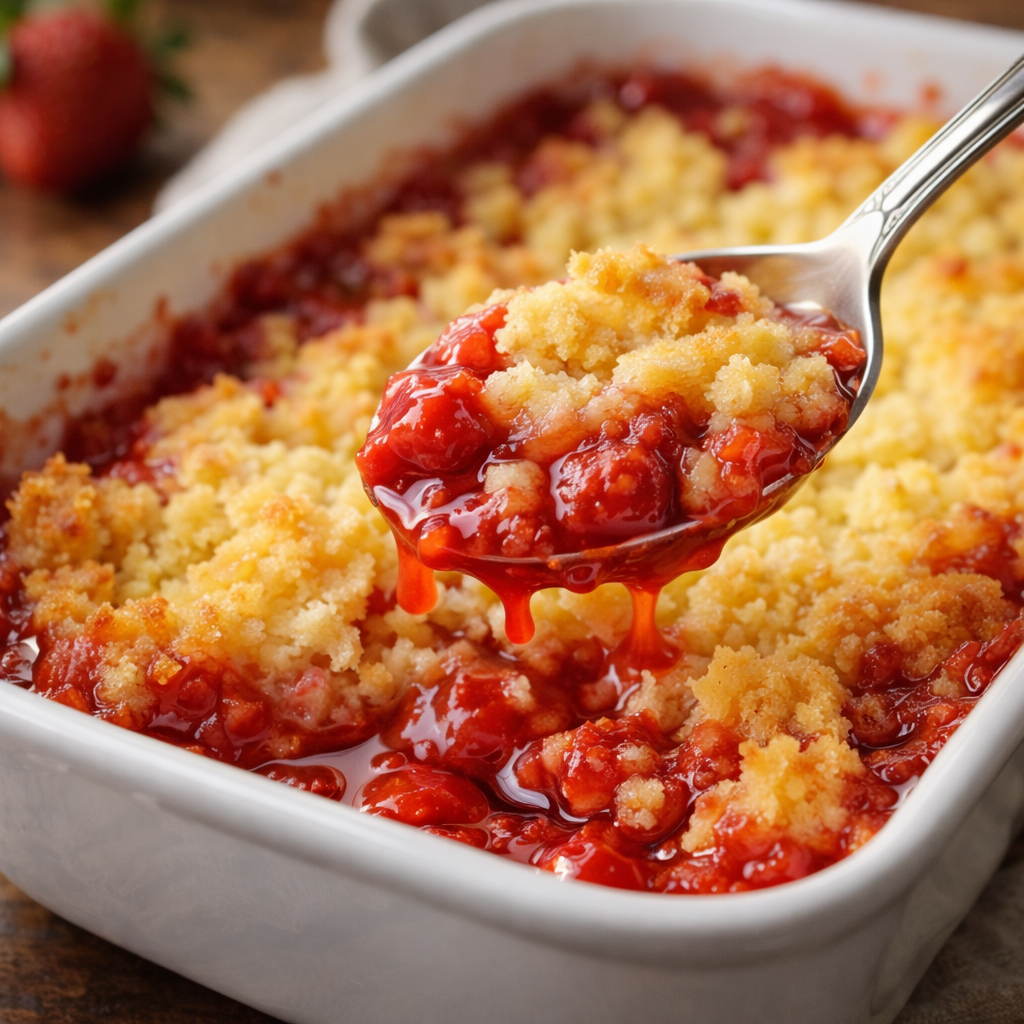
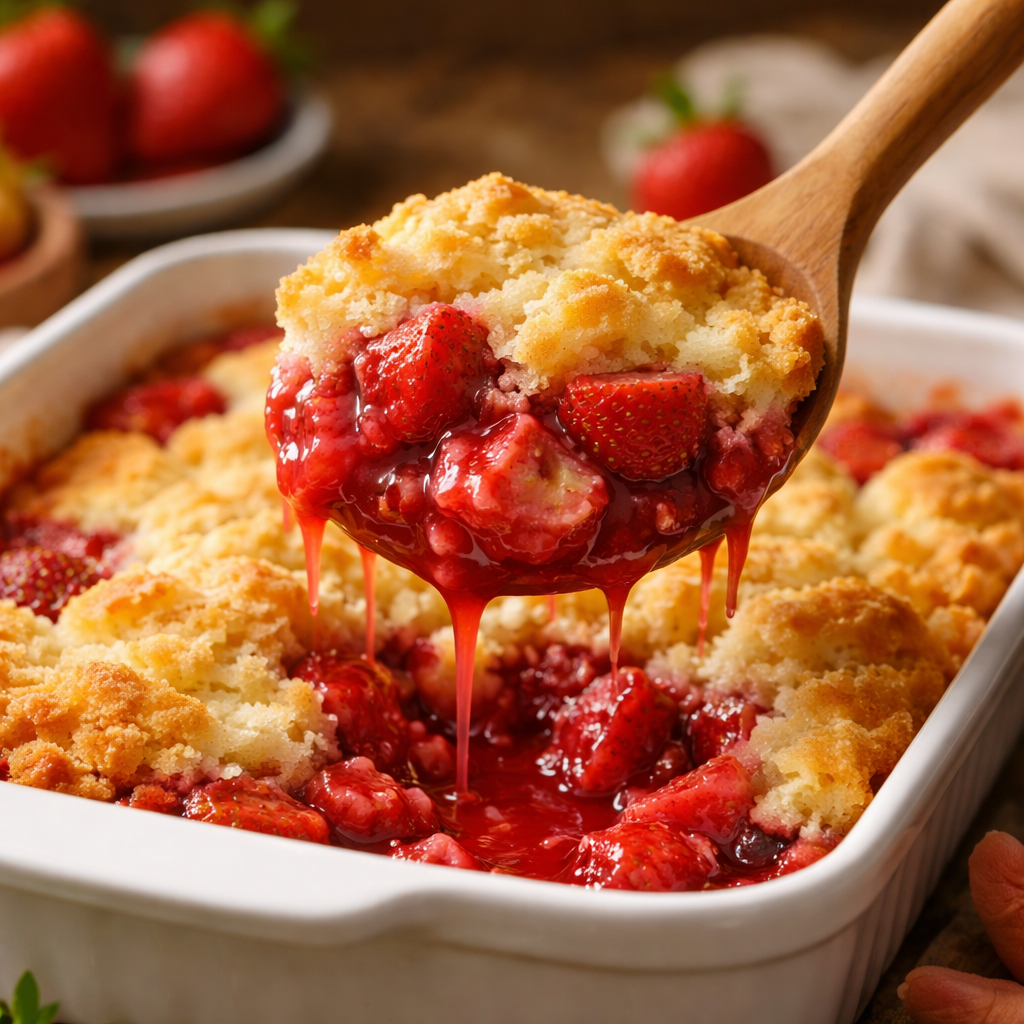
- The Reveal: You’re looking for the edges to be bubbling like a volcano and the top to be a beautiful, golden brown.
- The Rest: Let it sit for at least 15 minutes before serving. If you dive in immediately, you’ll be eating strawberry lava and the roof of your mouth will never forgive you.
best Time to Serve This Dish
When is the best time for Strawberry Dump Cake? The answer is “always,” but it really shines at summer BBQs and family reunions. It’s a crowd-pleaser that appeals to everyone from your picky nephew to your “I don’t usually eat sugar” aunt (who will definitely ask for seconds).
It’s also the perfect “I forgot I had to bring a dish” savior. Because you likely have a box of cake mix and some canned fruit in the back of your cabinet, you can have this in the oven before your car even warms up.
Would you believe it also makes a killer brunch side? Serve it warm with a dollop of Greek yogurt, and suddenly it’s “Fruit and Grain Bake.” See? It’s all about marketing.
Flavor Tips for Better Results
Want to elevate this from “easy dessert” to “culinary masterpiece”?
- The Cold Butter Hack: Use cold butter for slicing. It’s much easier to handle, and as it melts in the oven, it creates a more “shortbread-like” texture.
- The Lemon Zest: Grate some lemon zest over the strawberry filling before adding the cake mix. The acid cuts through the sugar and makes the fruit flavor “pop.”
- Salt Your Sweets: Add a tiny pinch of flaky sea salt to the top of the cake after it comes out of the oven. It balances the sweetness and makes the butter taste richer.
- The Box Swap: Try using a Lemon cake mix instead of yellow. Strawberry-Lemonade dump cake? Yes, please.
Optional Add-Ins and Variations
The “Dump” method is a canvas for your wildest dessert dreams.
- The Neapolitan: Use strawberry filling but top it with chocolate cake mix. It’s rich, dark, and fruity.
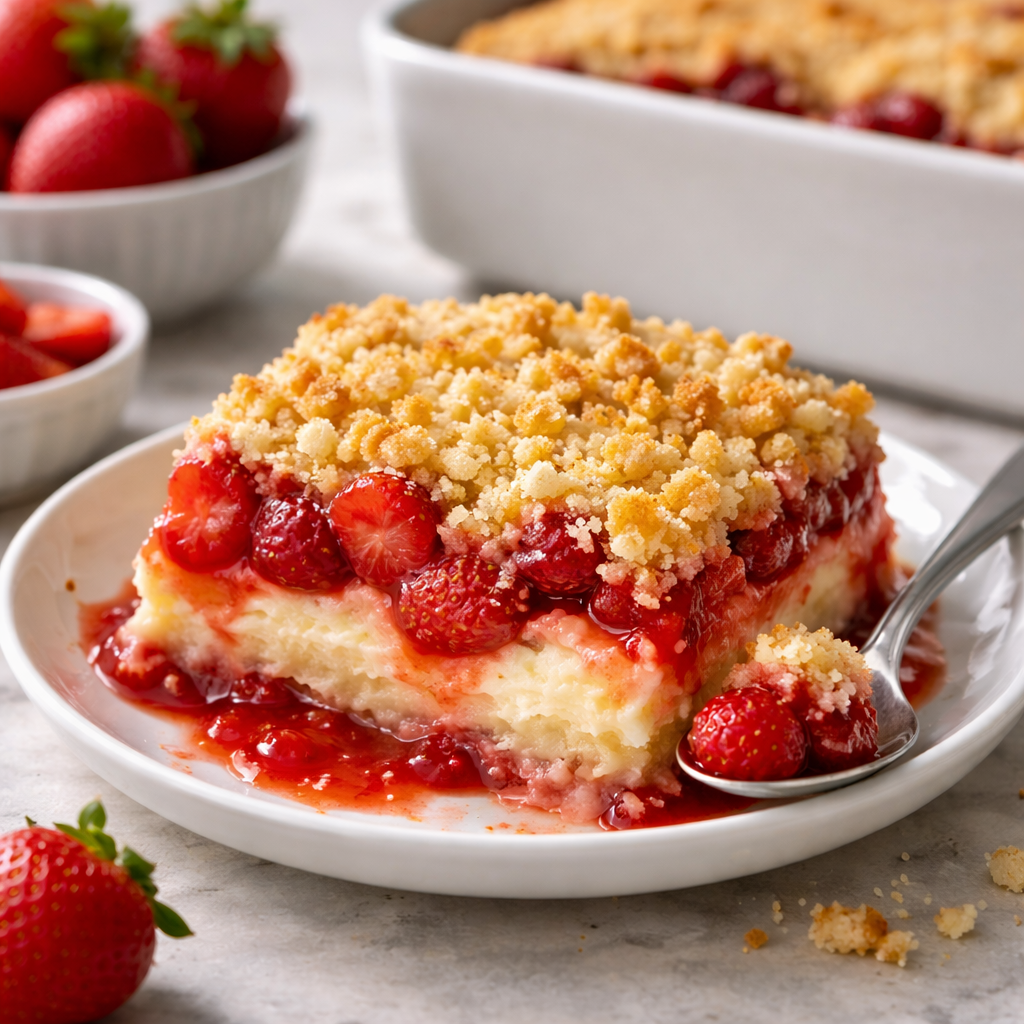
- The Cream Cheese Swirl: Drop dollops of softened cream cheese into the strawberry filling before adding the cake mix. It turns it into a “Strawberry Cheesecake” dump cake.
- The Tropical Twist: Use one can of strawberry filling and one can of crushed pineapple. It’s like a vacation in a bowl.
- The White Chocolate Dream: Sprinkle white chocolate chips over the cake mix before adding the butter. They melt into little pockets of creamy sweetness.
How to Store and Reheat Properly
If you actually have leftovers, first of all, I’m impressed. Your willpower is legendary.
Storage: Once the cake has cooled, cover it with plastic wrap or foil. It’ll stay good on the counter for about two days, but I recommend keeping it in the fridge. It’ll last up to 5 days there, and the cold helps the flavors meld.
Reheating: This cake is best served warm. Avoid the microwave if you want to keep the “crunch” of the top. Instead, pop a portion into the oven or air fryer at 300°F for about 5 minutes. If you’re in a rush, a 30-second microwave zap works, but the crust will soften into more of a pudding texture. (Still delicious, though).
Serving Ideas for a Beautiful Presentation
Let’s be honest: dump cake isn’t the most “Instagram-mable” food. It’s a bit of a hot mess. But we can make it look intentional.
- The A La Mode: Always, and I mean always, serve this with a massive scoop of vanilla bean ice cream. The way the cold cream melts into the warm strawberry sauce is pure poetry.
- The Mint Sprig: A little bit of green makes the red strawberries look vibrant. Toss a sprig of fresh mint on the side of the bowl.
- The Mason Jar: If you’re serving this at a party, “dump” it into individual mini Mason jars instead of a big dish. It looks rustic and adorable.
- The Whipped Cloud: If ice cream isn’t your thing, a huge pile of homemade whipped cream with a little lemon zest on top does wonders.
Mistakes to Watch Out For
Don’t let these common “dump disasters” ruin your night:
- The Dry Spots: If you see white flour on your cake after 45 minutes, you didn’t use enough butter or your slices were too thick. Drizzle a little melted butter on any dry spots and bake for 5 more minutes.
- The Stir Temptation: If you stir the cake mix into the fruit, you are making a weird, dense muffin. DO. NOT. STIR.
- The Generic Brand Trap: Some super-cheap cake mixes have a weird chemical aftertaste. Go for a brand you actually like; it’s the main flavor of the crust!
- The Oven Hot Spot: Dump cakes can brown unevenly. Rotate your pan halfway through the baking time to ensure every corner gets that golden glow.