Chicken Taco Soup Recipe The brilliance of a Chicken Taco Soup lies in its ability to be both rustic and refined. While it is often relegated to the category of “pantry-dump meals,” a professional approach elevates it from a simple assembly of cans into a complex, multi-dimensional soup. The secret is not just in the ingredients themselves, but in how we manage the extraction of oils from spices, the Maillard reaction in the aromatics, and the textural integrity of the legumes.
This guide serves as a comprehensive technical manual for creating a version that balances the smokiness of cumin, the bright acidity of lime, and the creamy richness of avocado and cheese.
Ingredient Breakdown: The Functional Roles
In a professional kitchen, every ingredient serves a purpose: structural, aromatic, or chemical. Understanding these roles allows you to manipulate the final outcome with precision.
1. The Protein: Boneless, Skinless Chicken Thighs
While many home cooks reach for chicken breasts, the thigh is the superior choice for a long-simmered soup. Thighs contain higher amounts of connective tissue (collagen). As the soup simmers, this collagen slowly transforms into gelatin, which thickens the broth and provides a “silky” mouthfeel that water or stock alone cannot achieve.
2. The Aromatics: Onion, Garlic, and Bell Pepper
These provide the foundation. Onions offer sweetness (glucose), garlic provides pungent depth (allicin), and bell peppers add a vegetal brightness. When sautéed correctly, they undergo a light caramelization that provides a savory backbone to the spices.
3. The Legumes: Black Beans and Kidney Beans
Beans serve two purposes: fiber-rich texture and starch release. As they heat, they release a small amount of starch into the liquid, helping to bind the fats and liquids into a cohesive emulsion.
4. The Liquids: Fire-Roasted Tomatoes and Chicken Bone Broth
Standard canned tomatoes are fine, but fire-roasted tomatoes have been charred, introducing a smoky “char” element that mimics an open-flame grill. Bone broth is preferred over standard stock because of its higher protein and mineral content, which adds body to the soup.
5. The Spice Matrix: Cumin, Chili Powder, and Smoked Paprika
These are fat-soluble spices. To unlock their full potential, they must be “bloomed” in oil before the liquid is added. Cumin provides the earthy “taco” smell, chili powder adds the base heat, and smoked paprika bridges the gap between the fire-roasted tomatoes and the meat.
Preparation Strategy
Before the heat is ever applied, the “mise en place” (the preparation of ingredients) dictates the success of the dish.
- Uniformity of Dice: All vegetables should be diced to a consistent size (approx. 1/4 inch). This ensures that every spoonful contains a balanced ratio of ingredients and that nothing is overcooked or undercooked.
- Spice Pre-Mixing: Measure your dry spices into a single small ramekin. During the cooking process, the window between “perfectly toasted” and “bitterly burnt” is narrow. Having them ready to drop in at once is essential.
- Chicken Prep: Trim excess fat from the thighs, but do not cut them up yet. We will poach them whole in the liquid and shred them later. This keeps the meat fibers long and succulent.
Cooking Instructions
Step 1: The Sauté and Aromatics
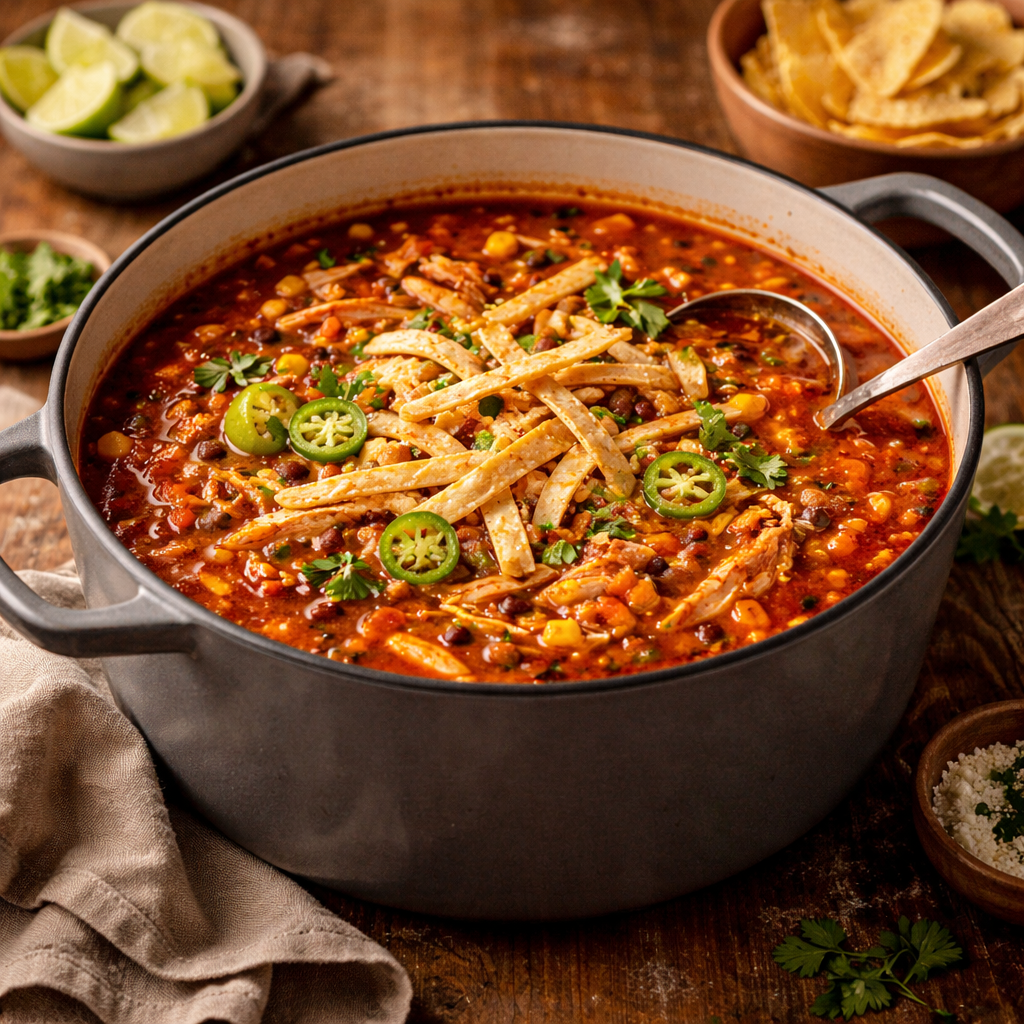
Set a heavy-bottomed Dutch oven or a large pot over medium-high heat. Add two tablespoons of a neutral oil with a high smoke point (like avocado or grapeseed oil). Add the onions and peppers. Sauté for 5–7 minutes until the onions are translucent and the edges of the peppers have softened. Add the garlic in the last 60 seconds to prevent burning.
Step 2: Blooming the Spices
Push the vegetables to the outer edges of the pot, creating an empty space in the center. Add a teaspoon of oil to that center spot and dump in your spice mix. Stir the spices in the oil for 30–45 seconds. You will see the oil turn a deep red/orange; this indicates the essential oils in the spices have been released.
Step 3: Deglazing and Liquid Integration
Pour in 1/2 cup of your chicken broth. Use a wooden spoon to scrape the bottom of the pot. This is deglazing, and those brown bits (the fond) are concentrated flavor gold. Once the bottom is clean, add the remaining broth, the fire-roasted tomatoes, the drained beans, and a small can of diced green chilis.
Step 4: The Protein Poach
Gently submerge the whole chicken thighs into the liquid. Bring the soup to a boil, then immediately drop the heat to a low simmer.
- The Science of Simmering: If you boil the soup, the chicken muscle fibers will contract violently and squeeze out their juices. A low simmer (barely any bubbles) keeps the meat tender.
Step 5: The Shred and Final Seasoning
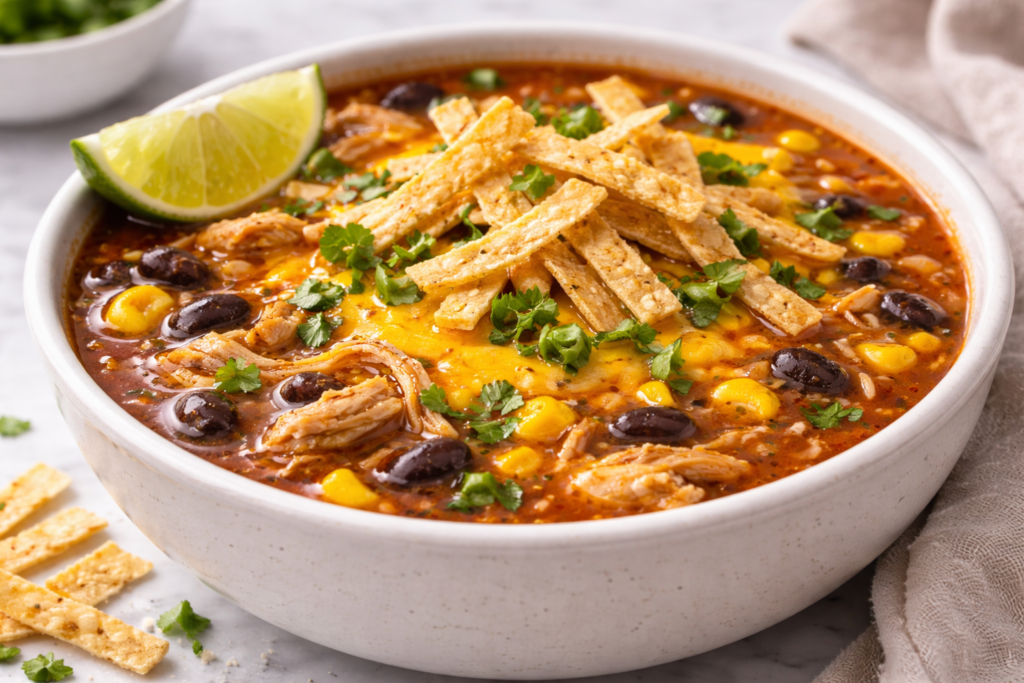
After 20–25 minutes, remove the chicken thighs. They should register 165°F (74°C) internally. Using two forks, shred the meat into long, thin strips. Return the meat to the pot. Stir in a handful of frozen corn (for sweetness and color contrast) and the juice of one fresh lime.
Flavor & Texture Indicators
A professional chef looks for specific cues to determine if a soup is ready for service.
- The “Oil Rim”: Look at the edges of the pot. A thin, orange-red ring of oil should form. This is the spice-infused fat rising to the top, indicating a successful bloom and emulsion.
- The Broth Viscosity: The liquid should not be thin like water. It should have a slight “tug” on the spoon, caused by the gelatin from the chicken and starch from the beans.
- Color Contrast: The soup should be a deep, rusty red. If it is too pale, it needs more paprika or a longer simmer. If it is too dark, the spices may have scorched.
- Aromatic Balance: The first scent should be earthy (cumin), followed by a bright finish (lime).
Adjustments for Different Skill Levels
The Beginner (Safety and Ease)
- Rotisserie Shortcut: If the idea of poaching raw chicken is daunting, use a pre-cooked rotisserie chicken. Shred the meat and add it at the very end of the process.
- Pantry-Only: You can substitute fresh aromatics for onion powder and garlic powder if necessary, though the flavor depth will be significantly reduced.
The Intermediate (Technique Focused)
- Homemade Taco Seasoning: Avoid the store-bought packets which often contain cornstarch and anti-caking agents. Mix your own using cumin, chili powder, onion powder, garlic powder, salt, pepper, and a pinch of cayenne.
- Bean Mash: Take a 1/2 cup of the beans from the can, mash them into a paste, and stir them into the broth. This acts as a natural thickener without the need for flour or cornstarch.
The Advanced (Flavor Manipulation)
- Dried Chili Rehydration: Instead of chili powder, rehydrate dried Ancho and Guajillo chilis in hot water, blend them into a paste, and use that as your spice base. This creates a deeply authentic, complex heat profile.
- The Maillard Chicken: Instead of poaching the chicken whole, dice it and sear it in the pot before the vegetables to develop a dark, savory crust on the meat.
Storage & Shelf Life
Soups with high acidity and fat content, like Chicken Taco Soup, are notorious for tasting better on the second day.
- The Overnight “Marriage”: As the soup cools, the spices continue to diffuse into the fat molecules. This “marries” the flavors, making the broth more cohesive.
- Refrigeration: Store in an airtight glass container for up to 4 days. Glass is preferable to plastic because the chili oil in the soup can permanently stain plastic containers.
- Freezing: This soup freezes beautifully. However, do not freeze with the toppings (avocado, sour cream, or chips). It will stay high-quality for up to 3 months. When reheating, you may need to add a splash of water, as the beans will have continued to absorb liquid in the freezer.
Reader Questions
“Why is my chicken stringy and dry even though it’s in a soup?” This is a classic case of overcooking or boiling. Even in a liquid environment, protein can dry out if the internal temperature exceeds 175°F for too long. Stick to the low-simmer method and use a thermometer to pull the chicken as soon as it hits 165°F.
“My soup tastes flat. I added salt, but it’s still missing something. What do I do?” You are likely missing acidity, not salt. Acidity (lime juice or a splash of vinegar) acts as a high-frequency filter for flavor—it brightens the heavy fats and makes the spices pop. Try a squeeze of lime before adding more salt.
“Can I make this in an Instant Pot or Slow Cooker?” Yes. For the Slow Cooker, follow the sauté and spice-blooming steps in a pan first (crucial for flavor), then transfer everything to the crockpot for 4 hours on high or 7 hours on low. For the Instant Pot, use the sauté function for the base, then pressure cook on high for 10 minutes with a natural release.
“Is this soup gluten-free?” The base recipe is naturally gluten-free. However, always check the labels on your chicken broth and taco seasoning, as some brands use wheat-based thickeners or yeast extracts that contain gluten.
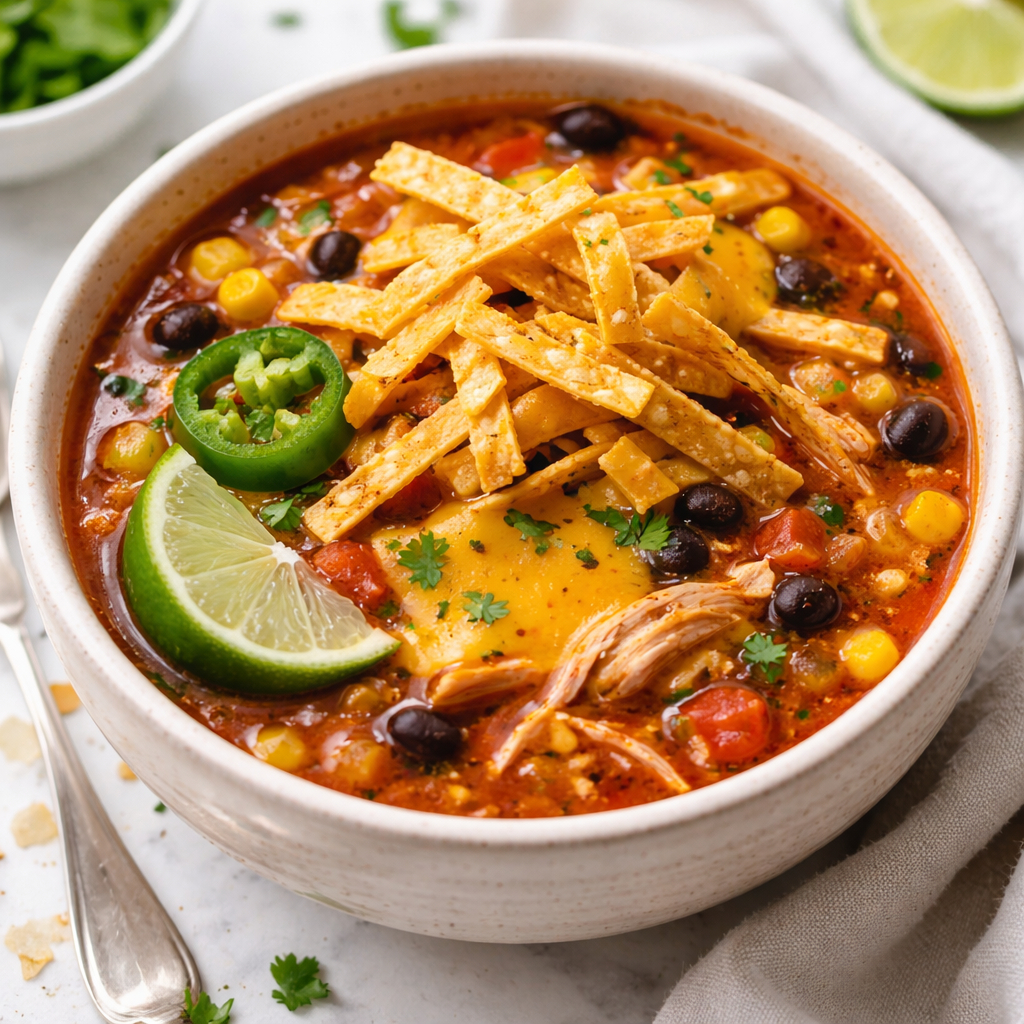
The ultimate success of your Chicken Taco Soup rests on the toppings. Provide a “DIY” bar of fresh cilantro, diced red onion, jalapeños, lime wedges, shredded Monterey Jack cheese, and high-quality tortilla chips. The contrast between the hot, savory soup and the cold, crisp toppings is what transforms this meal into a professional culinary experience.