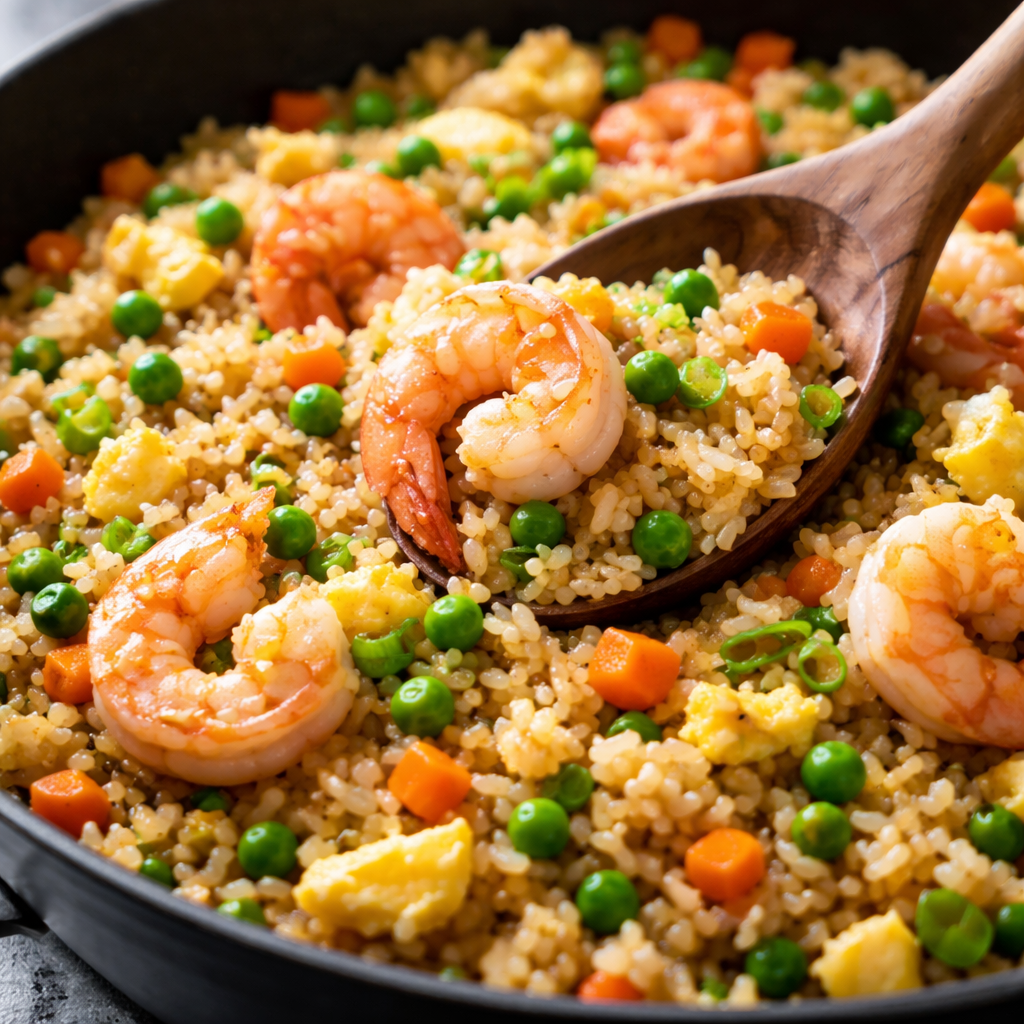
Shrimp and Rice Recipes Finding a shrimp and rice recipe that delivers restaurant-quality flavor without a sink full of dishes is the “holy grail” of home cooking. Most recipes fall into two traps: the shrimp become rubbery from overcooking, or the rice turns into a bland, mushy heap.
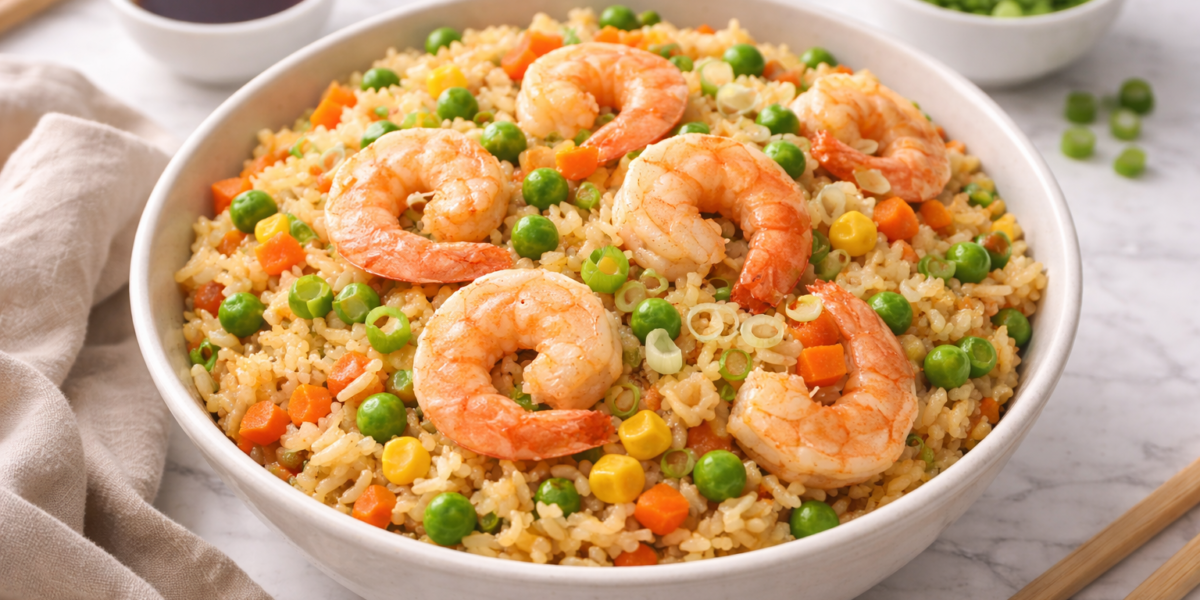
This guide focuses on the Garlic Butter Shrimp and Rice Bowl, a dish designed for speed, precision, and high-impact flavor. By treating the shrimp and rice as separate textural elements that marry at the final moment, we ensure the protein remains succulent and the grains stay distinct.
Recipe Snapshot
- Prep Time: 10 minutes
- Cook Time: 15 minutes
- Skill Level: Beginner-Friendly
- Primary Flavors: Garlic, Lemon, Toasted Butter, Umami
- Dietary Note: Naturally Gluten-Free (ensure soy sauce/broth is certified)
Ingredients List
To execute this shrimp and rice recipe perfectly, quality is more important than quantity.
The Seafood
- 1 lb Large Shrimp: Peeled, deveined, and tail-on (for better flavor during searing).
- 1/2 tsp Smoked Paprika: For color and a hint of char.
- Salt and Cracked Black Pepper: To taste.
The Aromatic Base
- 4-6 Garlic Cloves: Minced (measure with your heart, but don’t skip).
- 1 Small Shallot: Finely diced for a sweeter, more refined note than onion.
- 1 tbsp Fresh Ginger: Grated (adds a bright, zingy finish).
The Grains & Liquids
- 2 cups Cooked Jasmine Rice: Cold, day-old rice is best for texture.
- 1/4 cup Low-Sodium Chicken Broth: To deglaze and create a light sauce.
- 2 tbsp Unsalted Butter: High-quality European butter is preferred.
- 1 tbsp Neutral Oil: For the initial high-heat sear.
The Finishers
- 1 Fresh Lemon: Juiced and zested.
- 1/4 cup Fresh Parsley: Chopped for brightness.
- 2 Green Onions: Sliced thin.
Condensed Step Instructions
1. The High-Heat Sear
Pat the shrimp completely dry. Toss with paprika, salt, and pepper. Heat the oil in a large skillet over medium-high. Add shrimp in a single layer. Sear for 90 seconds per side until opaque and slightly curled. Remove from pan immediately and set aside.
2. The Aromatic Bloom
Reduce heat to medium. Add the butter to the same pan. Once foaming, stir in the shallots and cook for 2 minutes. Add the garlic and ginger, sautéing for 30 seconds until fragrant but not browned.
3. Deglaze and Emulsify
Pour in the chicken broth. Use a wooden spoon to scrape the flavorful brown bits (the fond) from the pan. Let the liquid reduce by half.
4. The Rice Integration
Add the cold rice to the pan. Break up any clumps. Stir-fry for 3–4 minutes, allowing the grains to absorb the garlic butter and chicken broth. The rice should look glossy and hydrated.
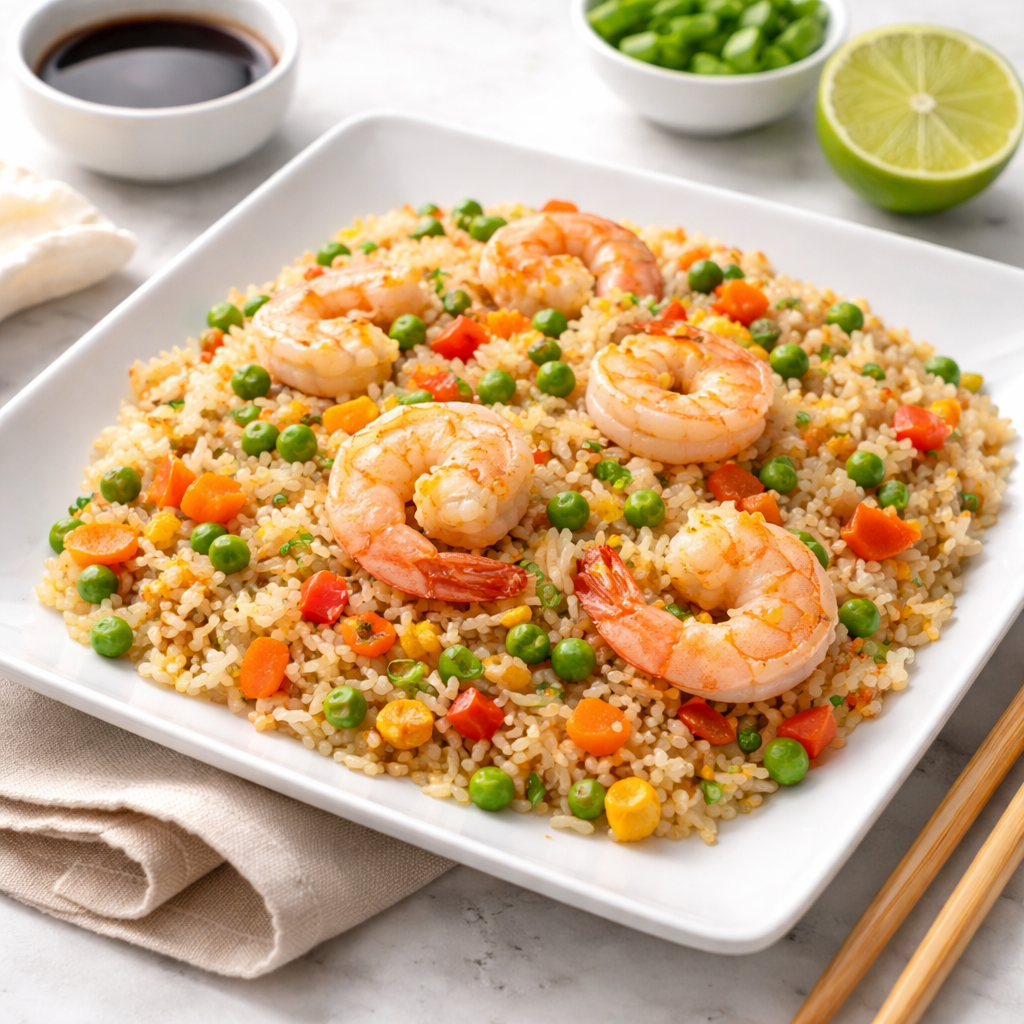
5. The Final Fold
Return the shrimp and any accumulated juices to the pan. Add the lemon juice, lemon zest, and fresh parsley. Toss for 60 seconds to warm through. Serve immediately.
Efficiency Tips
Mastering a shrimp and rice recipe is about managing your time effectively.
- The Dry-Pat Method: If shrimp are wet, they will steam instead of sear. Use paper towels to remove every drop of moisture before they hit the pan.
- Mise en Place: Shrimp cook so quickly that you won’t have time to mince garlic while they are in the pan. Have every ingredient measured and ready to go.
- Rice Prep: If you don’t have leftover rice, cook a fresh batch and spread it on a baking sheet. Place it in the freezer for 10 minutes to flash-cool. This prevents the “mush” factor.
- One-Pan Focus: Use a wide skillet or a wok. This increases surface area, allowing the rice to “fry” rather than “stew.”
Optional Upgrades
If you want to take this shrimp and rice recipe to the next level, consider these professional tweaks:
- The Spicy Kick: Add 1 tsp of red pepper flakes or a drizzle of chili crunch oil during the aromatic bloom phase.
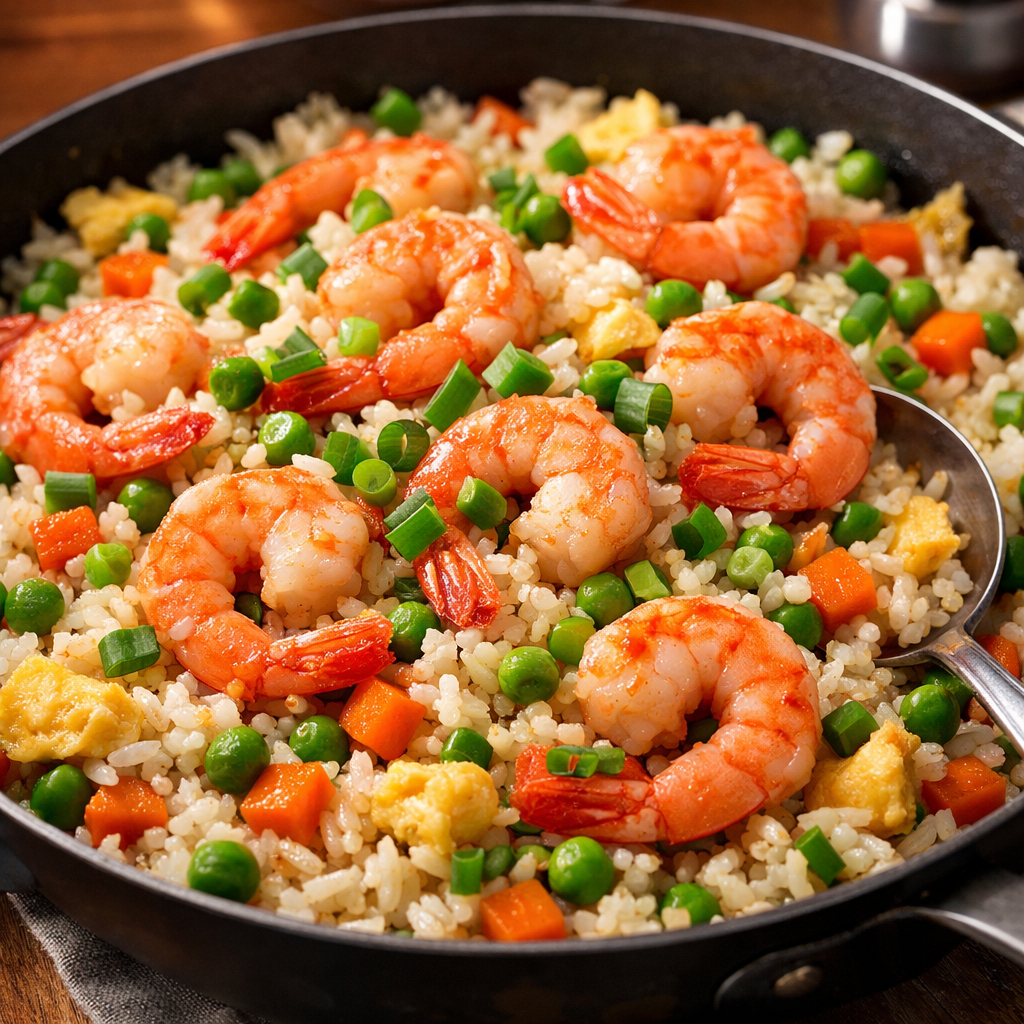
- The Veggie Boost: Stir in a cup of frozen peas or sautéed bell peppers. Add them during the shallot phase to ensure they are fully cooked.
- The Umami Depth: Add 1 tsp of fish sauce or soy sauce when you add the chicken broth. This adds a savory “backbone” that rounds out the lemon.
- The Crispy Texture: Let the rice sit undisturbed in the pan for 2 minutes over medium-high heat before the final fold. This creates a “socarrat” or crispy bottom layer similar to paella.
Storage Advice
Shrimp is delicate, so proper storage is key to maintaining quality.
- Refrigeration: Store in an airtight container for up to 2 days.
- Reheating: Avoid the microwave if possible, as it turns shrimp into rubber. Instead, reheat in a skillet over medium-low with a splash of water or broth to re-hydrate the rice.
- Freezing: While the rice freezes well, cooked shrimp can become tough upon thawing. It is best enjoyed fresh or within 48 hours.
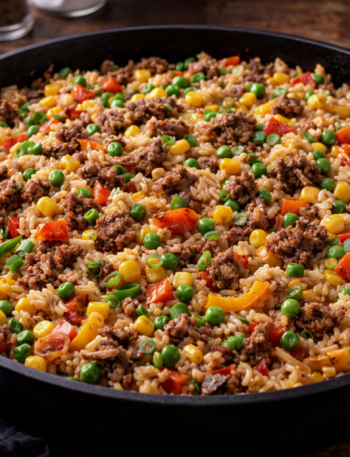
Easy Ground Beef and Rice Recipes
Short FAQ
Q: Can I use frozen shrimp? A: Absolutely. Ensure they are fully thawed and patted dry. Avoid “pre-cooked” frozen shrimp; they will become overcooked and tasteless in this recipe.
Q: What is the best rice to use? A: Jasmine or Basmati are ideal for this shrimp and rice recipe because they are long-grain and stay fluffy. Avoid short-grain or “sticky” rice, as they tend to clump too much.
Q: My garlic tastes bitter. What happened? A: Garlic burns easily. If the pan is too hot or you sauté it for longer than 60 seconds before adding liquid, it will turn bitter. Keep your heat at medium and have your liquid ready.
Q: Is this recipe healthy? A: Yes. It is high in lean protein and uses a moderate amount of healthy fats. To make it even healthier, use brown rice or cauliflower rice (though you will need to adjust the liquid downward for cauliflower rice).