The quest for the perfect baked chicken tenders recipe is often a series of culinary letdowns. We’ve all been there: you’re craving that crunch, but you end up with a plate of beige, rubbery strips where the breading slides off like an oversized coat. Or, in an attempt to achieve “healthier” baked versions, you end up with chicken so dry it requires a gallon of dipping sauce just to become palatable.
The problem isn’t the oven; it’s the technique. Most recipes treat baking like a passive version of frying, but the two environments are fundamentally different. Frying uses oil as a high-efficiency heat conductor; baking relies on air. To bridge that gap, we have to rethink how we build texture and moisture.
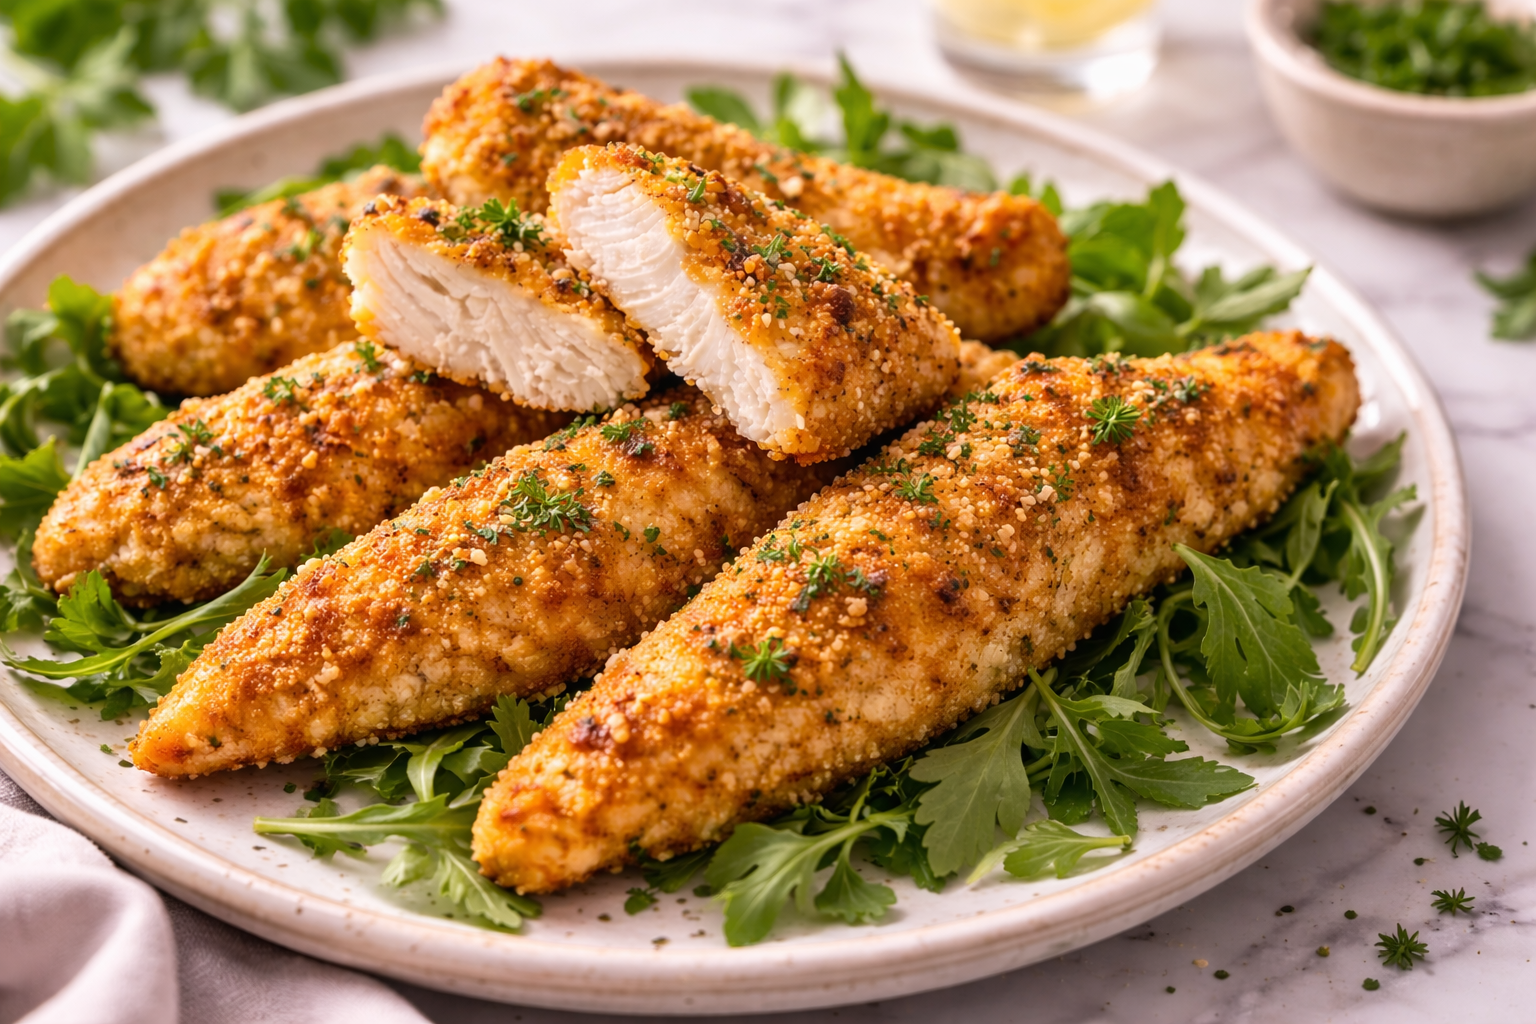
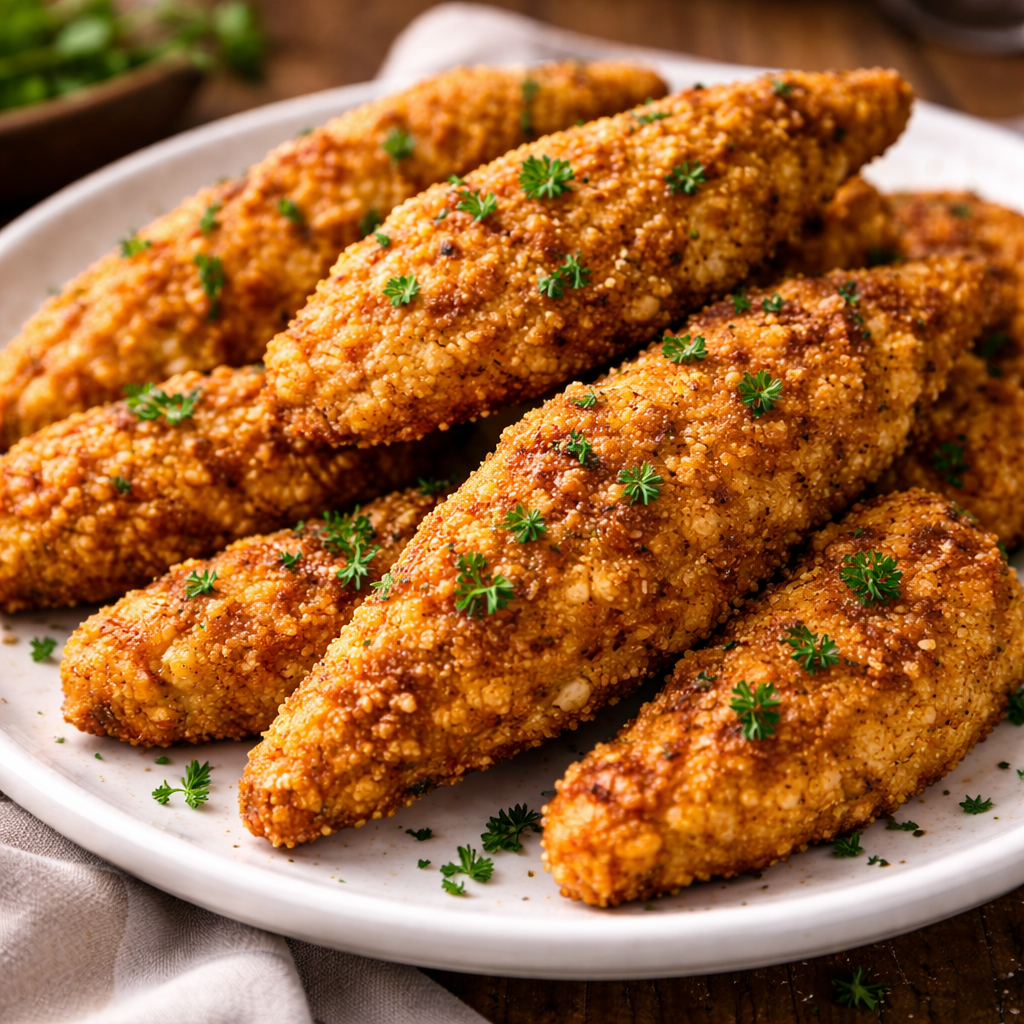
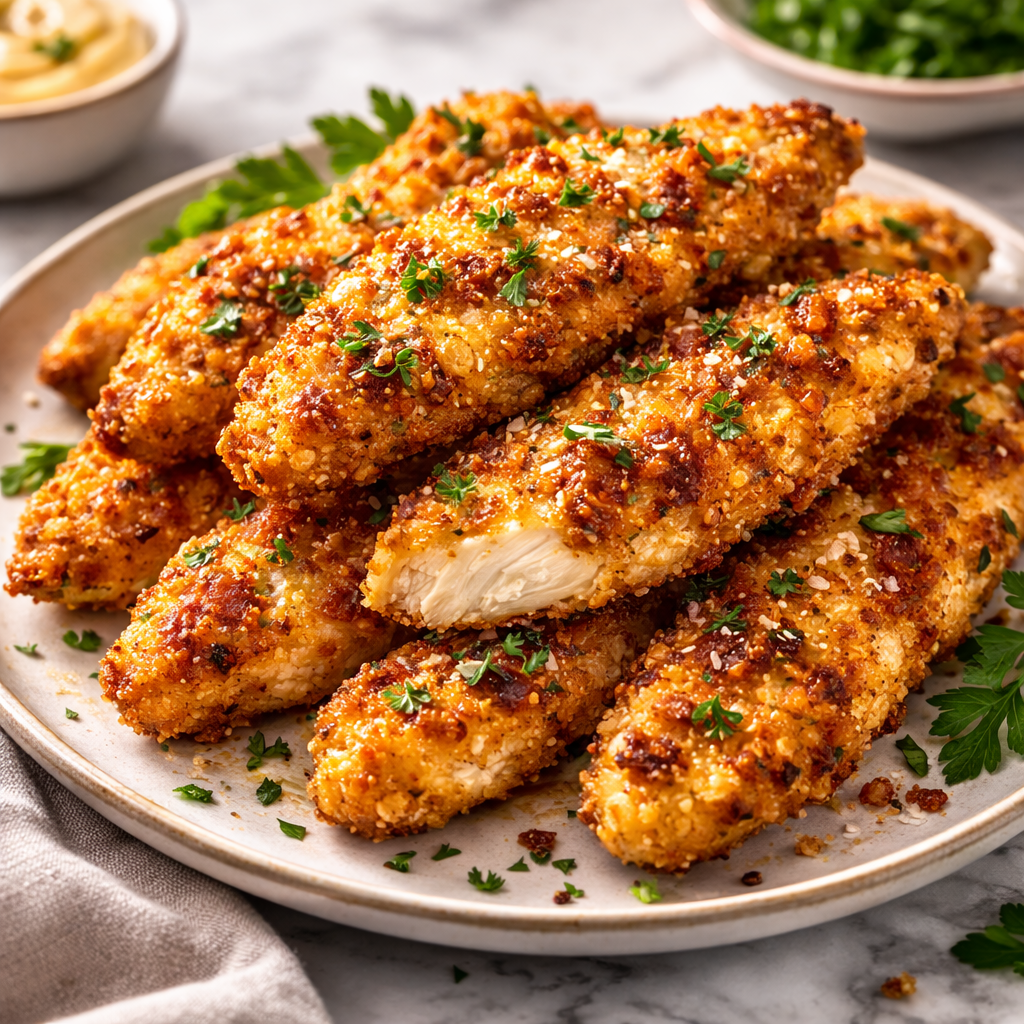
This guide is about reclaiming the baked chicken tender recipe. No more soggy bottoms, no more bland crusts—just golden, shattered-glass-crisp exterior and succulent meat.
Why This Recipe Works
Great cooking is rarely about secret ingredients; it’s about understanding a bit of kitchen physics. This recipe succeeds because of three specific pillars:
- The Pre-Toast: If you put raw breadcrumbs in the oven, the chicken will overcook before the crumbs turn golden. By “blooming” the Panko in a small amount of fat on the stovetop first, we lock in a deep golden color and a nutty flavor profile before they even touch the poultry.
- The Binding Agent: We swap the traditional thin egg wash for a mixture of Greek yogurt (or sour cream) and Dijon mustard. The lactic acid in the yogurt gently tenderizes the chicken fibers, while the thickness ensures the breading actually stays attached to the meat rather than the baking sheet.
- Elevated Airflow: Placing the tenders on a wire rack set over a baking sheet is non-negotiable. This allows hot air to circulate under the chicken, preventing the “steam effect” that turns the underside into a mushy mess.
Ingredients & Measurements
Yields: 4 servings | Prep time: 20 mins | Cook time: 15-18 mins
The Chicken
- 1.5 lbs (700g) Chicken Tenders: Look for “tenderloins” specifically. If using breasts, slice them across the grain into 1-inch strips.
- Fine Sea Salt & Black Pepper: For the initial seasoning.
The “Velvet” Binder
- 1/2 cup Greek Yogurt: Full-fat is preferable for the best moisture retention.
- 2 tbsp Dijon Mustard: Adds tang and acts as an emulsifier.
- 1 tsp Garlic Powder: For a savory baseline.
- 1/2 tsp Smoked Paprika: Provides a subtle depth without overwhelming heat.
The Golden Crust
- 2 cups Panko Breadcrumbs: Standard breadcrumbs are too dense; Panko provides the “shards” necessary for real crunch.
- 2 tbsp Extra Virgin Olive Oil: To toast the crumbs.
- 1/2 cup Finely Grated Parmesan: The secret to a savory, “umami” crust.
- 1 tsp Dried Oregano or Thyme: To brighten the finish.
Step-by-Step Cooking Guide
1. Prep the Chicken (The “Tendon” Trick)
Chicken tenderloins have a white, tough tendon running through them. While you can leave it, removing it makes for a much more professional eating experience. Hold the tip of the tendon with a paper towel and use a fork to “zip” the meat away from it. Pat the chicken bone-dry. If the meat is wet, the binder won’t stick. Period.
2. The Golden Panko Toast
This is the most important step. Heat the olive oil in a wide skillet over medium heat. Add the Panko. Stir constantly for 3–5 minutes until the crumbs look like toasted gold. Remove from heat immediately and stir in the Parmesan and herbs. The residual heat will melt the cheese slightly, helping it fuse to the crumbs.
3. The Dredging Station
Set up two bowls.
- Bowl A: The yogurt, mustard, and spices whisked together.
- Bowl B: Your toasted Panko mixture.
Dip a tender into the yogurt mixture, coating it thoroughly. Lift it and let the excess drip off—you want a thin, sticky film, not a thick gloop. Drop it into the Panko and press firmly. You want to force those crumbs into the binder.
4. The Setup
Preheat your oven to 425°F (220°C). Lower temperatures will dry out the meat before the crust sets. Place a wire cooling rack inside a large rimmed baking sheet. Arrange the tenders on the rack with at least an inch of space between them.
5. The Bake
Slide the tray into the center of the oven. Bake for 15–18 minutes. Since we pre-toasted the crumbs, you don’t need to flip them. The air circulation handles the underside.
Common Mistakes to Avoid
- Crowding the Pan: If the tenders are touching, they will release moisture and steam each other. This results in “bald spots” where the breading falls off.
- Skipping the Rack: If you bake these directly on parchment paper, the bottom side will inevitably be damp. The wire rack is the difference between “good for home-cooked” and “restaurant quality.”
- Overcooking: Chicken tenders are small. They lack the thermal mass of a whole breast. Even three extra minutes can turn them into sawdust.
- Using Cold Chicken: Take the chicken out of the fridge 15 minutes before prep. Taking the chill off ensures the center cooks at the same rate as the exterior.
Timing & Doneness Indicators
Visual cues are helpful, but a digital thermometer is your best friend in the kitchen.
- Internal Temperature: You are looking for 165°F (74°C). However, because of “carryover cooking,” you can pull them at 160°F (71°C); the internal temp will continue to rise while they rest.
- The “Bounce” Test: If you press the thickest part of the tender, it should feel firm and spring back quickly. If it feels soft or squishy, it needs more time.
- The Juices: If you pierce the meat, the juices should run clear, not pink.
Serving Suggestions
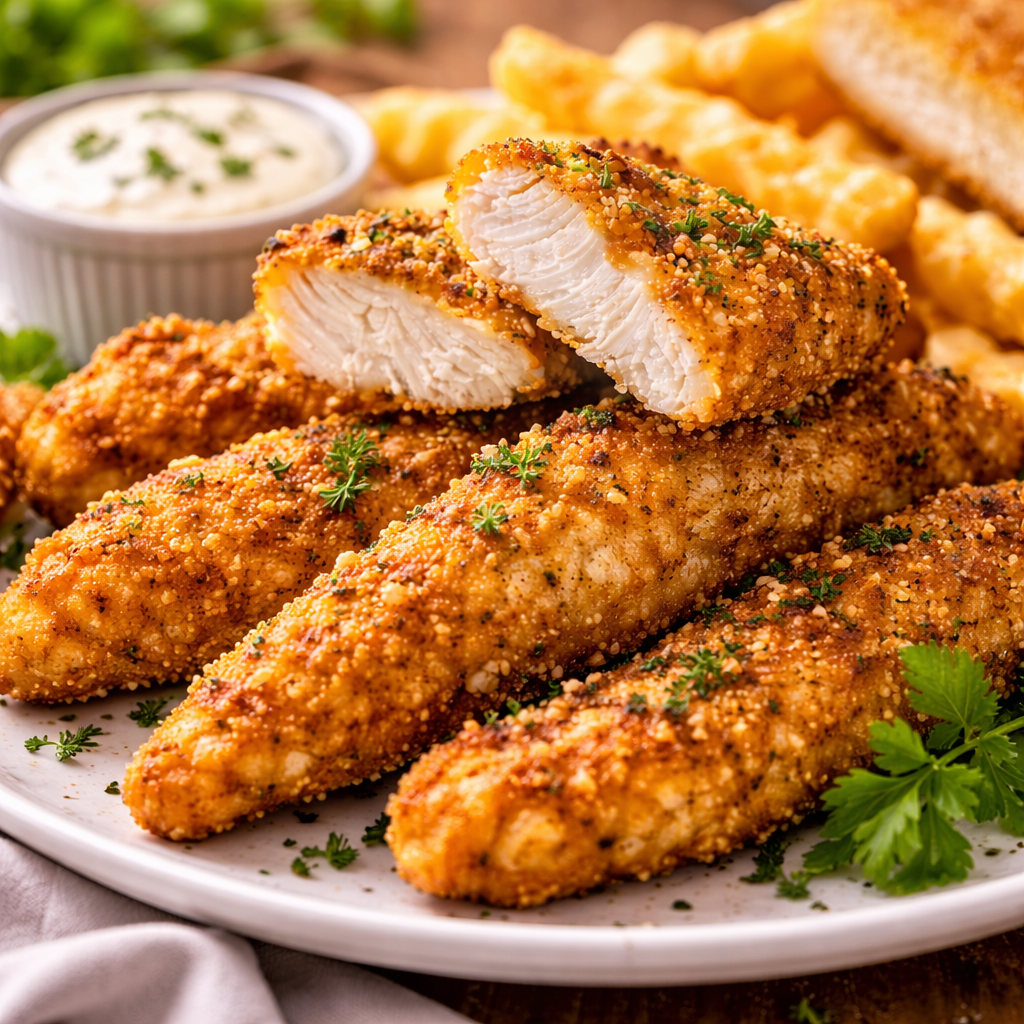
A great chicken tender is a canvas for flavors. While honey mustard is the classic choice, consider these elevated pairings:
- The “Hot Honey” Drizzle: Whisk together honey, a dash of cayenne, and a splash of apple cider vinegar. Drizzle over the tenders immediately after baking.
- Lemon-Garlic Aioli: A simple mix of mayonnaise, fresh lemon zest, minced garlic, and cracked pepper cuts through the richness of the Parmesan crust.
- Side Dish Harmony: Pair these with a crisp apple coleslaw or roasted broccolini to balance the crunch.
FAQ: Solving Your Cooking Frustrations
“Why is my chicken always dry inside?” Usually, it’s a heat-to-time ratio issue. By cooking at a high heat (425°F) and using a yogurt binder, we create a thermal barrier. The yogurt insulates the meat while the high heat sets the crust instantly. If you’re still struggling, try brining the chicken in salted water for 30 minutes before starting the recipe.
“The breading keeps falling off. What am I doing wrong?” The culprit is likely moisture on the surface of the meat. If there is a film of water on the chicken, the “glue” (yogurt/egg) can’t bond to the protein. Pat your chicken dry with paper towels until it’s tacky to the touch. Also, make sure you aren’t over-handling the chicken once it’s breaded.
“Can I make these ahead of time?” You can bread them up to 4 hours in advance and keep them on the rack in the fridge. This actually helps the breading “set.” However, once cooked, they are best enjoyed immediately. To reheat, avoid the microwave; use an air fryer or toaster oven to revive the crunch.
“Can I use an air fryer?” Absolutely. Follow the same prep, but air fry at 390°F for 8–10 minutes. Because air fryers have even more intense convection than ovens, they will cook significantly faster.
Healthy Instant Pot Chicken Breast Recipes
Quick Chicken and Sausage Recipes
Best Easy Orange Chicken Recipe
Best Thin Sliced Chicken Breast Recipes
Homemade Peri Peri Chicken Recipe