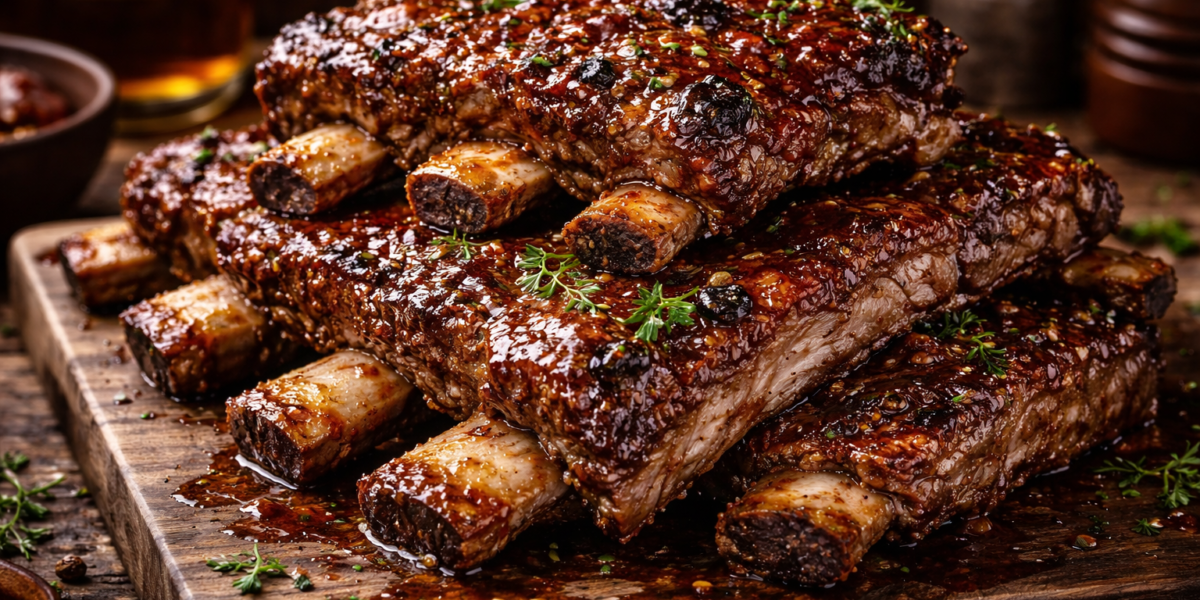
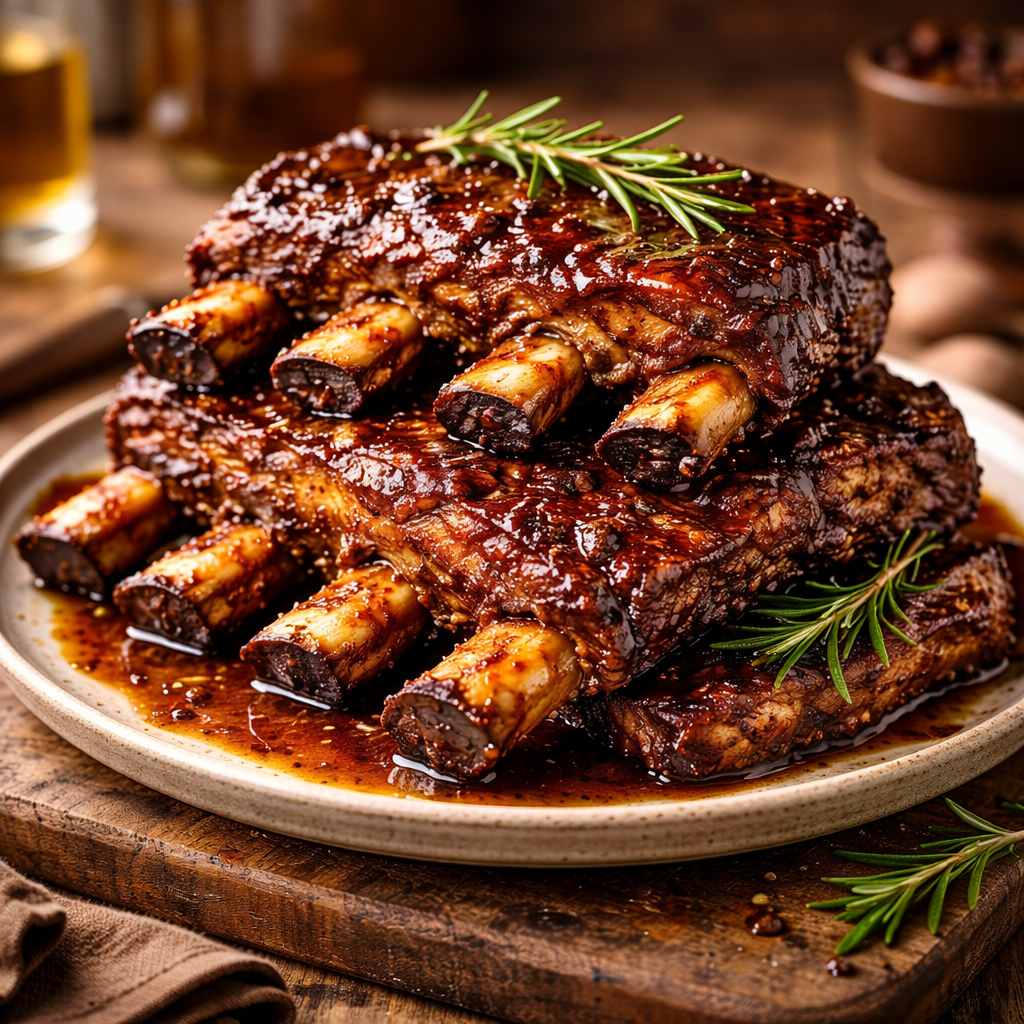
In the hierarchy of barbecue, beef back ribs often play second fiddle to the massive “dino” short ribs. However, a well-executed beef back ribs recipe offers something the heavier cuts cannot: a perfect ratio of charred “bark,” rendered fat, and the incomparable flavor of meat cooked directly against the rib bone. Because back ribs are the anatomical byproduct of the prime rib roast, the meat nestled between the bones is essentially ribeye—tender, marbled, and profoundly savory.
The primary frustration for the home cook is the “tough-and-chewy” syndrome. Because these ribs have less meat on top of the bone and more connective tissue between them, they can easily dry out before the collagen has fully liquefied. Success requires a departure from high-heat grilling in favor of a low-slow thermal breakdown. This guide deconstructs the beef back ribs recipe into a professional-grade process, focusing on thermodynamic consistency and flavor layering.
Ingredient Breakdown: The Science of the Smoke
To produce a world-class rack of ribs, every ingredient in your beef back ribs recipe must facilitate the transformation of tough connective tissue into “meat butter.”
1. The Ribs (The Foundation)
Beef back ribs are curved and contains the “intercostal” meat. When shopping, look for “meaty” racks. Since the butcher’s goal is to leave as much meat as possible on the expensive ribeye roast, these ribs are often cut close to the bone. Look for deep red color and visible flecks of intramuscular fat (marbling).
2. Coarse Kosher Salt (The Protein Denaturant)
Salt is the only ingredient that travels deep into the muscle. In this beef back ribs recipe, coarse salt serves to denature the surface proteins, creating a “tacky” surface (pellicle) that allows smoke to adhere more effectively.
3. Coarse Black Pepper (The Bark Builder)
The 16-mesh “café grind” black pepper is the industry standard. Pepper provides more than heat; the physical grains create turbulence in the airflow of your smoker or oven, allowing smoke particles to “catch” on the meat, forming the coveted black crust known as “the bark.”
4. Beef Tallow or Mustard (The Binder)
A binder’s role is purely mechanical. Whether you use a thin coat of yellow mustard or rendered beef tallow, it serves to hold the dry rub in place during the initial phase of cooking before the meat’s natural juices begin to flow.
5. Apple Cider Vinegar (The Acidic Spritz)
During a long cook, the surface of the ribs can become dehydrated. A spray of apple cider vinegar every hour lowers the surface pH, which aids in the formation of the “smoke ring”—the pink chemical reaction between nitrogen dioxide and myoglobin.
Preparation Strategy: Anatomy and Airflow
A professional beef back ribs recipe begins with mechanical preparation. If you ignore the anatomy of the rack, the smoke will never reach the meat.
- Removing the Membrane (Silver Skin): On the back (bone-side) of the ribs is a thick, elastin-heavy membrane. Unlike collagen, elastin does not break down with heat. If left on, it acts as a plastic-like barrier that prevents smoke and salt from penetrating the bone side. Use a paper towel to grip the edge and peel it off in one motion.
- The Dry Brine: If time permits, season your ribs 4 to 12 hours before cooking. This allows the salt to dissolve and be reabsorbed into the meat, ensuring the interior is as seasoned as the exterior.
- Trimming for Uniformity: Trim away any “shiner” bones (bones with zero meat coverage) or thin, dangling bits of fat. These will burn long before the ribs are done, creating a bitter, acrid flavor.
Cooking Instructions
This beef back ribs recipe utilizes the “3-2-1” adaptation for beef, which focuses on a smoke, wrap, and set phase.
1. The Pre-Heat
Prepare your smoker or oven to a steady 250°F (121°C). For beef, heavy woods like oak, hickory, or mesquite are preferred, as the robust flavor of beef can stand up to intense smoke.
2. The Initial Smoke (The Bark Phase)
Place the ribs bone-side down on the grate. Close the lid and let them ride for 3 hours. Do not open the lid. The goal here is to set the rub and begin the rendering of the surface fat.
3. The Spritz
After the third hour, lightly spray the meat with a mixture of 50% apple cider vinegar and 50% water. Repeat this every 45 minutes for the next 2 hours. This keeps the surface supple.
4. The Wrap (The Tenderness Phase)
Once the internal temperature reaches approximately 170°F (77°C) and the bark is dark and “set” (it shouldn’t come off when touched), wrap the ribs tightly in peach butcher paper or heavy-duty foil. Add a few splashes of beef broth or beer inside the wrap. This creates a “steam saunu” that aggressively breaks down the tough collagen.
5. The Finish (The Probe Test)
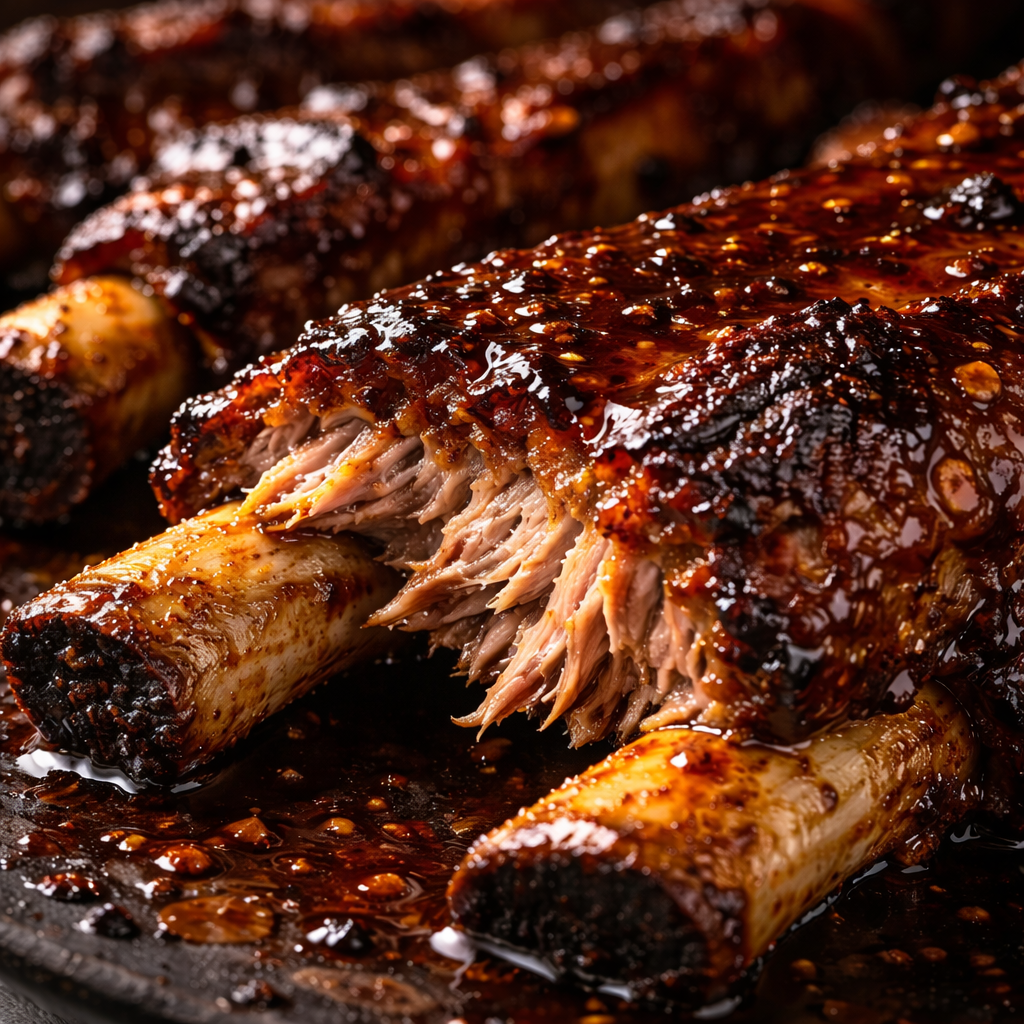
Return the wrapped ribs to the heat. Continue cooking until the internal temperature hits 203°F–205°F (95°C–96°C). More importantly, a wooden skewer should slide into the meat between the bones with zero resistance, like pushing a needle into room-temperature butter.
6. The Rest
Remove the ribs and let them rest, still wrapped, in an insulated cooler or a turned-off oven for at least 45 minutes. This allows the internal juices to thicken, ensuring they stay in the meat rather than spilling onto the cutting board.
Flavor & Texture Indicators
A masterfully executed beef back ribs recipe is defined by three specific markers:
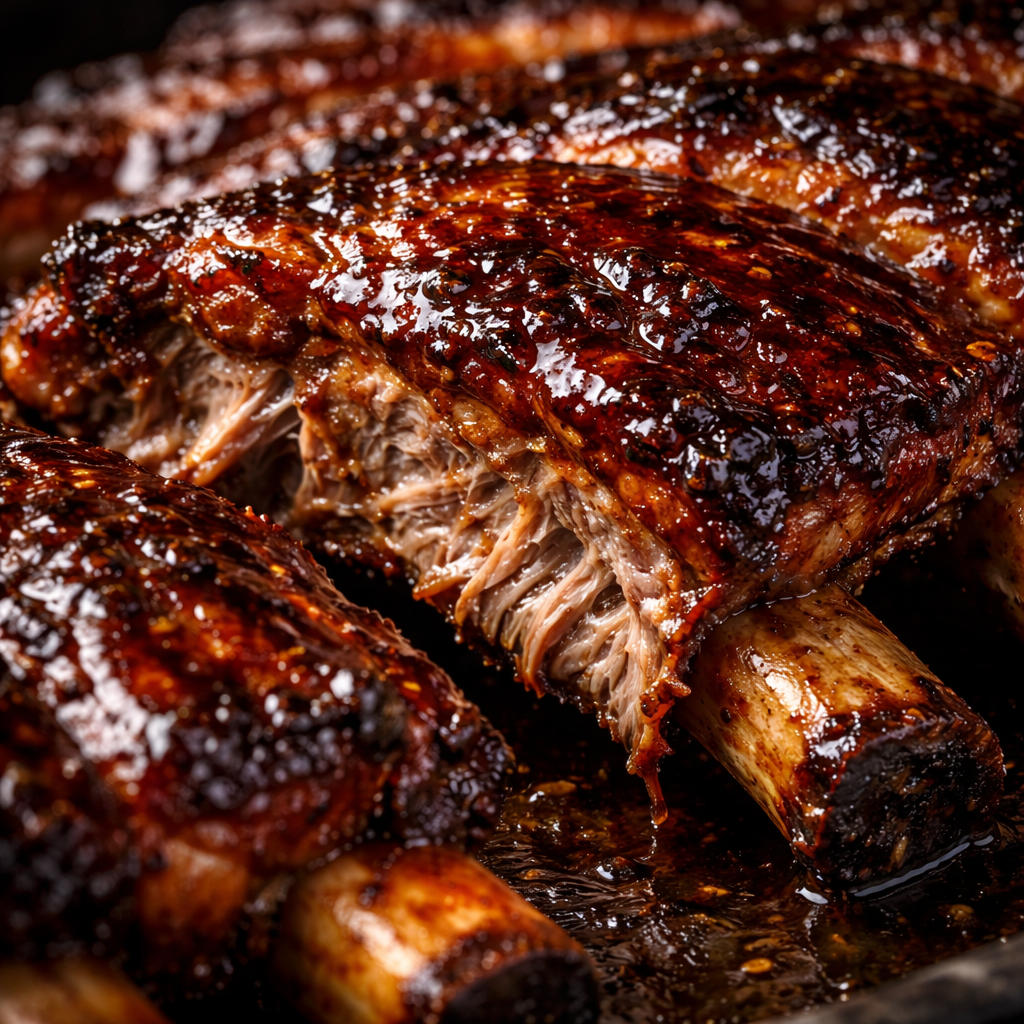
- The Bone Pull: As the meat cooks, it will recede (retract) from the ends of the bones by about half an inch. This “pull-back” is a visual signal that the connective tissue has successfully contracted and broken down.
- The Bend Test: When you lift the rack from one end with tongs, it should bend gracefully without snapping. If it’s stiff, it’s undercooked; if it falls apart instantly, it’s over-steamed.
- The Smoke Ring: Upon slicing, a thin pink band should be visible just beneath the black bark. While purely aesthetic, it indicates a consistent, clean combustion of wood throughout the cook.
Adjustments for Different Skill Levels
For the Beginner
If you don’t own a smoker, you can achieve a stellar result in a standard kitchen oven. Use a wire rack over a baking sheet to allow for 360-degree airflow. Use liquid smoke in your binder to mimic the outdoor flavor, and follow the temperature guides exactly.
For the Intermediate Pitmaster
Experiment with “Fat Siding.” If your heat source comes from below (like an offset smoker), cook bone-side down to protect the meat. If the heat comes from above (like some pellet grills), cook meat-side up.
For the Advanced Artisan
Try the “No-Wrap” Method. If you can maintain a high-humidity environment in your smoker, skip the butcher paper entirely. This results in a superior, “crunchy” bark, though it requires an extra 2 hours of cook time and a more vigilant spritz routine.
Storage & Shelf Life
Beef back ribs are best served fresh, but they are remarkably resilient.
- Refrigeration: Store in foil for up to 4 days.
- The Reheating Secret: To avoid the “leftover roast beef” taste, reheat the ribs in a vacuum-sealed bag in simmering water (sous-vide style) or wrapped in foil in a 250°F oven with a splash of liquid. Avoid the microwave, which will turn the rendered fats into rubber.
- Repurposing: If you have leftover ribs, strip the meat from the bones and use it for Beef Rib Tacos or a decadent Smoked Beef Ragu.
Reader Questions
Q: Why are my beef back ribs so thin? A: Anatomically, there isn’t much meat on top of the back rib; the prize is the meat between the bones. If you want a “mountain of meat,” you may be looking for Beef Short Ribs, which come from the lower plate and have a thick 1-2 inch cap of muscle.
Q: Can I use a sugar-based rub? A: Be careful. Beef is traditionally seasoned with a “Dalmatian Rub” (just salt and pepper). Sugar burns at 325°F, and while we cook lower than that, the long exposure can make a sugar rub taste bitter on beef. If you want sweetness, add it via a glaze in the last 15 minutes of cooking.
Q: How do I know the difference between back ribs and short ribs? A: Back ribs are curved and usually sold in long racks (often 7-8 bones). Short ribs are usually straight, flat, and often sold in 3-bone “plates” or cut into individual squares.
Q: My ribs are grey and have no crust. What happened? A: This usually happens if the temperature was too low or if there was too much moisture in the cooking chamber early on. High heat and dry air are required to create the Maillard reaction that forms the bark.