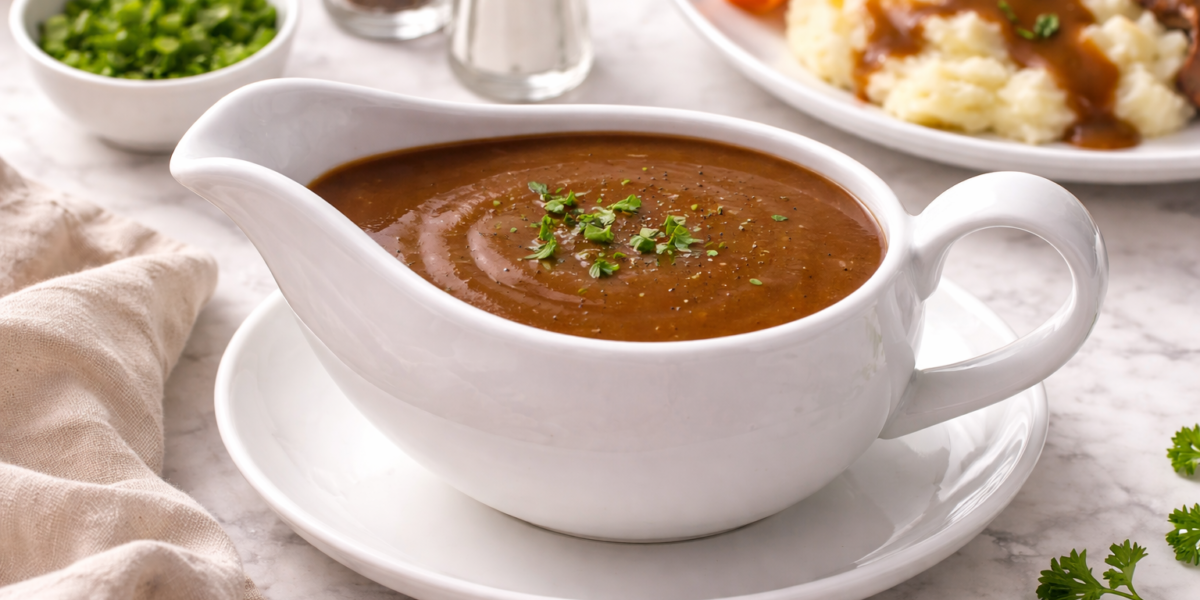
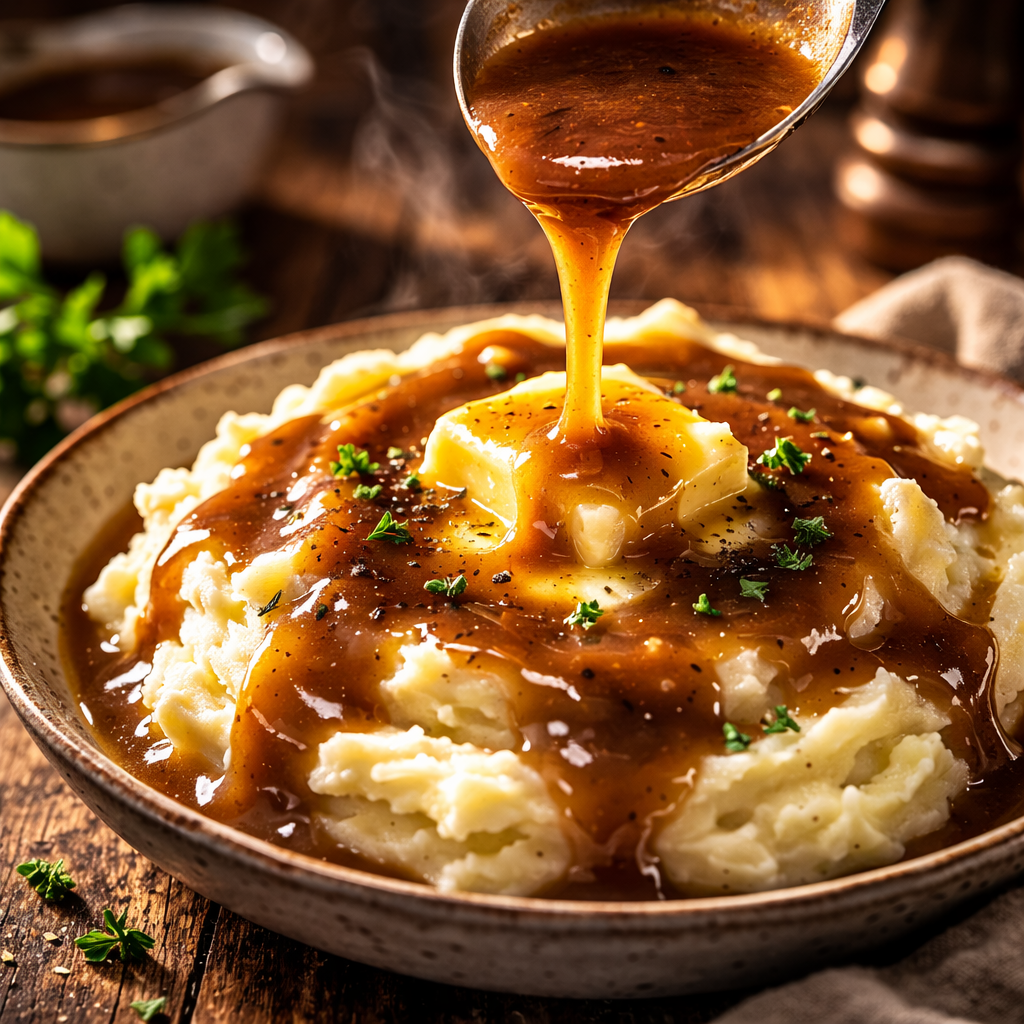
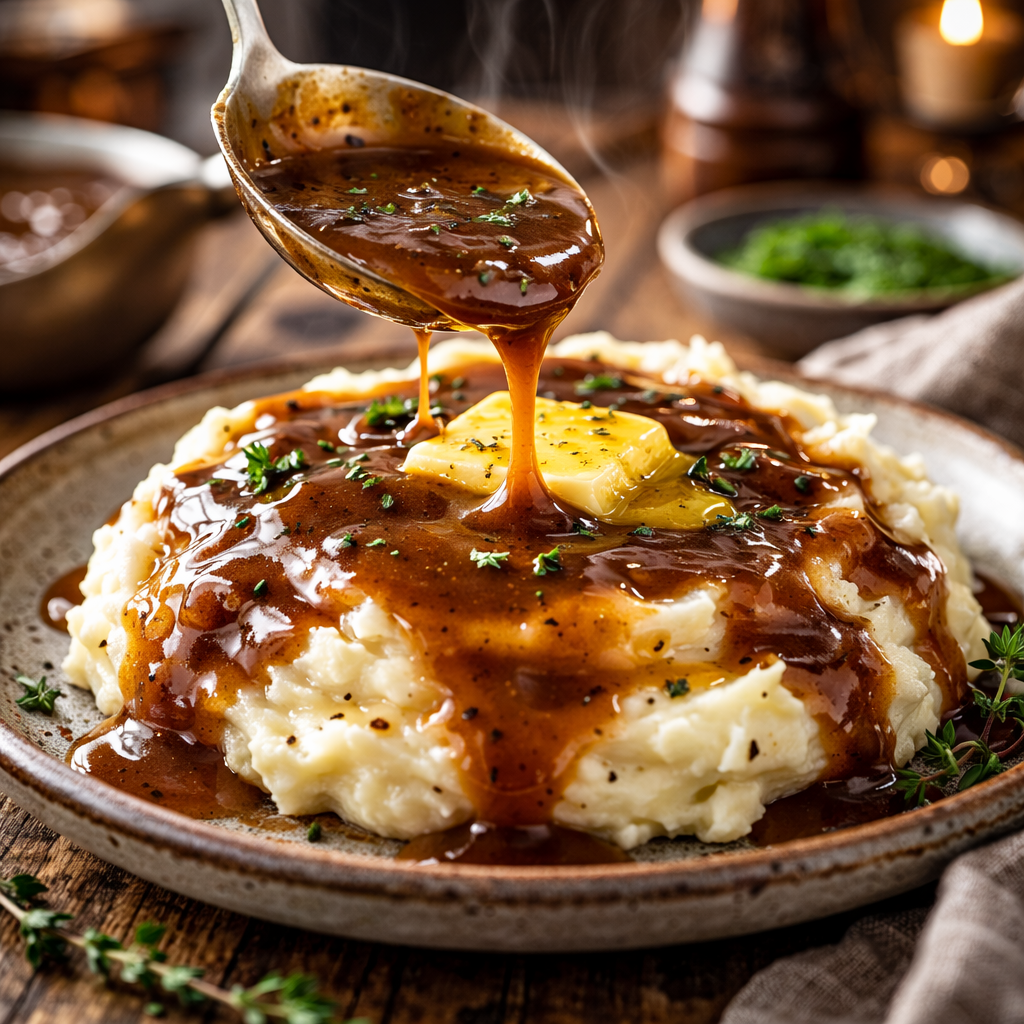
Beef Gravy recipe In the hierarchy of culinary components, gravy is often relegated to the status of a secondary accompaniment—a final splash intended to provide moisture to a roast or a mash. However, a professionally executed beef gravy is far more than a condiment; it is a concentrated expression of the entire cooking process. It is an emulsion of fat, starch, and collagen that bridges the gap between the various elements on a plate, providing a savory depth that can elevate even the simplest meal to a celebratory status.
True beef gravy is a study in the Maillard reaction and the science of thickening. To move beyond the artificial, salt-heavy flavor profiles of store-bought packets, one must understand the relationship between the fond (the browned bits at the bottom of the pan), the roux, and the quality of the stock. When these elements are managed with precision, the result is a glossy, velvet-textured sauce that possesses a “long” flavor—one that develops on the palate and provides a satisfying, umami-rich finish.
The Ingredients: A Foundation of Flavor
The quality of your gravy is strictly limited by the quality of your base components. Because gravy is a reduction and a concentration of flavors, any bitterness or artificial notes in your ingredients will be magnified in the final product.
1. The Fat (The Carrier)
The ideal fat for beef gravy is the rendered drippings from a roast. This fat is already infused with the aromatics and seasonings used during the meat’s cooking process. If you are making gravy without a roast, high-quality unsalted butter is the preferred substitute. Butter provides a nutty, rounded flavor that oil cannot replicate.
2. The Starch (The Structure)
All-purpose flour is the standard thickening agent. Unlike cornstarch, which creates a translucent, “jelly-like” texture, flour creates an opaque, creamy consistency that feels substantial. The protein in the flour also aids in the browning process, contributing to the color of the gravy.
3. The Stock (The Body)
This is the most critical ingredient. For a world-class gravy, a rich, dark beef stock—ideally one made from roasted marrow bones and aromatics—is essential. It should be high in gelatin; you can tell a stock is high-quality if it turns to jelly when refrigerated. This gelatin provides the “lip-smacking” quality found in restaurant-grade sauces.
4. The Aromatics and Seasonings
- Shallots or Onions: Minced into a paste to provide a subtle sulfuric sweetness.
- Fresh Thyme and Rosemary: These herbs contain woody oils that complement the deep notes of beef.
- Worcestershire Sauce: A “secret” weapon that provides acidity and fermented depth.
- Cold Butter (The Finish): A final knob of cold butter whisked in at the end provides the professional “gloss.”
Preparation Steps: Setting the Stage
Preparation for gravy begins long before the pan hits the heat. If you are using drippings from a roast, the first step is separation.
Pour the liquid from your roasting pan into a degreasing cup or a glass jar. Allow it to settle for a few minutes. You will see two distinct layers: the clear, golden fat on top and the dark, concentrated juices (the jus) at the bottom.
Carefully spoon off the fat and set it aside; this is your cooking medium. Save the dark juices at the bottom; these will be whisked back into the stock to provide a massive boost of flavor.
If you are starting from scratch, ensure your stock is at room temperature or slightly warm. Adding ice-cold stock to a hot roux can cause the starch to “shock” and clump, leading to a lumpy texture. Finally, have your whisk and a fine-mesh strainer ready. Gravy moves quickly once the starch begins to gelatinize, and you will not have time to search for tools.
The Cooking Technique: The Science of the Roux
The soul of a great beef gravy lies in the Roux. A roux is a cooked mixture of equal parts fat and flour. For beef gravy, we are looking for a Brown Roux.
1. The Sauté
Place your heavy-bottomed saucepan over medium heat. Add 4 tablespoons of the reserved beef fat (or butter). Once shimmering, add a tablespoon of finely minced shallots. Sauté just until translucent. This infuses the fat with aromatics before the flour is even introduced.
2. The Flour Integration
Whisk in 4 tablespoons of all-purpose flour. At first, it will form a thick, pasty clump. This is normal. Continue to cook, whisking constantly.
3. Developing the Brown Roux
This is where patience is rewarded. As you cook the flour in the fat, the starch molecules undergo the Maillard reaction. The mixture will turn from white to a “blond” color, then to a “peanut butter” shade, and finally to a deep, chocolate brown. For beef gravy, aim for that deep brown. It will smell nutty and toasted.
- Caution: A brown roux has less thickening power than a white roux, but significantly more flavor. Do not let it turn black, or the gravy will taste bitter and burnt.
4. The Slow Stream (Tempering)
Turn the heat down to low. Begin adding your beef stock one splash at a time. Whisk vigorously after each addition. The mixture will seize up and become a thick paste again—keep whisking. By adding the liquid slowly, you are allowing the starch granules to absorb the moisture evenly, preventing lumps.
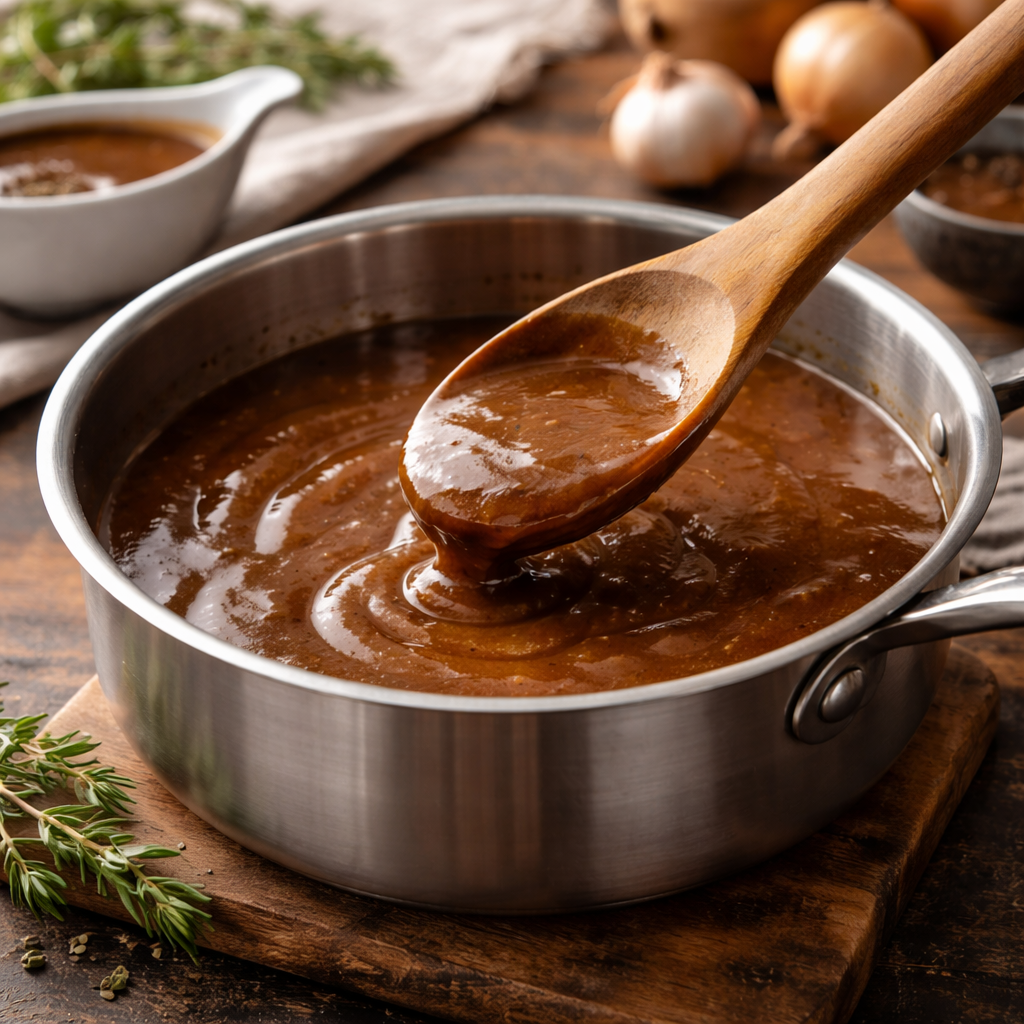
5. The Simmer and Reduction
Once all the stock is incorporated, increase the heat to medium-low to bring the liquid to a gentle simmer. This “activates” the flour. You must let the gravy simmer for at least 5 to 10 minutes to cook out the “raw flour” taste and allow the sauce to thicken to its final state.
Pro Tips for the Ultimate Finish
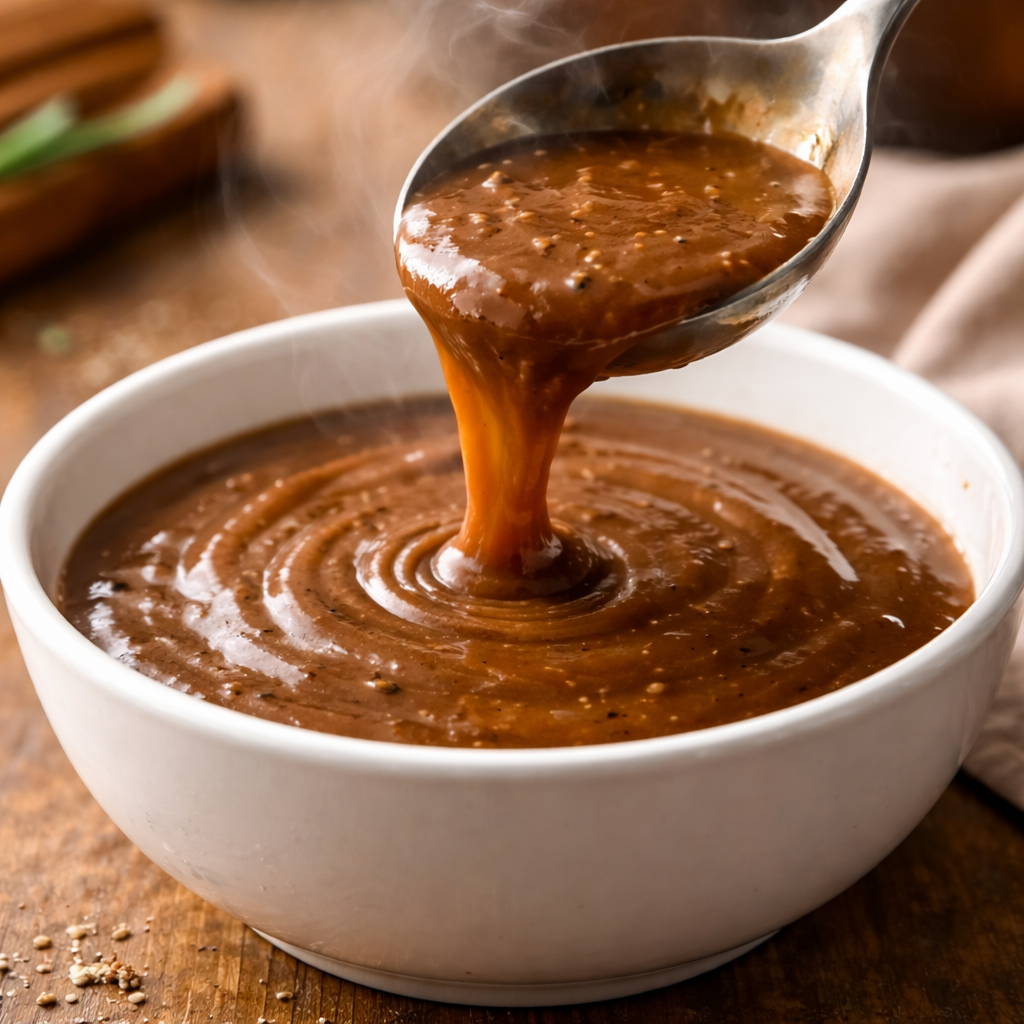
- The “Nappe” Consistency: To check if your gravy is done, dip a metal spoon into the sauce. Run your finger across the back of the spoon. If the line stays clean and the gravy doesn’t run into the gap, you have reached nappe—the perfect thickness.
- The Mounting with Butter (Monte au Beurre): Just before serving, turn off the heat and whisk in a tablespoon of ice-cold butter. This creates a temporary emulsion that gives the gravy a mirror-like shine and a luxurious mouthfeel.
- The Fine Strain: Even the most careful chef can have a small lump or a bit of stray herb. Always pour your finished gravy through a fine-mesh strainer into the serving boat. This ensures a perfectly smooth, professional presentation.
- Control the Salt: If you are using drippings from a roast that was heavily salted, your stock might already be salty enough. Always wait until the gravy has reduced to its final volume before doing your final salt adjustment.
Flavor Variations: Tailoring the Profile
While a classic beef gravy is iconic, you can pivot the flavor profile to match specific cuisines or meats.
1. The Red Wine Reduction
Replace 1/2 cup of the beef stock with a dry red wine (like Cabernet or Merlot). Add the wine after the roux has browned but before the stock. Let the wine bubble and reduce by half. This adds a sophisticated acidity and a dark, ruby hue to the gravy.
2. The Creamy Peppercorn
For a “Steak au Poivre” style gravy, add 2 tablespoons of crushed green or black peppercorns to the aromatics. At the very end, whisk in 1/4 cup of heavy cream. This creates a rich, spicy, and pale gravy that is exceptional over pan-seared filets.
3. The Umami Bomb
Stir in a teaspoon of balsamic glaze and a teaspoon of soy sauce. The balsamic adds a dark color and a hidden tang, while the soy sauce deepens the savory “meatiness” of the broth without making it taste like soy.
Make-Ahead Guide: Strategic Success
Gravy is often the most stressful part of a holiday meal because it usually happens at the very last second while the meat is resting and guests are waiting. You can remove this stress by making your gravy up to two days in advance.
Follow the recipe using butter and a high-quality store-bought or homemade stock. Once finished, cool it quickly by placing the container in an ice bath. When you are ready to serve the meal, simply reheat the gravy on the stove. If you have fresh drippings from a roast you just finished, whisk those into the pre-made gravy as it reheats. This “freshens” the flavor, making it taste like it was made that very moment, but with 90% of the work already completed.
If the make-ahead gravy has become too thick (which happens as the starches continue to absorb moisture in the fridge), simply whisk in a tablespoon of water or broth during the reheating process until the desired consistency is restored.
Easy Ground Beef and Rice Recipes
Storage and Structural Integrity
Beef gravy is high in protein and fat, which makes it susceptible to spoilage if not handled correctly.
Reheating Frozen Gravy: Thaw in the refrigerator overnight. You may notice the gravy looks “separated” or watery when you first pour it into the pan. Do not worry—this is just the starch and fat temporarily un-binding. As you whisk it over medium heat, the emulsion will reform, and the gravy will return to its original smooth state.
Refrigeration: Store in an airtight glass container for up to 3 to 4 days. Glass is superior to plastic as it does not retain the oils or scents of the gravy.
The “Skin” Prevention: To prevent a tough skin from forming on the surface of the gravy as it cools, press a piece of plastic wrap directly onto the surface of the liquid before sealing the container.
Freezing: Flour-based gravies freeze remarkably well. Pour the cooled gravy into a heavy-duty freezer bag, squeeze out all the air, and lay it flat. It will stay fresh for up to 3 months.