In the world of home cooking, the humble chicken breast often steals the spotlight, but those in the know understand that the real magic happens with the “tender.” This Chicken Tenderloin Recipe is designed to take that small, incredibly succulent strip of meat and turn it into the undisputed star of your dinner table.
Chicken tenderloins—the small, delicate muscle attached to the underside of the breast—are prized for their tenderness. Because this muscle is rarely used by the bird, it lacks the toughness that can sometimes plague larger cuts. When cooked correctly, these “tenders” are buttery, soft, and capable of soaking up incredible amounts of flavor.
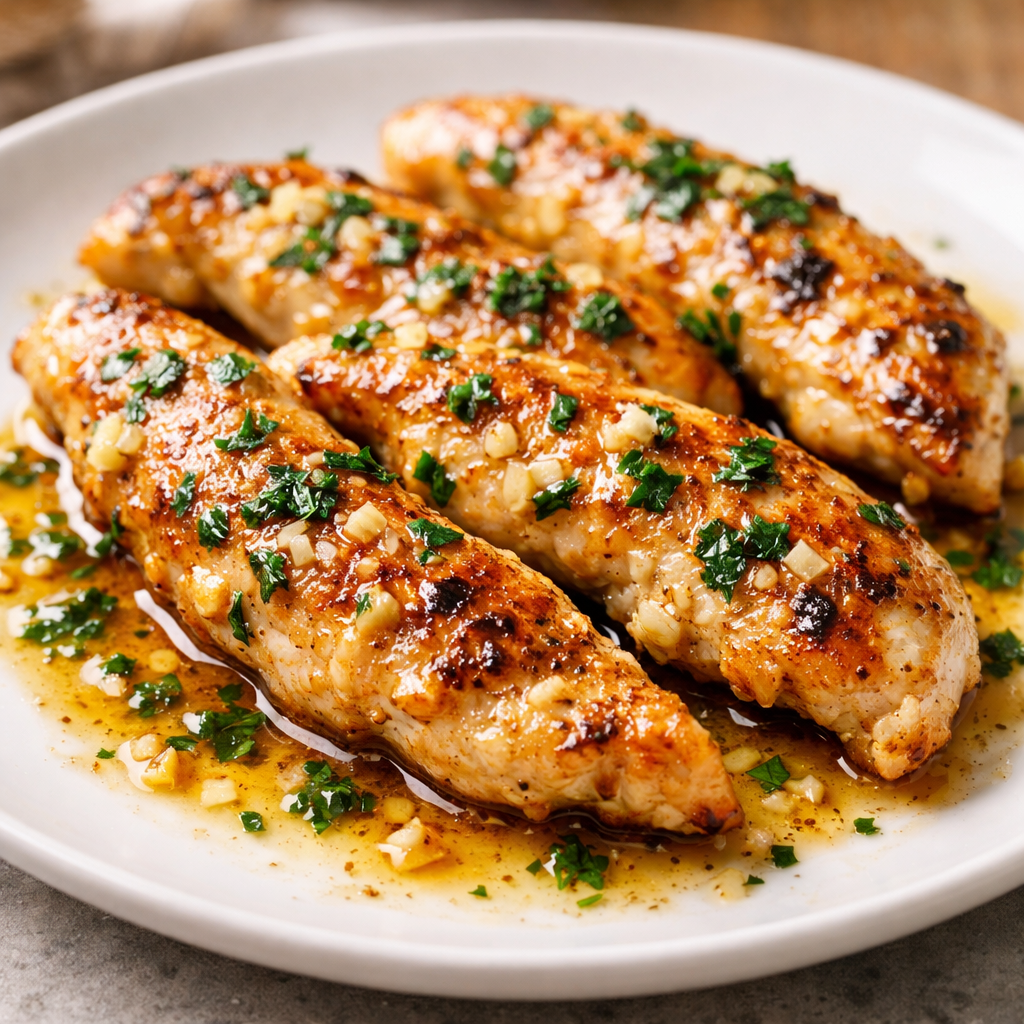
Whether you are looking for a quick weeknight solution to satisfy picky eaters or a sophisticated protein base for a gourmet salad, mastering a reliable Chicken Tenderloin Recipe is a vital skill for any home cook. Today, we aren’t just frying them; we are pan-searing them in a garlic-herb butter that elevates this simple cut to restaurant-quality status.
Why This Dish Is Worth Making
The primary reason this Chicken Tenderloin Recipe deserves a spot in your weekly rotation is its sheer speed. In the culinary world, “tender” usually implies “slow-cooked,” but chicken tenderloins defy that rule. They cook in a fraction of the time of a full breast—usually under eight minutes—making them the ultimate “zero-stress” protein for those evenings when you are short on time but refuse to compromise on quality.
Secondly, the texture is unparalleled. Because they are naturally more supple than other cuts of white meat, they are far more forgiving. If you accidentally cook a chicken breast for two minutes too long, it becomes dry; if you do the same with a tenderloin, it remains juicy.
Finally, this dish is a nutritional powerhouse that doesn’t feel like “diet food.” It is a lean, high-protein option that pairs beautifully with everything from roasted vegetables to decadent pasta. It’s a versatile canvas that allows you to play with different flavor profiles while maintaining a healthy foundation.
What to Gather Before You Begin
To make the best Chicken Tenderloin Recipe, you want to focus on fresh, high-quality fats and aromatics. Since tenderloins are mild in flavor, the ingredients you surround them with will do the heavy lifting.
- The Chicken: 1.5 lbs of fresh chicken tenderloins. If they still have the “tendon” attached, don’t worry—we’ll talk about how to handle that.
- The Cooking Fat: A combination of extra virgin olive oil and unsalted butter. The oil allows for a higher-heat sear, while the butter provides that nutty, golden finish.
- The Aromatics: Three cloves of fresh garlic (smashed) and a sprig of fresh rosemary or thyme.
- The Acid: Fresh lemon juice. This is essential for “waking up” the savory notes of the chicken.
- The Spices: Smoked paprika (for color and depth), garlic powder, onion powder, salt, and freshly cracked black pepper.
- The Garnish: Freshly chopped parsley for a pop of vibrant green.
Getting Ready to Cook
Before you even touch the stove, there is one crucial step for any Chicken Tenderloin Recipe: removing the tendon. You’ll notice a white, tough string sticking out of the top of the tenderloin. To remove it easily, place a fork over the tendon, grab the tip with a paper towel, and pull the tendon through the tines of the fork. It should slide right out!

Next, pat the chicken completely dry. This is the difference between a grey, steamed piece of meat and a beautiful, golden-brown crust. Moisture is the enemy of the sear. Once dry, toss the tenderloins in a bowl with your dry spices (paprika, garlic powder, onion powder, salt, and pepper) until they are evenly coated.
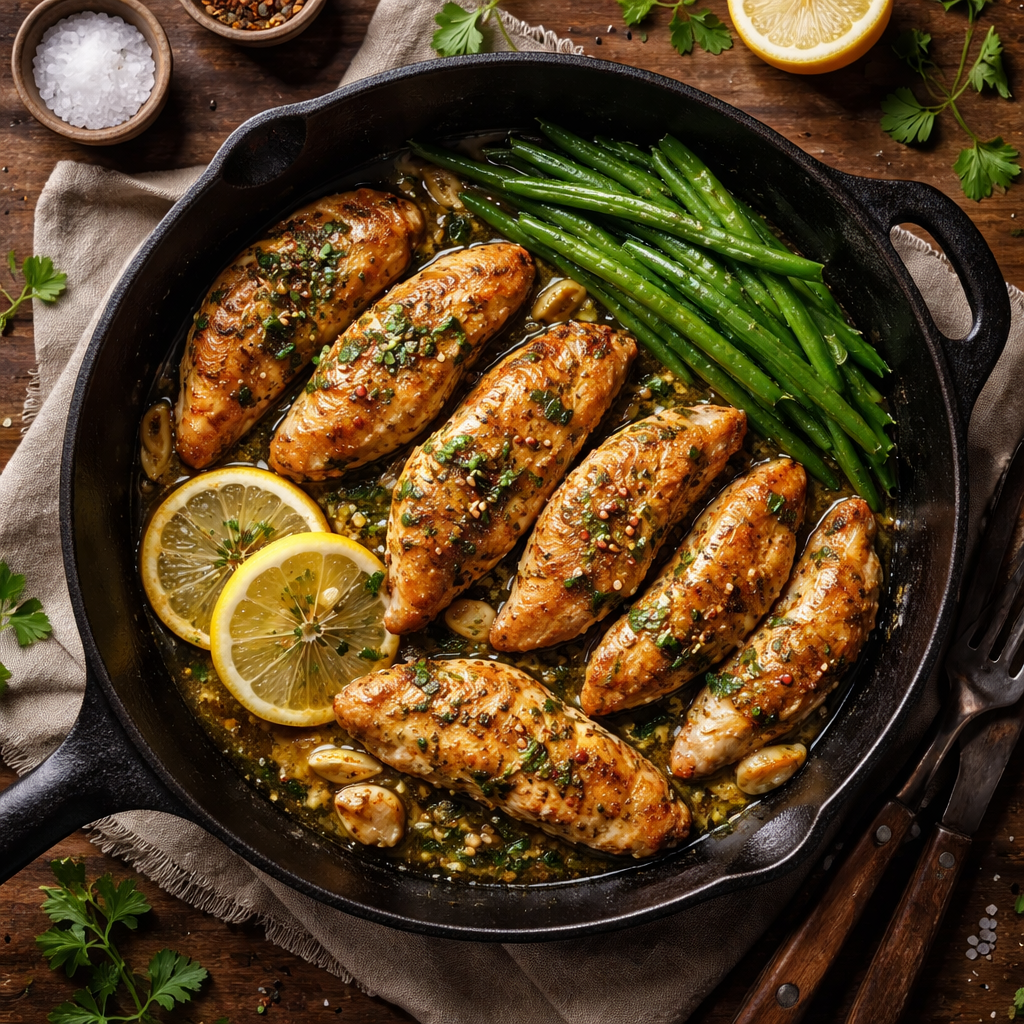
Finally, have your pan ready. A heavy-bottomed stainless steel or cast-iron skillet is best for heat retention.
Easy Cooking Instructions
Follow these steps for a perfectly seared Chicken Tenderloin Recipe every time.
- Heat the Pan: Place your skillet over medium-high heat. Add the olive oil. You know it’s ready when the oil shimmers and barely begins to smoke.
- The Initial Sear: Place the tenderloins in the pan. Do not crowd them. If they are too close together, they will release steam and won’t brown. Cook for 3–4 minutes without moving them.
- The Flip: Once a golden crust has formed, flip the pieces.
- The Butter Baste: Immediately add the butter, smashed garlic cloves, and the herb sprig to the pan. As the butter melts and foams, use a spoon to “baste” the chicken with the hot, garlic-infused butter for the final 2–3 minutes of cooking.
- Check for Doneness: Chicken tenderloins are finished when they reach an internal temperature of 165°F. Because they are thin, this happens quickly!
- The Deglaze: Turn off the heat and squeeze the fresh lemon juice over the pan. Use your tongs to swirl the chicken in the resulting pan sauce.
- Rest: Transfer the chicken to a plate and let it rest for 3 minutes before serving. This allows the juices to redistribute so they don’t run out when you take your first bite.
Perfect Time to Enjoy This Meal
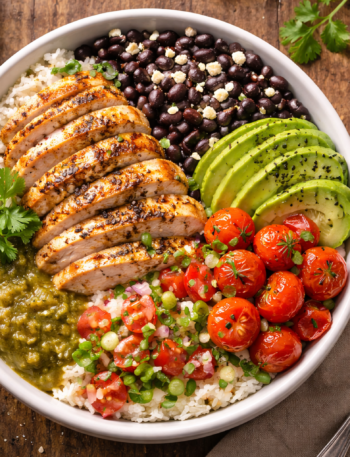
This Chicken Tenderloin Recipe is a true all-rounder. It is the perfect Lunch Prep Solution. You can cook a large batch on Sunday, and because they are small and stay juicy, they are excellent when eaten cold over a Caesar salad or tucked into a wrap with some avocado and chipotle mayo.
It is also an ideal Post-Workout Meal. When your body needs protein fast, this dish delivers in under 15 minutes from fridge to plate.
For a more formal setting, serve these as part of a Mediterranean Platter alongside hummus, roasted red peppers, and warm pita bread. The lemon and garlic profile makes them a natural fit for bright, zesty summer dinners on the patio.
Ways to Improve the Flavor
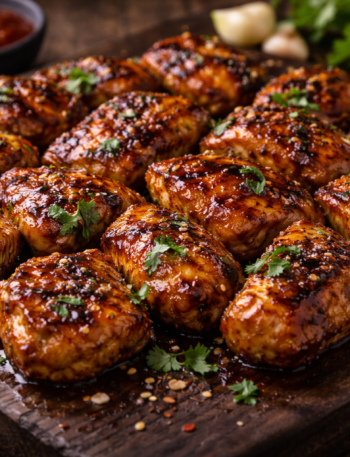
To elevate your Chicken Tenderloin Recipe, think about the “Maillard reaction”—the chemical reaction between amino acids and reducing sugars that gives browned food its distinctive flavor.
- Don’t Skimp on the Paprika: Beyond the flavor, smoked paprika provides the sugars needed to help the chicken brown beautifully without overcooking the inside.
- Use Cold Butter: Adding cold butter to the pan at the end of cooking creates a thicker, creamier emulsion for your pan sauce than starting with room-temperature butter.
- The Salt Timing: Season your chicken right before it hits the pan. If you salt it too early, the salt will draw out moisture, making it harder to get that crispy exterior.
Simple Twists to Try
Once you’ve mastered the basic Chicken Tenderloin Recipe, try these flavor variations:
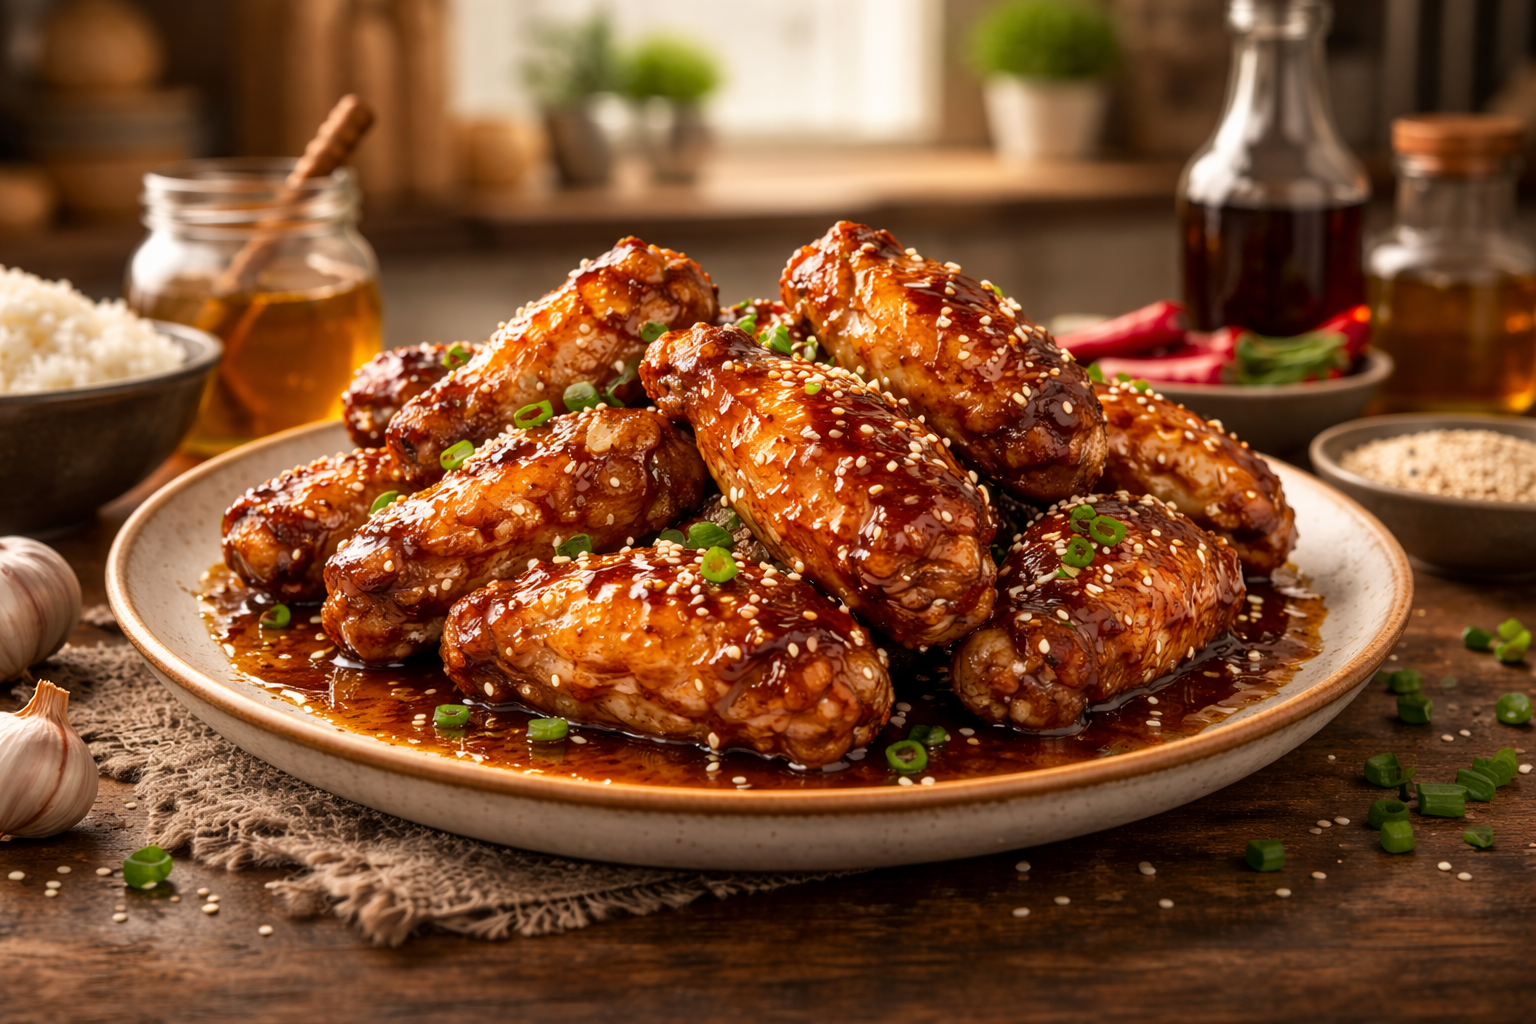
- Honey Garlic: Add a tablespoon of honey to the pan during the final minute of cooking for a sticky, sweet-and-savory glaze.
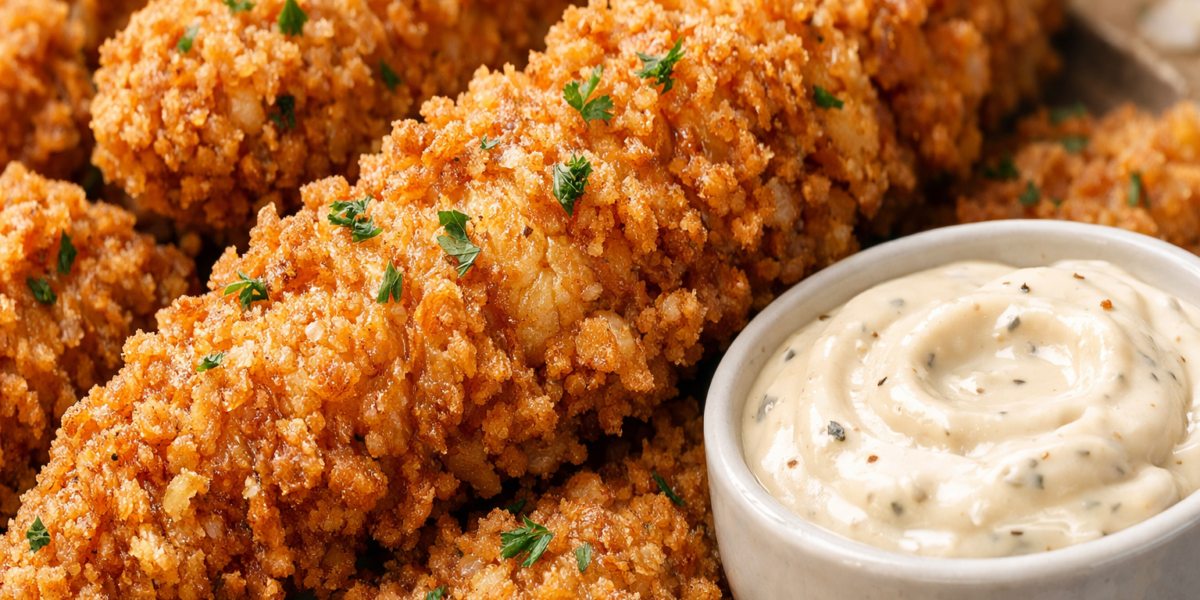
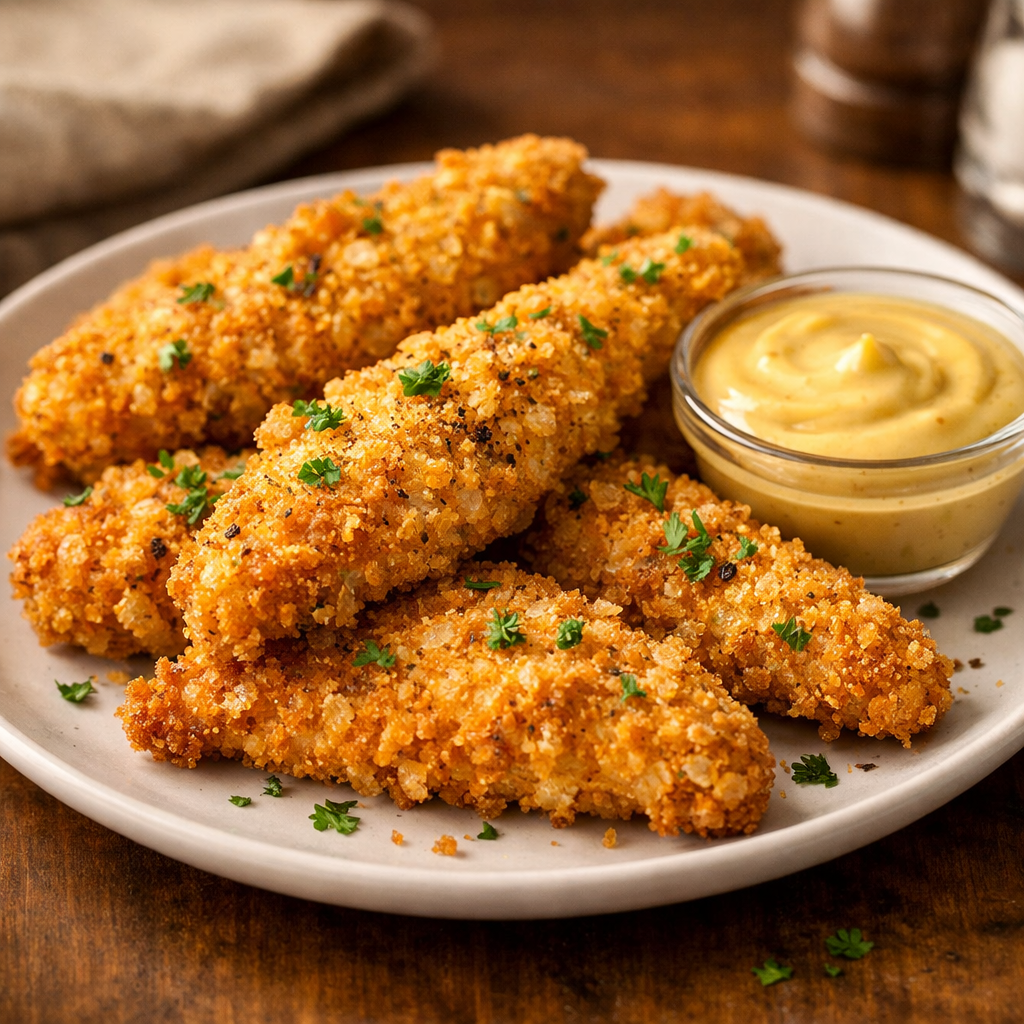
- Parmesan Crusted: After seasoning, dredge the tenderloins in a mixture of grated Parmesan cheese and Italian breadcrumbs for a satisfying crunch.
- Buffalo Style: Toss the finished tenderloins in a mix of melted butter and hot sauce for a healthier take on buffalo wings.
- Pesto Infusion: Stir a tablespoon of basil pesto into the pan sauce right at the end for an earthy, herbal finish.
Storing and Reheating Made Easy
Storage: Store leftovers in an airtight container in the refrigerator for up to 4 days.
Reheating: This is where many people go wrong. If you microwave chicken tenderloins on high, they will turn into rubber. Instead, use the “Low and Slow” method. Heat a small skillet over medium-low heat with a teaspoon of water or broth. Add the chicken and cover with a lid for 2 minutes. The steam will gently reheat the meat without drying it out.
If you must use a microwave, use the 50% power setting and heat in 30-second increments.
How to Present It Beautifully
We eat with our eyes first, and this Chicken Tenderloin Recipe can look quite sophisticated with a little effort.
- The Shingled Look: On a rectangular platter, lean the tenderloins against one another like shingles on a roof. This shows off the golden-brown sear of each piece.
- The Sauce Drizzle: Don’t leave that garlic butter in the pan! Pour it directly over the chicken right before it hits the table.
- Color Contrast: Serve the chicken on a white or light-colored plate to make the golden crust and the bright green parsley pop.
- The Garnish: Add a few fresh lemon slices to the plate. It signals the flavor profile to your guests and looks beautiful.
Mistakes to Watch Out For
- Crowding the Pan: We’ve said it before, but it’s worth repeating. If you put too many tenderloins in at once, you will lose the sear. Cook in two batches if necessary.
- Overcooking: Because they are small, 30 seconds can be the difference between juicy and dry. Use a meat thermometer to pull them at exactly 165°F.
- Moving the Meat Too Soon: When you first put the chicken in the pan, let it sit! If you try to flip it and it “sticks,” it’s not ready. When the crust is formed, the meat will naturally release from the pan.
- Skipping the Rest: Even 3 minutes of resting makes a huge difference in the moisture content of the final dish.
Homemade Buffalo Chicken Pizza Recipe
Quick Chicken and Sausage Recipes
Homemade Peri Peri Chicken Recipe
Easy Chipotle Honey Chicken Recipe