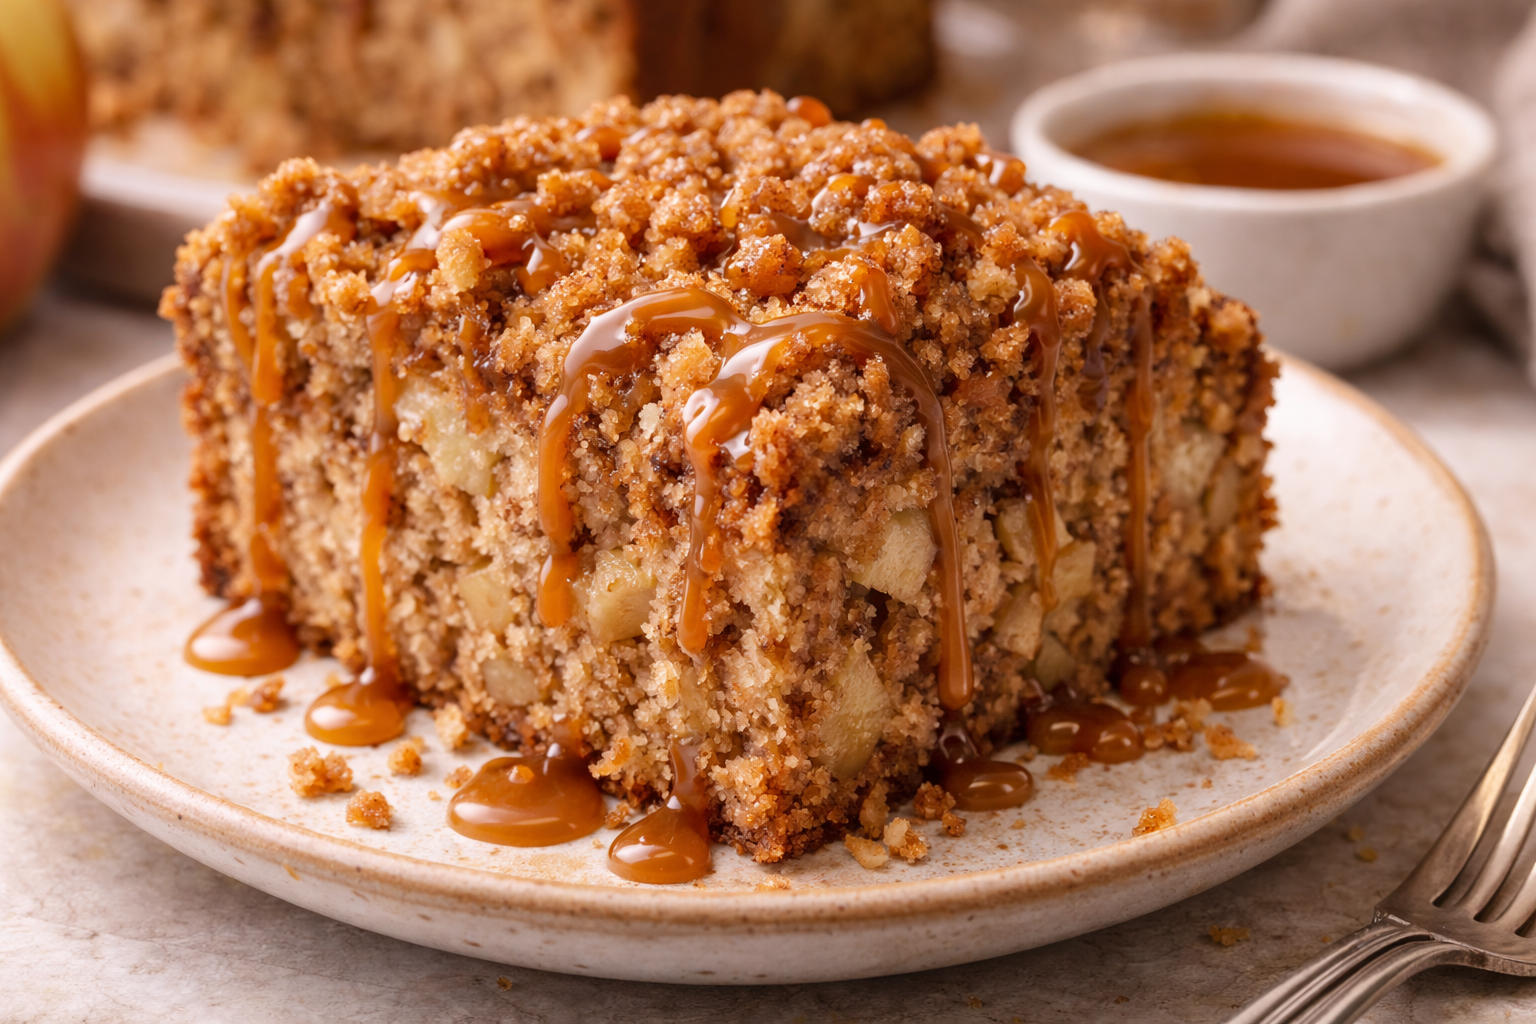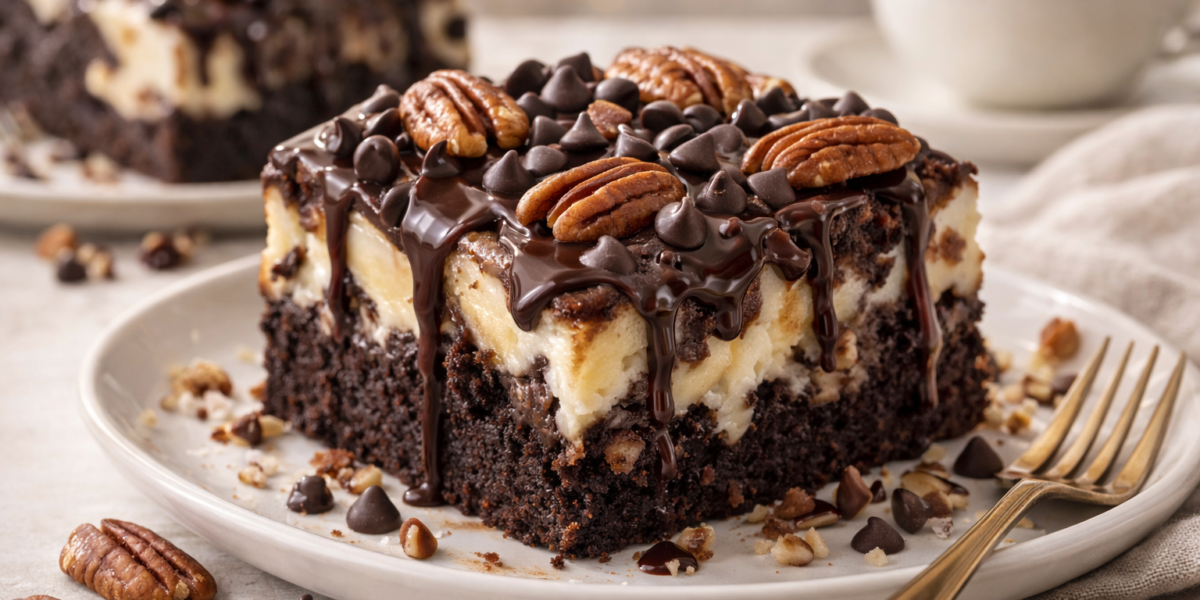
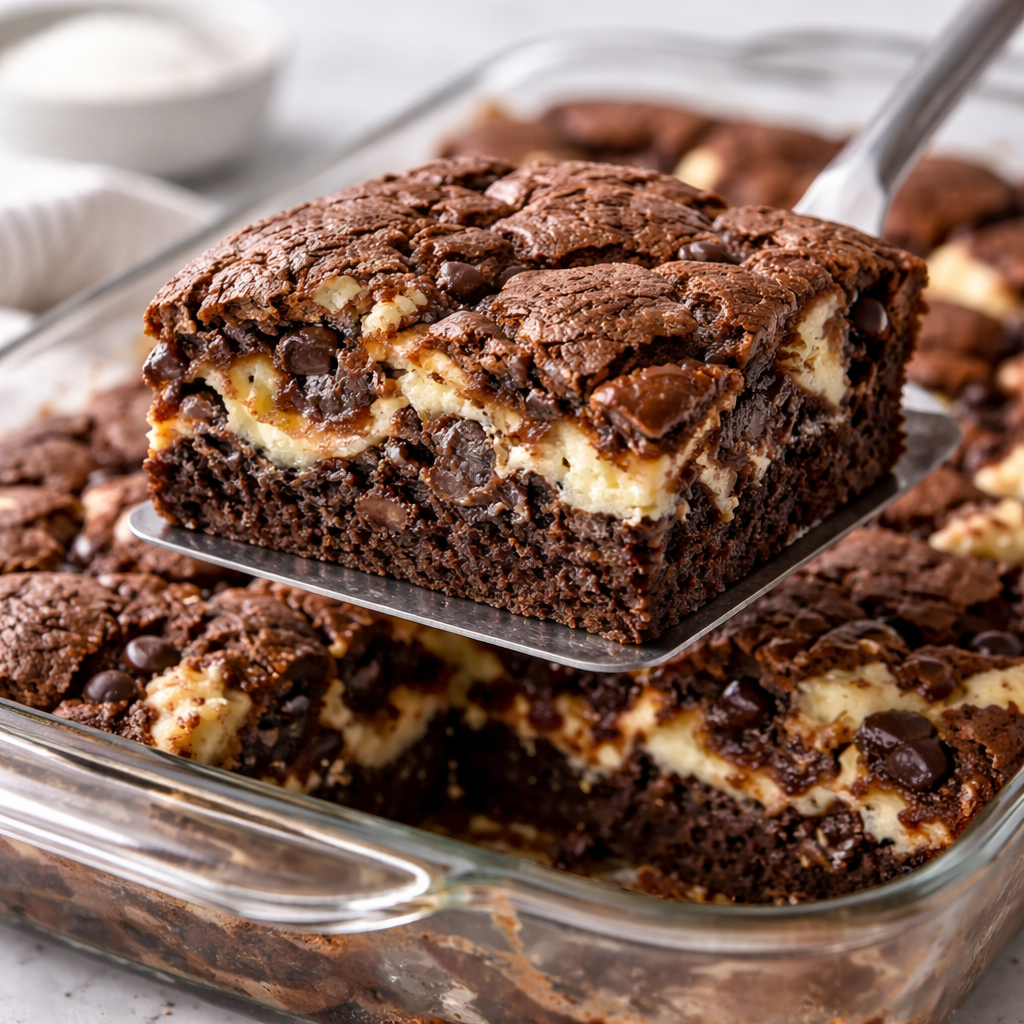
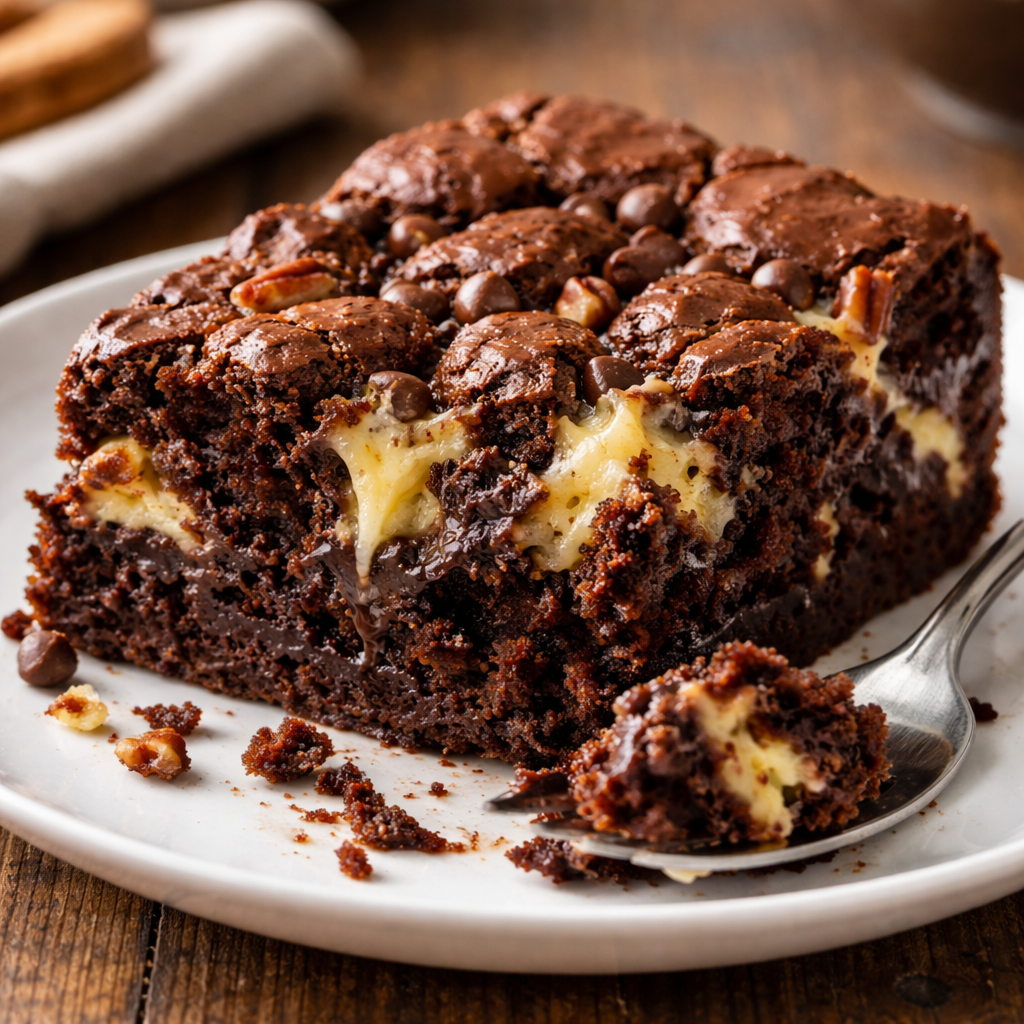
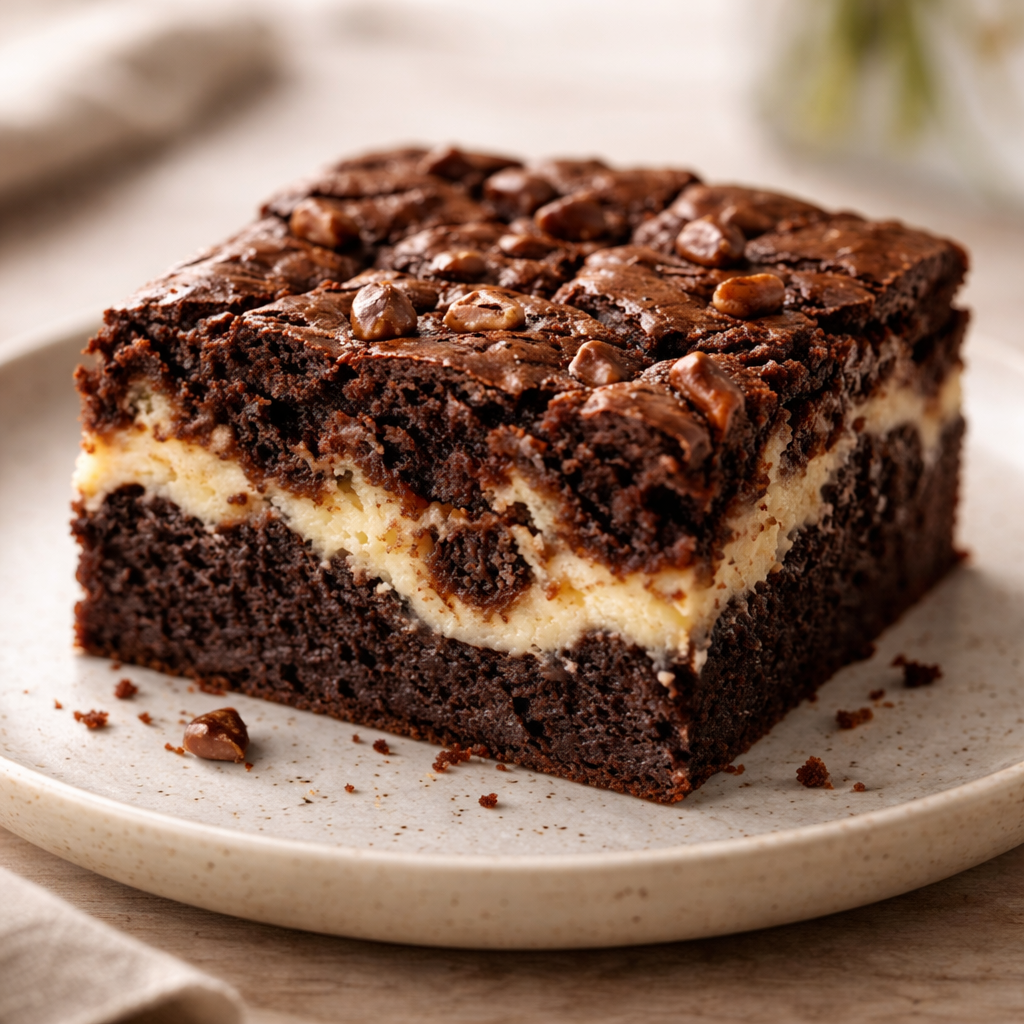
If you’ve ever found yourself scrolling through dessert blogs looking for something that is “perfectly imperfect,” you’ve likely stumbled upon the legend of the Earthquake Cake Recipe. It is a dessert that defies the traditional laws of baking aesthetics. Most cakes are judged by their smooth surfaces and even layers, but the Earthquake Cake is celebrated for its craters, cracks, and messy, oozing center. It looks like a tectonic shift happened right in your 9×13 pan—hence the name—and honestly, that’s exactly where the magic lies.
This cake is a dream for the “lazy baker” who still wants a “wow” factor. It’s a multi-layered experience of chocolate, coconut, pecans, and a rich cream cheese swirl that migrates through the batter as it bakes. It’s essentially a brownie, a cheesecake, and a German chocolate cake all decided to have a party in the same dish. Today, I’m sharing how to master this chaotic masterpiece so you can achieve that perfect balance of gooey and structural.
Why This Dish Is Worth Making
In the world of high-effort pâtisserie, the Earthquake Cake Recipe is a refreshing breath of air. Here is why you should add it to your kitchen rotation:
- No Frosting Required: Because the “frosting” (a cream cheese and butter mixture) is baked into the cake itself, you save a massive step at the end. It comes out of the oven fully decorated by physics.
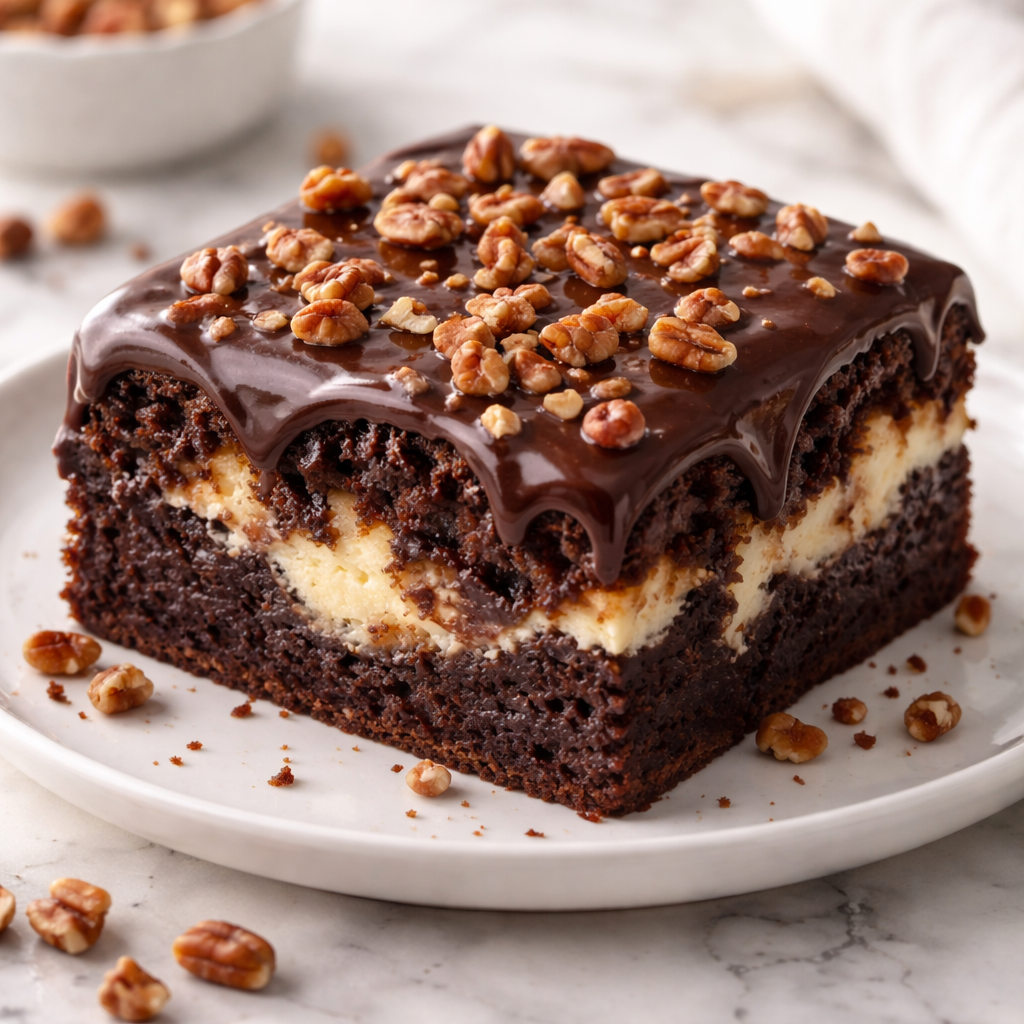
- The Texture Trifecta: You get the crunch of pecans, the chew of coconut, and the fudgy silkiness of the cream cheese pockets. Every bite is different.
- A “One-Pan” Wonder: Aside from the bowl used to mix the cream cheese, everything happens in the baking dish. This makes it a fantastic option for potlucks or busy weeknights.
- Beginner Friendly: This is one of the few cakes where “messing up” actually makes it look more authentic. If it looks like a disaster, you’ve done it right!
What to Gather Before You Begin
Before we start shifting the culinary tectonic plates, let’s look at the ingredients. The beauty of the Earthquake Cake Recipe is that it usually relies on pantry staples, but quality matters.
The Foundation
- Chocolate Cake Mix: 1 box (15.25 oz). Dark chocolate or German Chocolate work best.
- Pecans: 1 cup, roughly chopped. These provide the necessary structural “rubble.”
- Shredded Coconut: 1 cup, sweetened. This creates a base layer that prevents the cake from sticking.
- Chocolate Chips: 1 cup of semi-sweet or dark chocolate chips.
The “Magma” (Cream Cheese Swirl)
- Cream Cheese: 8 oz, softened to room temperature.
- Unsalted Butter: ½ cup (1 stick), melted.
- Powdered Sugar: 2 cups.
- Vanilla Extract: 1 teaspoon.
Getting Ready to Cook
Preparation is key to ensuring your Earthquake Cake Recipe has the right “fault lines.”
- The Softening Stage: Make sure your cream cheese is truly soft. If it’s even slightly cold, your “magma” will be lumpy, and instead of beautiful white craters, you’ll have white dots that look like unmixed flour.
- Pan Prep: Preheat your oven to 350°F (175°C). Use a 9×13 inch metal or glass baking pan. Grease it generously with butter or non-stick spray, even though the coconut provides a barrier.
- Check Your Cake Mix: Ensure your mix doesn’t have large clumps. I like to run a whisk through the dry mix before adding the water, oil, and eggs to ensure a smooth batter.
Easy Cooking Instructions
Follow these steps to create your own delicious disaster.
1. The Bedrock Layer
Scatter the shredded coconut and chopped pecans evenly across the bottom of your greased 9×13 pan. This layer is what gives the cake its “upside-down” charm and prevents the chocolate from being too overwhelming.
2. Prepare the Batter
Mix the chocolate cake mix according to the package instructions (usually involving water, oil, and eggs). Pour this batter directly over the coconut and pecans. Do not stir them together!
3. Mix the Cream Cheese “Faults“
In a separate bowl, beat the softened cream cheese until smooth. Gradually add the melted butter, vanilla, and powdered sugar. Beat until it’s creamy and pourable.
4. Create the Earthquake
This is the fun part. Drop spoonfuls of the cream cheese mixture onto the raw cake batter. Use a knife to gently swirl it—but only a little! You want big, distinct pockets of cheese.
5. Final Topping
Sprinkle the chocolate chips over the top. As the cake bakes, these will melt and sink, creating deep, dark “fissures” in the cake.
6. The Bake
Bake for 35–45 minutes. The cake is done when the chocolate part is set, but the cream cheese areas still look slightly wobbly. They will firm up as the cake cools.
Perfect Time to Enjoy This Meal
When should you pull out the Earthquake Cake Recipe?
- Casual Potlucks: It’s a conversation starter because of its unique look.
- Late Night Cravings: It’s incredibly rich and pairs perfectly with a cold glass of milk.
- Office Parties: Since it’s served right out of the pan, it’s easy to slice and distribute.
- When You’re Short on Time: Total active prep time is about 15 minutes.
Ways to Improve the Flavor
To elevate your Earthquake Cake Recipe, try these professional tips:
- The Coffee Boost: Instead of using water for the cake mix, use strong, hot coffee. It won’t make the cake taste like coffee; it simply intensifies the chocolate.
- Salt Your Nuts: If using raw pecans, toss them with a pinch of sea salt and toast them in a pan for 3 minutes before putting them in the bottom of the dish.
- High-Quality Vanilla: Since the cream cheese swirl is essentially a cheesecake, use the best vanilla extract you can find.
Simple Twists to Try
Once you’ve mastered the chocolate version, try these variations:
- The Red Velvet Earthquake: Use a red velvet cake mix for a striking visual contrast with the white cream cheese.
- The Pumpkin Fault Line: Use a yellow cake mix and stir half a cup of pumpkin puree into the cream cheese mixture for a fall twist.
- The Peanut Butter Shift: Add peanut butter chips along with the chocolate chips.
- White Chocolate Explosion: Use a white cake mix and white chocolate chips for a “blondie” version of the cake.
Storing and Reheating Made Easy
Because this cake contains a high amount of cream cheese and butter, storage is important.
- Storage: Once cooled, cover the pan with plastic wrap and store it in the refrigerator. It will stay moist for 4–5 days.
- Reheating: This cake is excellent cold, but if you want that “just out of the oven” gooiness, microwave a slice for 15–20 seconds. The chocolate chips will re-melt, and the cream cheese will soften.
- Freezing: You can freeze this cake! Wrap individual squares in plastic wrap. It will keep for up to 3 months.
How to Present It Beautifully
“Beautiful” is a relative term for an Earthquake Cake Recipe, but you can still make it look appetizing:
- Dust with Cocoa: A light sifting of cocoa powder over the top can help define the cracks.
- Add Fresh Berries: The brightness of raspberries or strawberries cuts through the intense richness of the chocolate and cheese.
- The “Spoon” Method: Instead of perfect squares, serve it in bowls with a dollop of whipped cream.
Mistakes to Watch Out For
To ensure your Earthquake Cake Recipe doesn’t turn into a literal disaster, avoid these common errors:
- Mistake: Over-swirling. If you mix the cream cheese too much into the batter, it just becomes a “marbled cake” and you lose the “earthquake” effect.
- Mistake: Using cold cream cheese. Lumpy cream cheese is the number one enemy of this cake. It won’t melt properly and leaves unappealing white chunks.
- Mistake: Not greasing the pan. Even with the coconut, the cream cheese can be very sticky. Grease those sides well!
- Mistake: Checking too early. Opening the oven door too often can cause the cake to sink prematurely, losing the “peaks” that make it look like a landscape.
Homemade Coca Cola Cake Recipe