There is a universal comfort in a golden-brown, perfectly crispy piece of chicken. Whether you are six years old or sixty, the satisfying crunch followed by tender, juicy meat is one of life’s simplest and greatest culinary pleasures. While we often think of this as “diner food” or something pulled from a freezer bag, making a homemade Easy Chicken Tenders Recipe is a game-changer for your weeknight rotation.
The beauty of making these at home is the control you have over the quality of the ingredients. No mystery fillers or excessive preservatives—just fresh poultry, seasoned breading, and the perfect fry. I’ve spent countless hours in my kitchen testing different dredging methods to ensure the coating actually stays on the chicken instead of falling off in the pan. Today, I’m sharing the secret to that perfect, craggy, golden crust that rivals any restaurant.
Why You’ll Love This Recipe
In a world of complicated dinner options, this Easy Chicken Tenders Recipe stands out for its sheer reliability and crowd-pleasing nature. Here is why it’s destined to become a staple in your household:
- Speed: From prep to plate, you can have these ready in under 30 minutes. It is the ultimate solution for those “what’s for dinner?” panics.
- Superior Texture: By using a specific breading technique, we achieve a light, airy crunch that isn’t heavy or greasy.
- Budget-Friendly: Chicken tenderloins or sliced breasts are often more affordable than premium cuts, and the pantry staples used for the breading cost mere pennies.
- The “Juice” Factor: Many people struggle with dry chicken. This recipe uses a quick buttermilk soak (or a simple alternative) to ensure the meat stays succulent even after frying.
What You Need to Get Started
To get that professional-grade crunch, you need the right tools and ingredients. This Easy Chicken Tenders Recipe relies on a standard three-station dredging system.
The Protein
- Chicken Tenderloins: 1.5 lbs. You can also use chicken breasts sliced into 1-inch strips, but actual tenderloins are naturally more tender.
The Dredge Station
- All-Purpose Flour: 1 cup. This acts as the “primer” for the chicken.
- Eggs: 2 large, beaten. This is the “glue” that holds the crust together.
- Panko Breadcrumbs: 2 cups. I prefer Panko over traditional breadcrumbs for that jagged, extra-crispy texture.
- Spices: Garlic powder, onion powder, smoked paprika, salt, and freshly cracked black pepper.
The Cooking Medium
- Neutral Oil: Vegetable, canola, or peanut oil. You want something with a high smoke point so it doesn’t burn before the chicken is cooked through.
How to Prepare the Ingredients
Preparation is the difference between a messy kitchen and a successful meal. Before you turn on the stove, set up your workspace for this Easy Chicken Tenders Recipe.
- Pat Dry: Remove the chicken from the packaging and pat it thoroughly dry with paper towels. If the chicken is wet, the flour will turn into a paste and slide right off during cooking.
- Organize Your Stations: Use three shallow bowls. Bowl one for flour and half the spices. Bowl two for the beaten eggs and a splash of water. Bowl three for the Panko and the remaining spices.
- The Tendon Trick: If you are using actual tenderloins, you’ll notice a white tendon sticking out. You can remove this by holding the tip with a paper towel and pushing the meat down with a fork, but for a quick weeknight meal, leaving it in is perfectly fine!
- Whisk Thoroughly: Ensure your eggs are completely broken down with no remaining streaks of white. This ensures an even coating.
Step-by-Step Cooking Instructions
Ready to cook? Follow these steps for the ultimate Easy Chicken Tenders Recipe.
1. The Coating Process
Using the “one hand wet, one hand dry” rule, dredge a piece of chicken in the flour, shaking off the excess. Dip it into the egg wash until fully coated, then press it firmly into the Panko breadcrumbs. Ensure every nook and cranny is covered.
2. Heat the Oil
In a large skillet, pour about half an inch of oil. Heat it over medium-high. To test if it’s ready, drop a single breadcrumb into the pan—if it sizzles immediately, you’re ready to go. The ideal temperature is around 350°F.
3. Fry in Batches
Place the chicken tenders in the pan, being careful not to overcrowd it. If you put too many in at once, the oil temperature will drop, resulting in soggy, greasy chicken.
4. The Golden Flip
Fry for about 3–4 minutes per side. You are looking for a deep golden brown. Use a meat thermometer to ensure the internal temperature reaches 165°F.
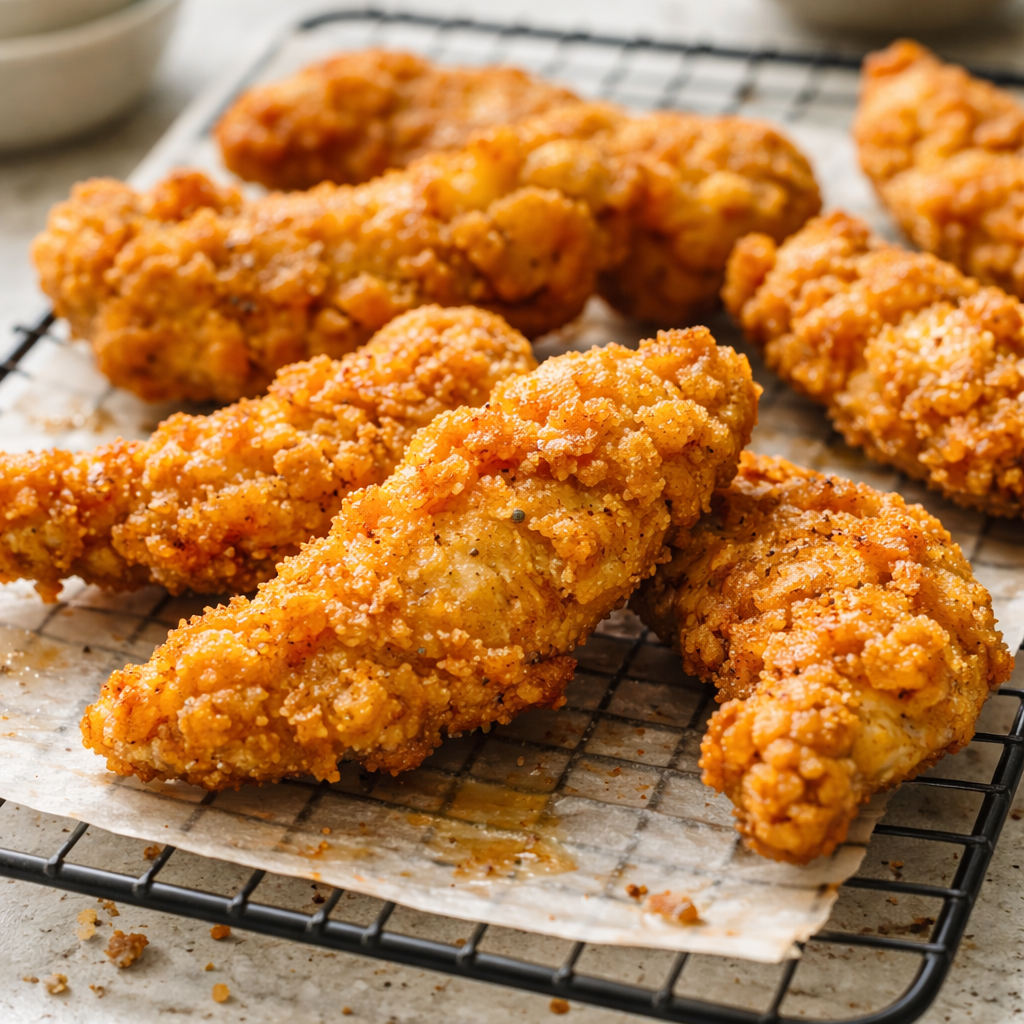
5. The Drain
Transfer the cooked tenders to a wire rack set over a baking sheet. Using a wire rack instead of paper towels prevents the bottom of the tenders from steaming and getting soft.
best Time to Serve This Dish
The versatility of an Easy Chicken Tenders Recipe means it fits almost any occasion.
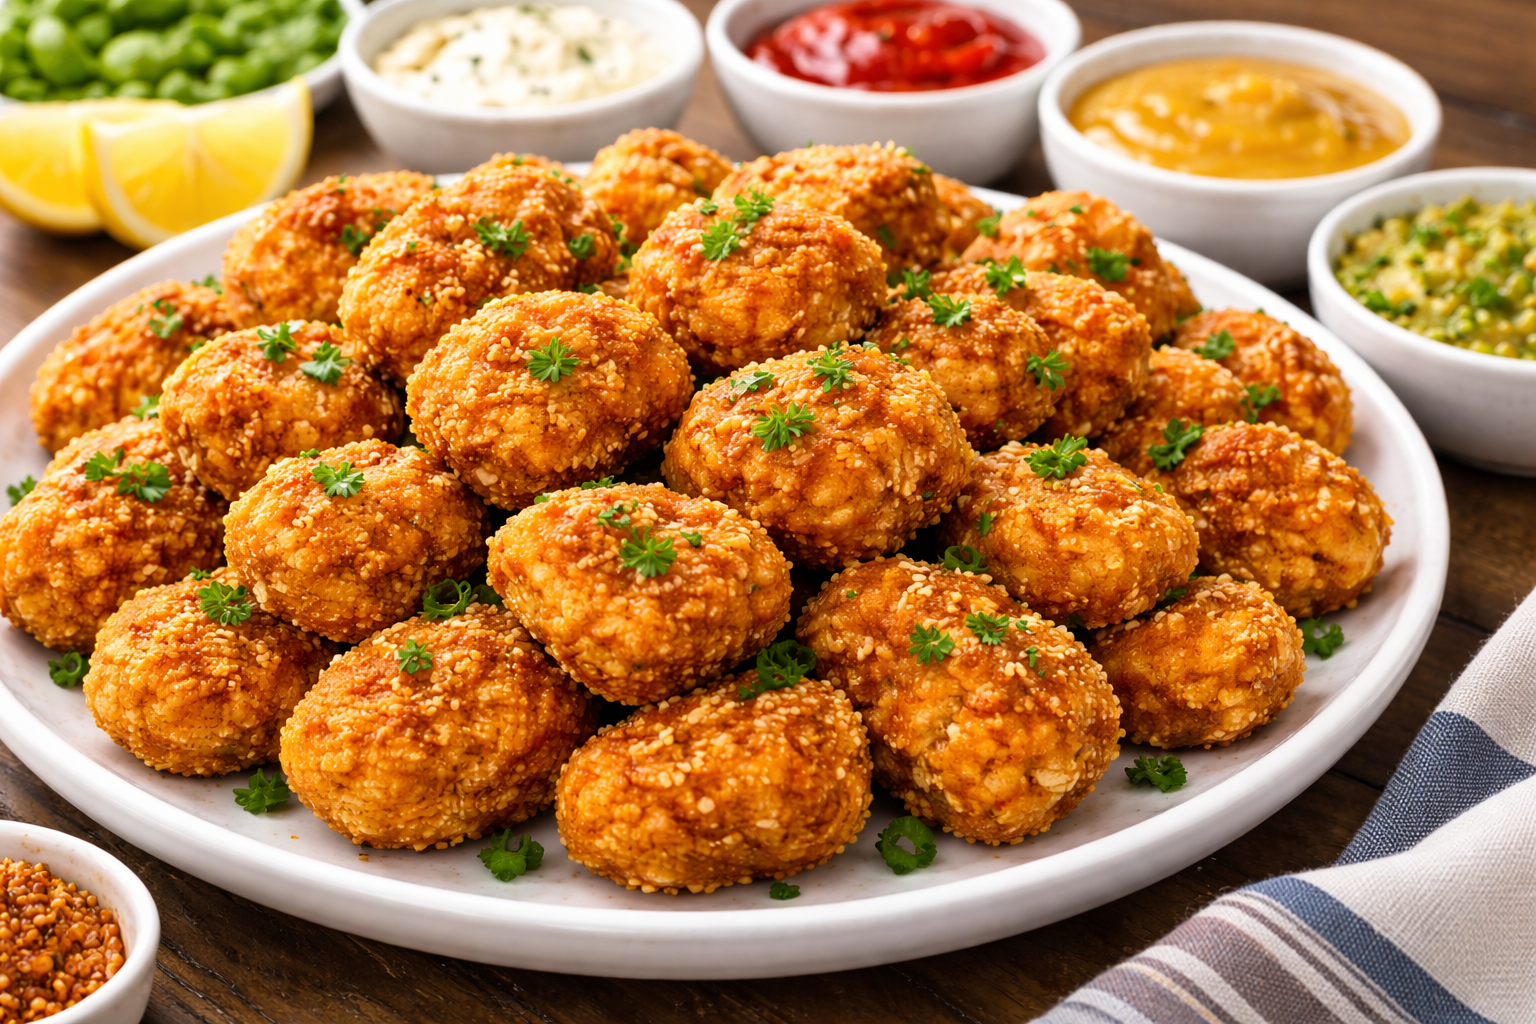
- Game Day: Serve them on a massive platter with an array of dipping sauces for the ultimate football snack.
- Weeknight Rescue: When the kids have practice and you have zero energy, this recipe provides a homemade meal faster than the drive-thru.
- Summer Picnics: These are surprisingly delicious even at room temperature, making them great for outdoor gatherings.
- Salad Toppers: Slicing these up over a fresh Caesar or garden salad turns a light lunch into a filling, high-protein dinner.
Flavor Tips for Better Results
Want to elevate your Easy Chicken Tenders Recipe from “good” to “unforgettable”? Try these pro tips:
- Season the Flour: Most people only season the breadcrumbs. If you season the flour as well, you ensure the flavor is locked directly onto the meat.
- The Buttermilk Secret: If you have time, soak the chicken in buttermilk for 30 minutes before dredging. The acid breaks down the proteins, making them incredibly tender.
- Double Dredge: If you like an extra-thick crust, go from flour to egg to flour to egg and then to breadcrumbs. It’s a bit more work, but the crunch is monumental.
- Parmesan Power: Mix ½ cup of freshly grated Parmesan cheese into your Panko. It adds a salty, umami kick that is hard to beat.
Optional Add-Ins and Variations
The classic version is great, but don’t be afraid to put your own spin on this Easy Chicken Tenders Recipe:
- Spicy Kick: Add cayenne pepper to the flour and a few dashes of hot sauce to the egg wash.
- Herb-Crusted: Mix dried oregano, basil, and thyme into the breadcrumbs for an Italian-inspired flavor profile.
- Air Fryer Version: If you want to skip the oil, spray the breaded tenders generously with cooking oil and air fry at 400°F for 12–15 minutes, flipping halfway through.
- Gluten-Free: Swap the flour for almond flour and use gluten-free Panko or crushed pork rinds for the final coating.
How to Store and Reheat Properly
Leftovers are a gift, especially with an Easy Chicken Tenders Recipe.
- Storage: Store in an airtight container in the refrigerator for up to 4 days.
- Freezing: You can freeze these after they have cooled completely. Place them on a baking sheet to freeze individually, then transfer to a freezer bag. They’ll stay fresh for 3 months.
- The Best Way to Reheat: Never use the microwave—it turns the breading into a sponge. Instead, use an air fryer at 350°F for 4 minutes or a conventional oven at 375°F until they regain their crispiness.
Serving Ideas for a Beautiful Presentation
Even simple food deserves a little flair. When serving your Easy Chicken Tenders Recipe, consider these presentation tips:
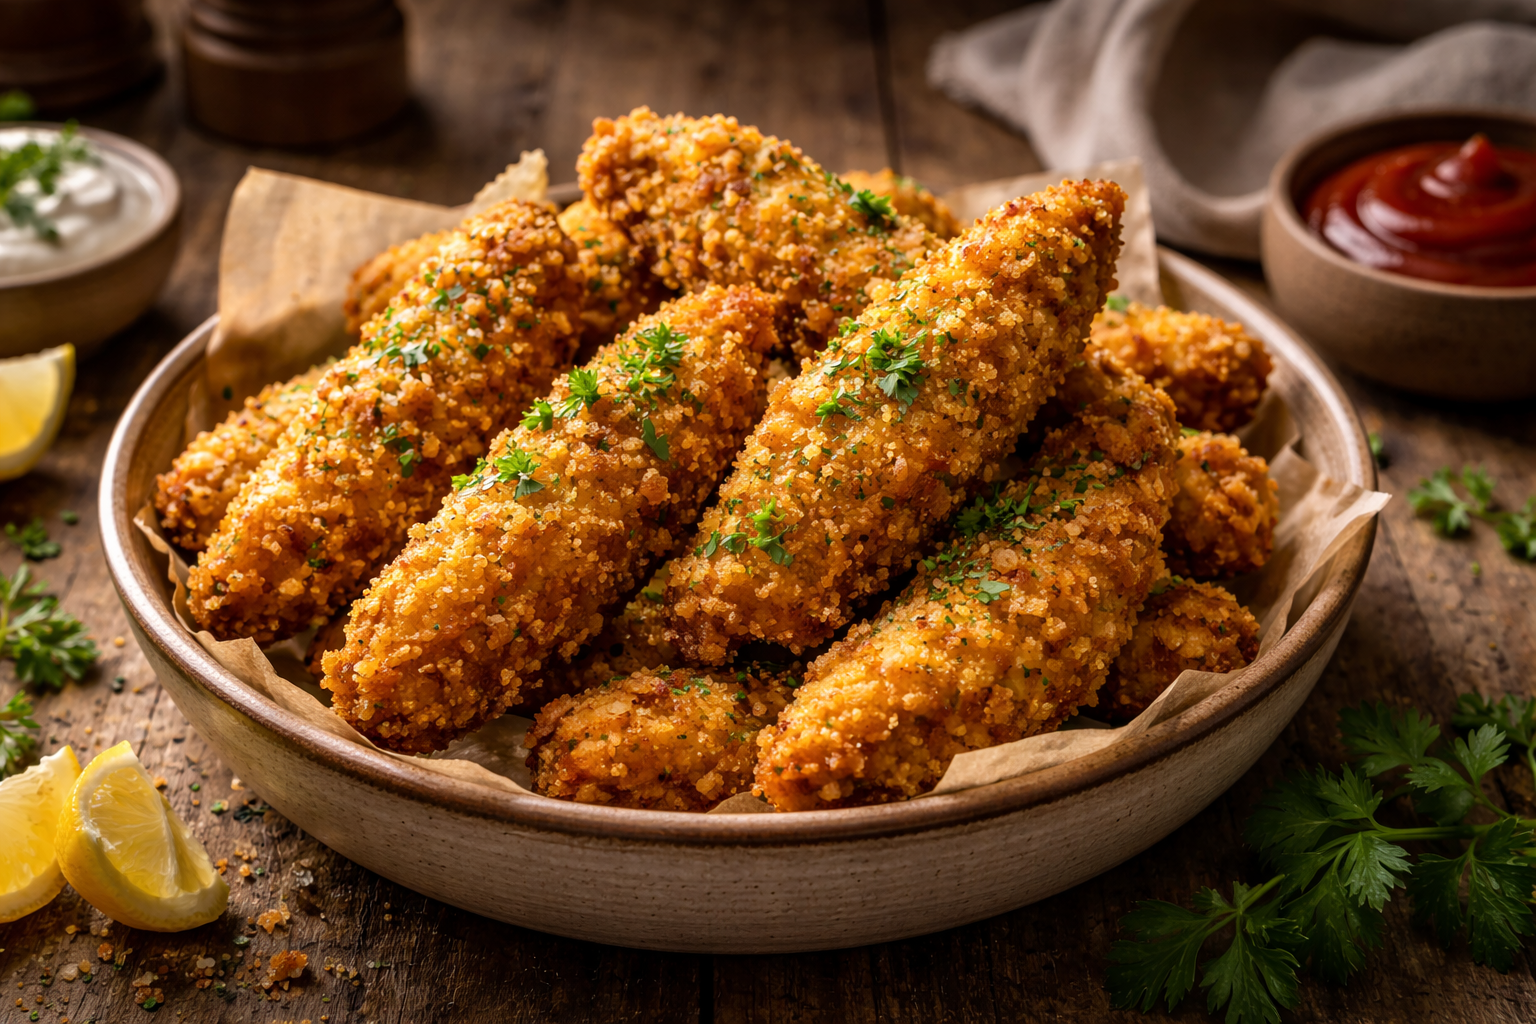
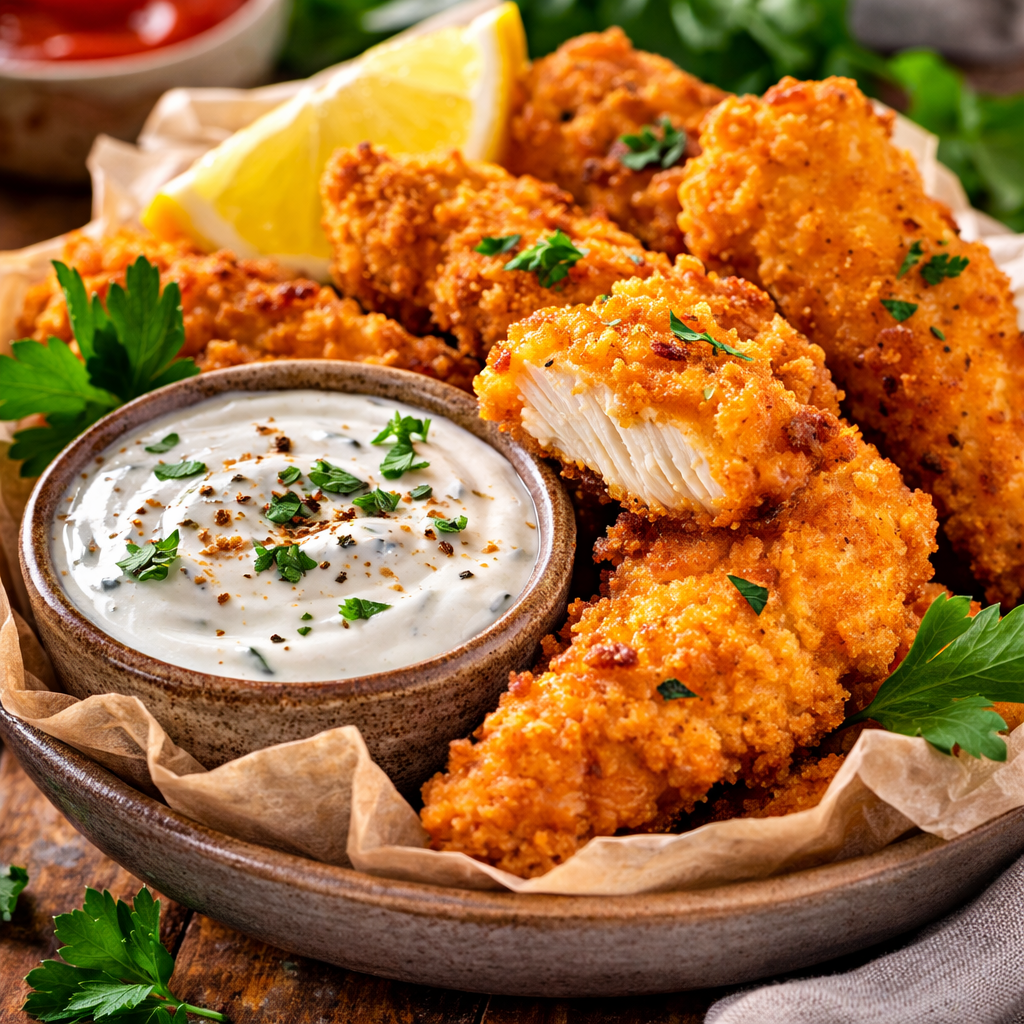
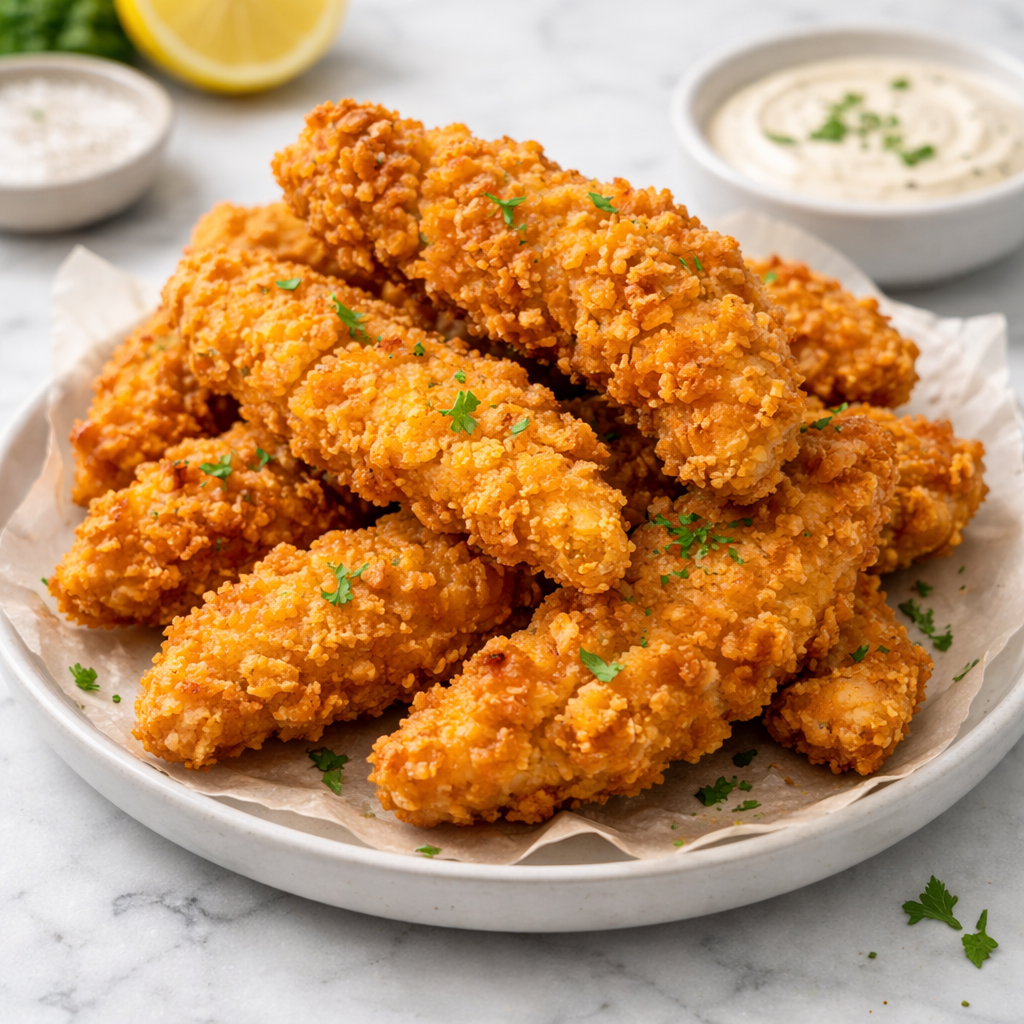
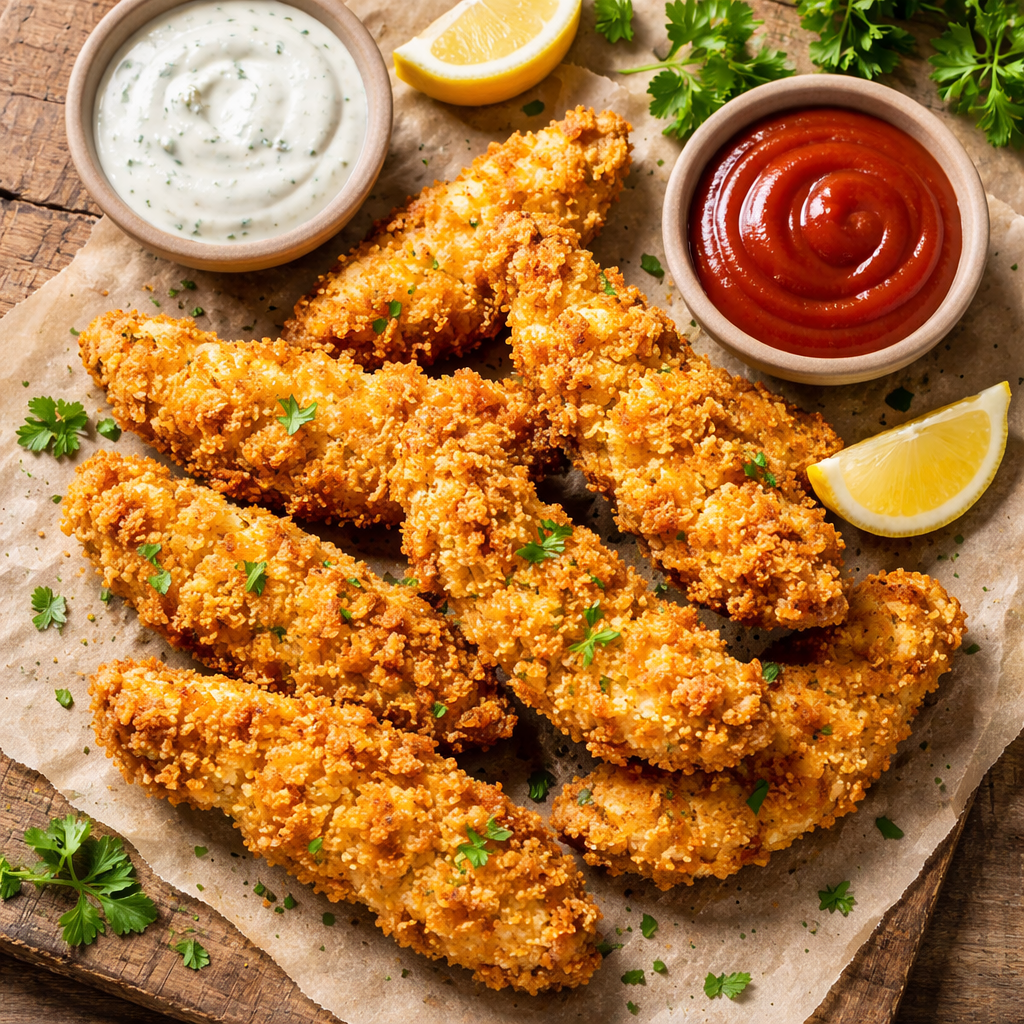
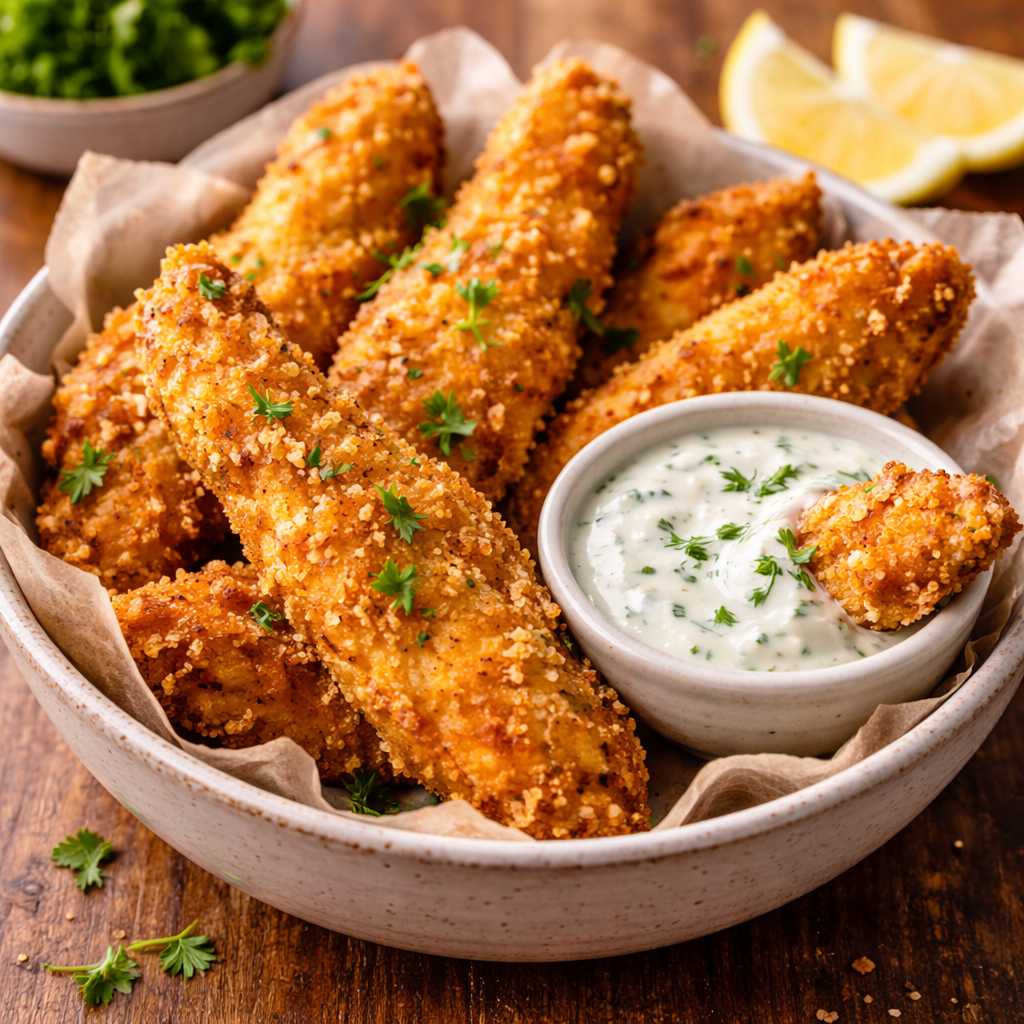
- The Sauce Trio: Serve the tenders on a wooden board with three small white ramekins containing honey mustard, smoky BBQ, and a classic ranch.
- The Garnish: A sprinkle of fresh parsley and a few lemon wedges on the side add a pop of color and a hit of brightness that cuts through the fried richness.
- The “Basket” Look: Line a wire basket with checkered parchment paper for that classic Americana aesthetic.
Helpful Tips and Common Mistakes
To make sure your Easy Chicken Tenders Recipe is a success every time, avoid these hurdles:
- Mistake: Oil not hot enough. If the oil is cool, the breading will absorb the oil like a sponge. Always test a crumb first.
- Mistake: Using “old” oil. Oil can be reused once or twice, but if it’s dark or smells “off,” it will ruin the flavor of your chicken.
- Tip: Keep one hand dry. Use your left hand for the flour and breadcrumbs and your right hand for the egg wash. This prevents “club hand,” where your fingers become breaded along with the chicken!
- Tip: Check the thickest part. Always insert your thermometer into the thickest part of the tender to ensure safety.
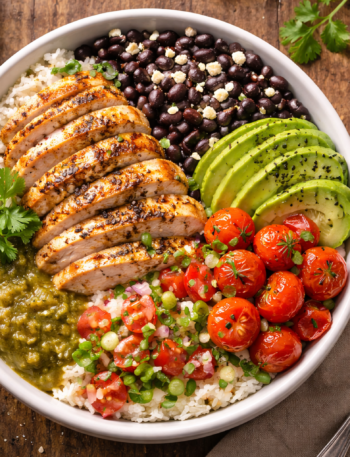
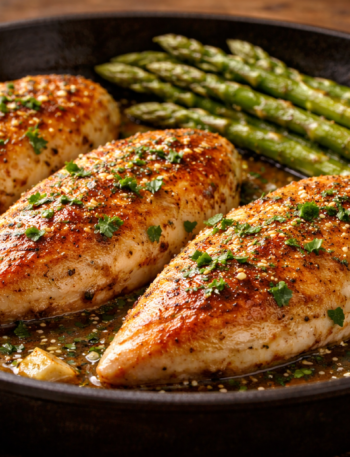
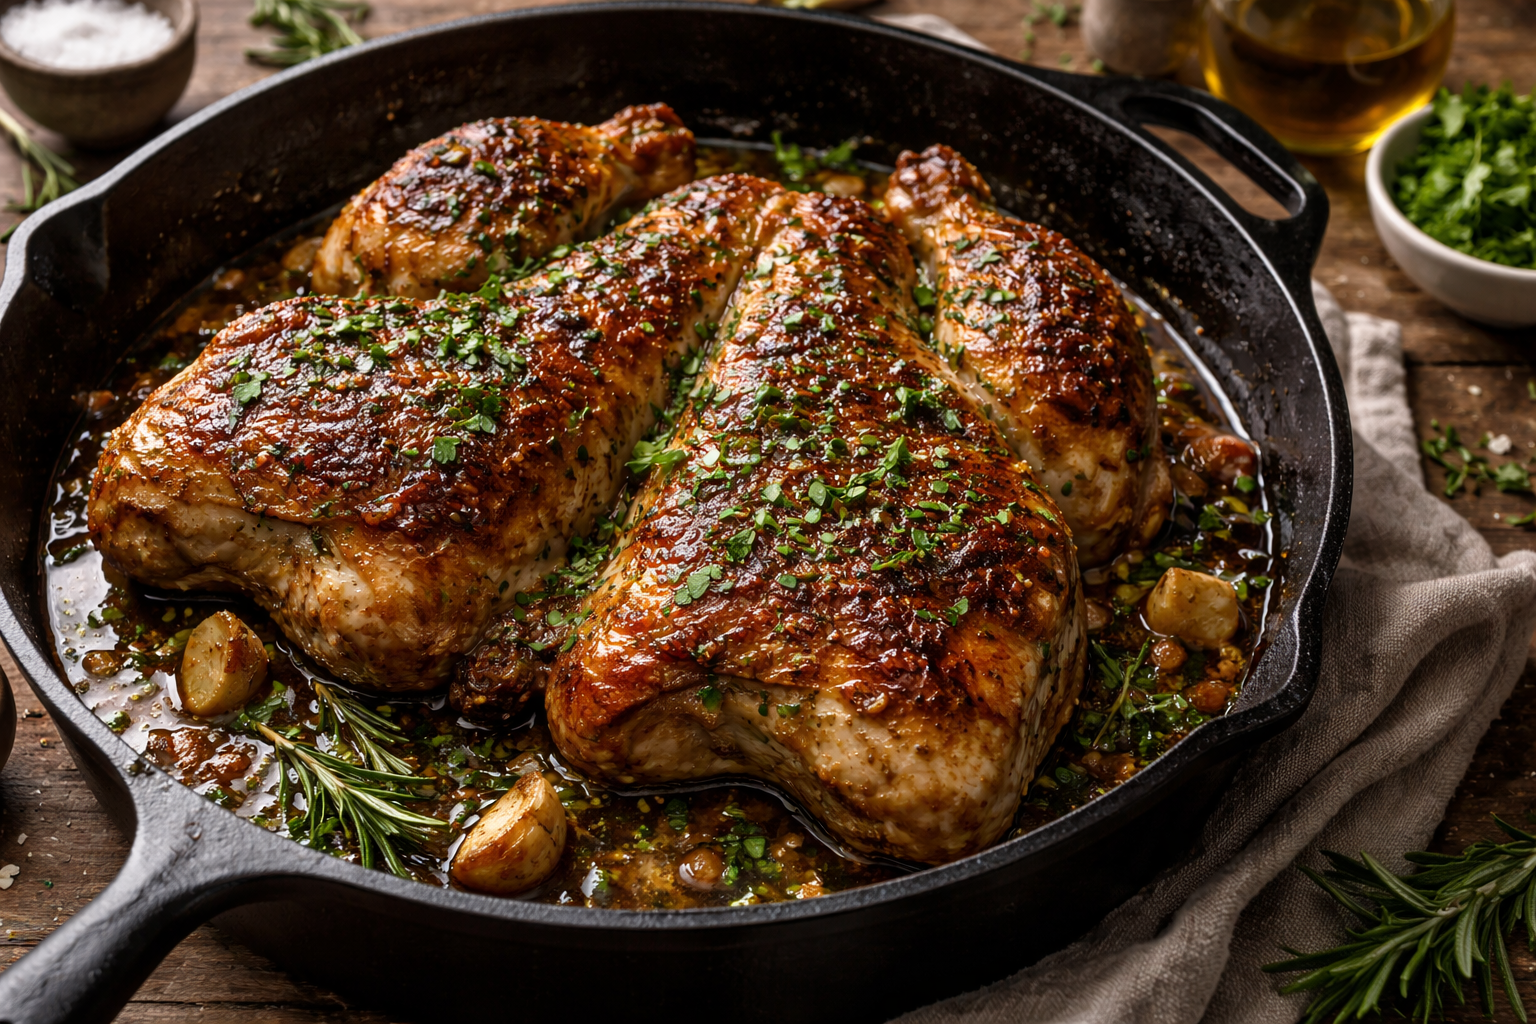
Easy Chipotle Honey Chicken Recipe
Best Thin Sliced Chicken Breast Recipes
Homemade Peri Peri Chicken Recipe
Green Chicken Enchilada Recipe
Homemade Buffalo Chicken Pizza Recipe