There is a unique sense of accomplishment that comes with making your own snacks from scratch, and few things are as satisfying as a perfectly seasoned batch of jerky. While many people associate jerky with expensive, thinly sliced strips of steak, there is a secret known to seasoned outdoorsmen and snack enthusiasts alike: some of the best jerky you will ever taste starts with a simple package of ground meat.
A Ground Beef Jerky Recipe is a game-changer for the home cook. It’s more economical, easier to chew, and—perhaps most importantly—it allows for a much deeper infusion of flavor because the seasoning is mixed directly into the meat rather than just sitting on the surface. Whether you are a hiker looking for lightweight protein or just someone who wants a clean, preservative-free snack for the pantry, mastering this craft is a rewarding journey into the art of food preservation.
Why You’ll Love This Recipe
If you’ve ever found store-bought jerky to be too tough or overpriced, this Ground Beef Jerky Recipe is the answer. Here is why it has become a staple in my household:
- Cost-Effective: You can often find ground beef on sale, making this significantly cheaper than buying premium flank steak or brisket.
- Uniform Flavor: Because we are mixing the marinade into the ground meat, every single bite has a consistent, bold flavor profile.
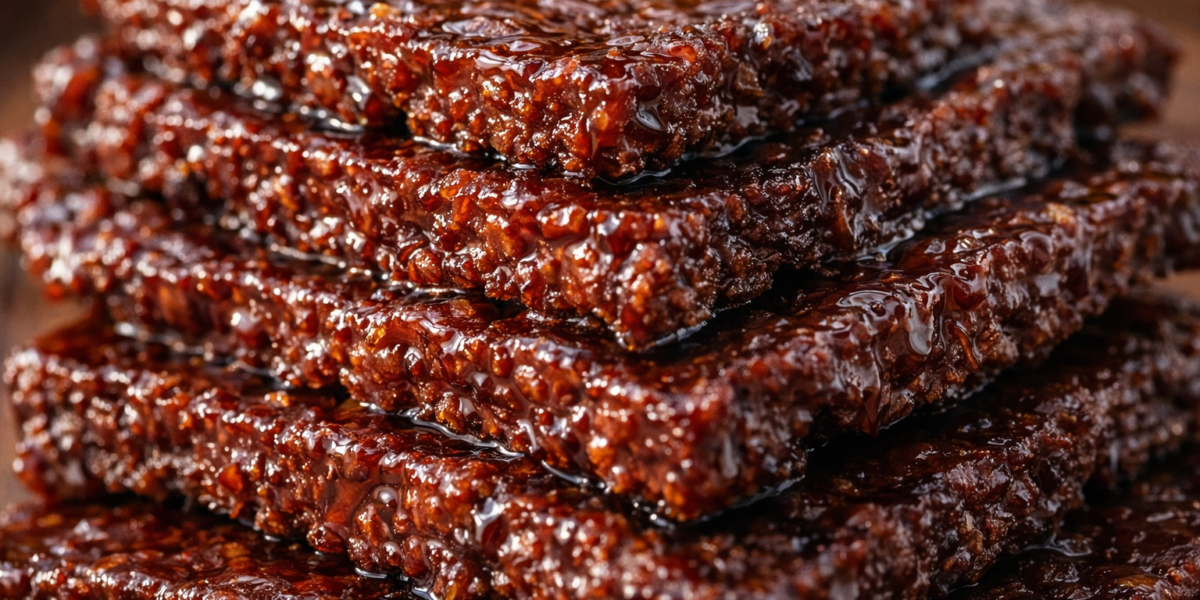
- Easier Texture: This is often referred to as “soft-shell” jerky. It’s much easier on the teeth and jaw than traditional muscle-strip jerky, making it a favorite for kids and older adults.
- No Fancy Equipment Needed: While a jerky gun and a dehydrator are nice, I’ll show you how to do this with basic kitchen tools and a standard oven.
- Full Control: You decide the salt content, the sugar levels, and the quality of the beef. No mysterious nitrates or artificial colors here.
What You Need to Get Started
The foundation of any great Ground Beef Jerky Recipe is the meat-to-fat ratio. If your meat is too fatty, the oil will go rancid quickly and prevent the jerky from drying properly.
The Meat
- Lean Ground Beef: Aim for 90% lean or higher (93/7 is ideal). The leaner the beef, the longer the shelf life and the better the texture.
The “Sticky” Bind and Cure
- Soy Sauce or Liquid Aminos: Provides the salty base and deep color.
- Worcestershire Sauce: Adds that classic, savory umami depth.
- Curing Salt (Prague Powder #1): Optional but recommended. This prevents bacterial growth during the low-heat drying process and gives the jerky its signature reddish hue.
- Liquid Smoke: Essential if you aren’t using an actual smoker; it provides that “campfire” aroma.
The Spice Cabinet
- Garlic and Onion Powder: For savory base notes.
- Black Pepper: Coarsely ground is best for a little bite.
- Brown Sugar or Honey: A touch of sweetness helps balance the salt and assists in the drying process.
- Smoked Paprika: Adds color and a subtle woodsy warmth.
How to Prepare the Ingredients
Before you begin shaping your jerky, you need to ensure the meat is properly seasoned and structured.
- Chilling the Meat: Start with very cold ground beef. This makes it easier to handle and ensures the fat doesn’t melt or smear while you are mixing.
- The Premix: In a small bowl, whisk together all your liquids and dry spices until the sugar is fully dissolved. This ensures you don’t end up with “salty spots” in your meat.
- The Marriage: Pour the liquid mixture over the beef. Use your hands (gloves are a great idea here!) to knead the seasoning into the meat for about 3–5 minutes. You aren’t just mixing; you are looking for the protein to become slightly “tacky.” This ensures the jerky doesn’t crumble once it’s dried.
- Resting: Cover the mixture and let it marinate in the refrigerator for at least 4 to 12 hours. This “cure time” is vital for the flavors to penetrate the meat fibers.
Step-by-Step Cooking Instructions
Ready to transform that meat? Here is the most reliable way to execute your Ground Beef Jerky Recipe.
Shaping the Jerky
- Option A (The Jerky Gun): Load the meat into the tube and squeeze out uniform strips or “sticks” onto your drying racks.
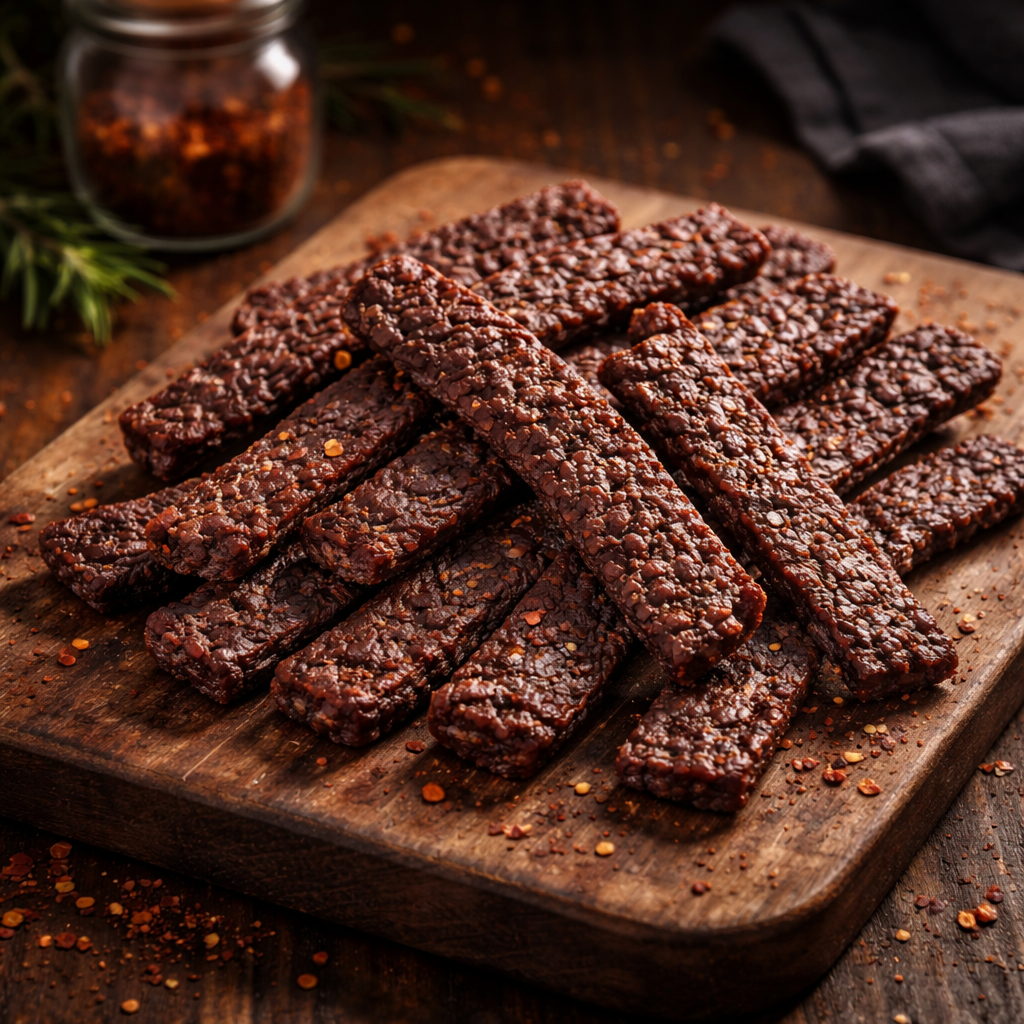
- Option B (The Rolling Pin): Place the meat between two sheets of parchment paper and roll it out until it is exactly 1/4-inch thick. Cut into strips with a pizza cutter or knife.
The Drying Process
- Arrange: Place the strips on dehydrator trays or wire racks set over baking sheets. Ensure they are not touching; airflow is the most important factor.
- Temperature: Set your dehydrator or oven to 160°F (71°C). This is the “magic number” that is high enough to kill bacteria but low enough to dry the meat without “cooking” it into a burger.
- Timing: Let it dry for 4 to 8 hours.
- The Test: Take a piece out and let it cool for a minute. Bend it gently. It should crack but not snap in half, and there should be no visible moisture in the center. If it feels spongy, it needs more time.
Best Time to Serve This Dish
A Ground Beef Jerky Recipe yields a snack that is incredibly portable, making it perfect for:
- Hiking and Camping: It’s a lightweight, high-protein energy source that doesn’t require refrigeration for short trips.
- Road Trips: Much healthier than gas station snacks and keeps the “hangry” feelings at bay during long stretches of highway.
- Post-Workout: A quick hit of protein to help muscle recovery without the added sugars found in many protein bars.
- Lunchbox Surprises: A fun, savory addition to a school or work lunch that stays fresh until noon.
Flavor Tips for Better Results
To make your Ground Beef Jerky Recipe truly world-class, consider these expert adjustments:
- The Fat Blot: About halfway through the drying process, you might see small beads of oil on the surface of the meat. Use a paper towel to gently pat these away. This prevents the jerky from tasting “oily” later.
- Freshly Cracked Pepper: If you love a “Peppered Jerky,” press extra coarse black pepper into the surface of the strips after they are shaped but before they go into the heat.
- Consistency is Key: Use a ruler when rolling out your meat. If one side is thicker than the other, you’ll end up with some pieces that are burnt and others that are under-dried.
Optional Add-Ins and Variations
Once you have the base Ground Beef Jerky Recipe down, the sky is the limit for customization:
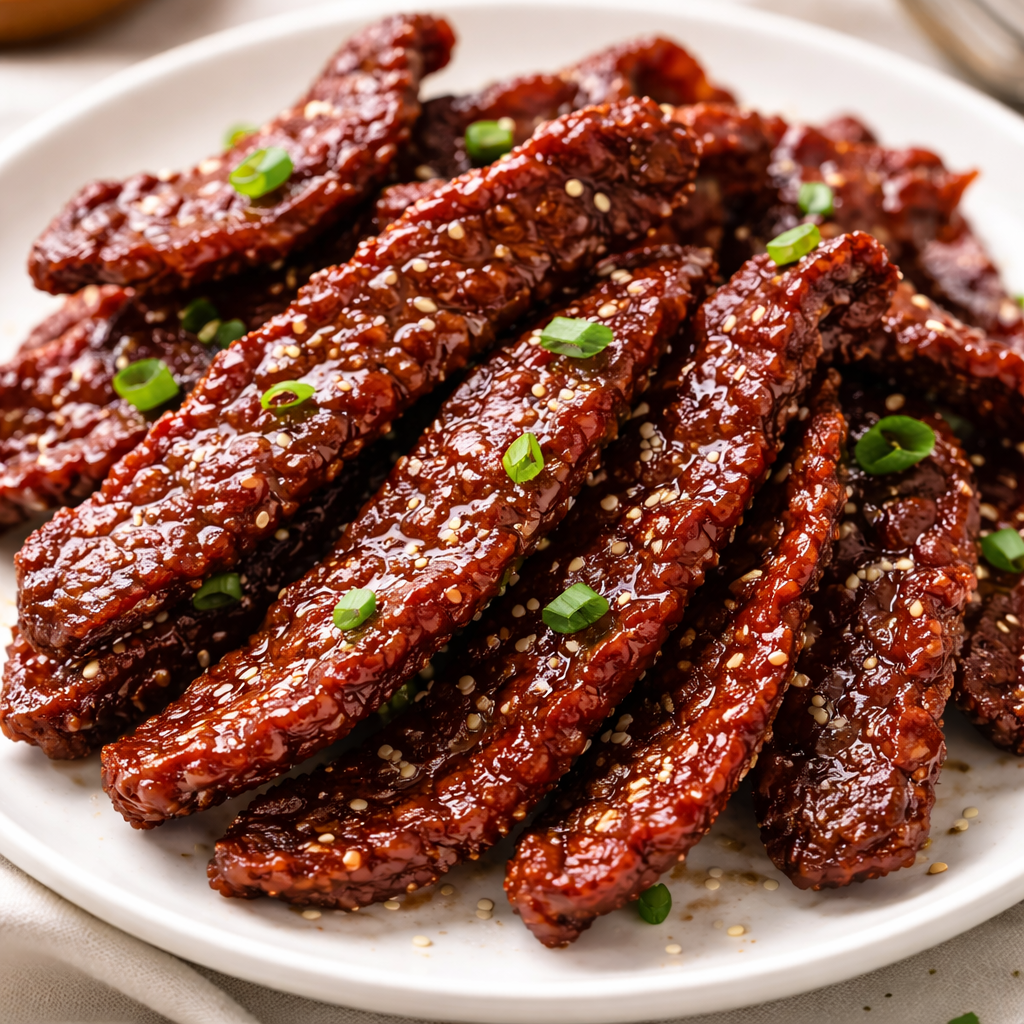
- Teriyaki Style: Replace the Worcestershire with extra soy sauce, add ginger, and increase the brown sugar.
- Sriracha Hot: Add two tablespoons of Sriracha and a pinch of cayenne pepper for a slow-burn heat.
- Everything Bagel: Top the strips with “everything” seasoning before drying for a salty, seedy crunch.
- Bourbon BBQ: Add a splash of bourbon and a tablespoon of tomato paste to the marinade for a deep, smoky, Southern-style flavor.
How to Store and Reheat Properly
Proper storage is the difference between a great snack and a wasted batch.
- The “Sweat” Period: Once the jerky comes out of the heat, let it sit at room temperature for about an hour. Then, put it in a Ziploc bag but leave it open slightly. This allows any remaining deep-seated moisture to escape (this is called “conditioning”).
- Short Term: Store in an airtight container in a cool, dark pantry for up to 2 weeks.
- Long Term: For maximum freshness, store your jerky in the refrigerator for up to 2 months or freeze it for up to 6 months.
- Reheating: You don’t typically “reheat” jerky, but if you find a piece has become too hard, you can put it in a bag with a small slice of fresh bread for a few hours. The meat will absorb a tiny bit of moisture and soften up.
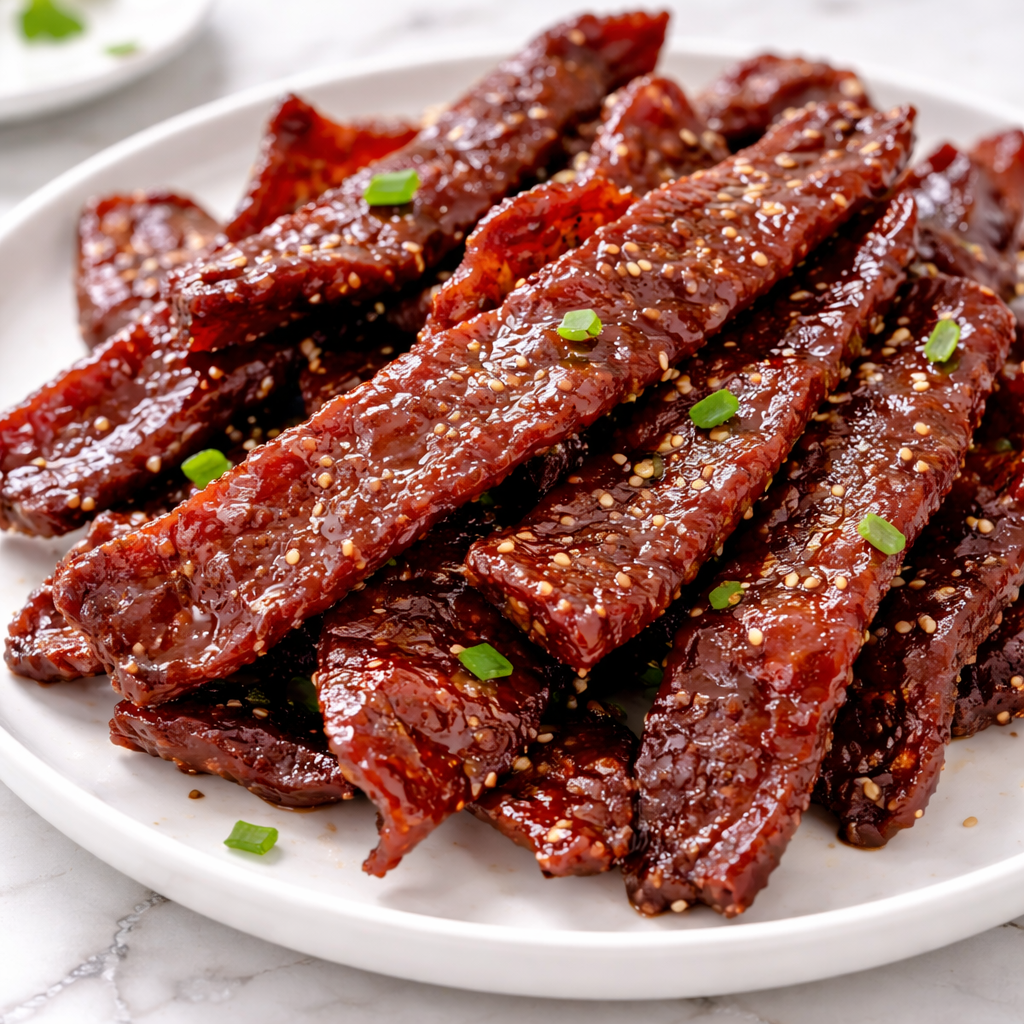
Serving Ideas for a Beautiful Presentation
If you’re serving this as part of a spread, here is how to make a Ground Beef Jerky Recipe look enticing:
- The Charcuterie Board: Surround the jerky strips with sharp cheddar cheese cubes, green olives, and salted almonds.
- Glass Jars: Store them upright in a mason jar for a rustic, farmhouse kitchen aesthetic.
- Gift Bags: Package small portions in clear cellophane bags tied with twine for a thoughtful, homemade Father’s Day or holiday gift.
Helpful Tips and Common Mistakes
Avoid these frequent errors to ensure your Ground Beef Jerky Recipe is a success:
- Mistake 1: Using High-Fat Meat. 80/20 beef will result in a greasy, crumbly mess that spoils in days. Always go lean.
- Mistake 2: Over-Salting. Remember that as the meat dries, it shrinks to about half its size, which concentrates the salt. Start with a little less than you think you need.
- Mistake 3: Drying at Too Low a Temp. If your oven or dehydrator stays below $140°F$, you are essentially growing bacteria rather than drying meat. Always verify your appliance temperature with a thermometer.
- Mistake 4: Skipping the Rest. If you don’t let the meat marinate, the salt won’t have time to break down the proteins, and your jerky might fall apart.