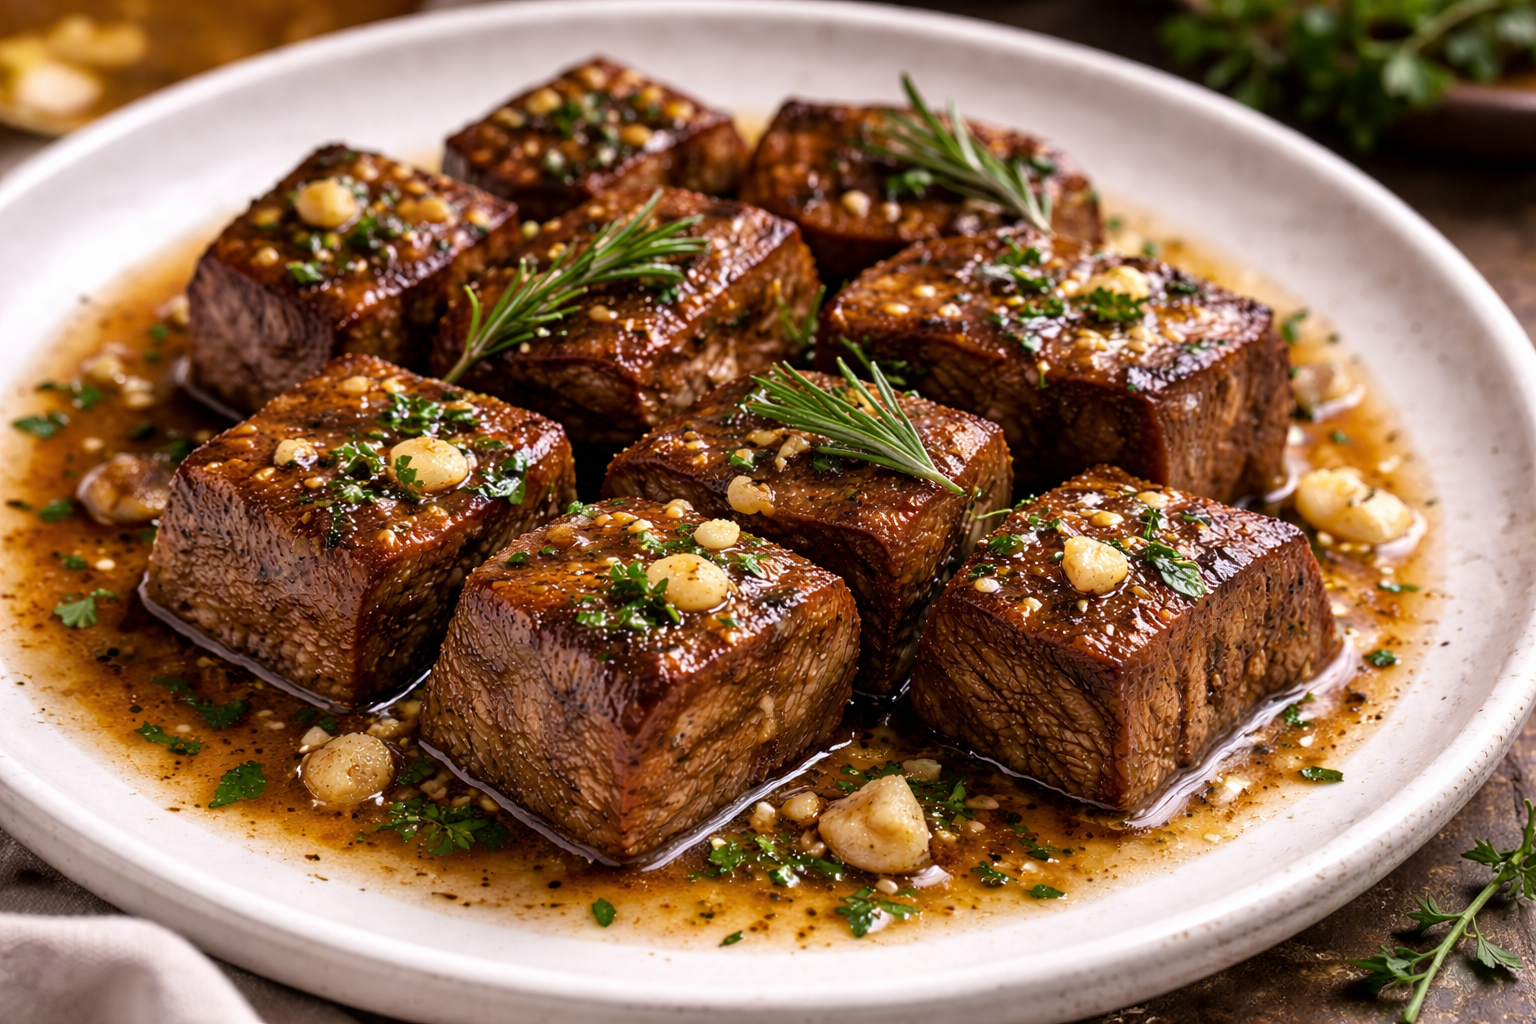
The boneless beef short ribs recipe is a marvel of the butcher’s counter, though it is often a source of confusion for the uninitiated. To be clear: these are not “ribs” in the skeletal sense. They are typically cut from the serratus ventralis muscle—the chuck—which is the same hardworking area that gives us the pot roast. However, the short rib is marbled with a specific type of intramuscular fat and heavy ribbons of connective tissue that, when treated with the proper application of thermodynamics, transform into something far more luxurious than a standard roast.
Cooking boneless short ribs is an exercise in patience and precision. Because they lack the bone to act as a heat conductor and structural anchor, they are prone to drying out if rushed. But if you master the braise, you are rewarded with a protein that possesses the depth of a steak and the “spoon-tender” texture of a cloud. This is a dish for those who understand that the best flavors aren’t bought; they are rendered.
Ingredient Breakdown: The Architecture of the Braise
In a long-form braise, every ingredient is a contributor to the final “jus.” You are essentially creating a concentrated stock while simultaneously cooking the meat.
- Boneless Beef Short Ribs: Look for pieces with heavy white marbling and a thick “deckle” of fat. Avoid lean-looking cuts; without the fat and connective tissue (collagen), the meat will become stringy and tough.
- The Mirepoix (Onion, Carrot, Celery): These are your aromatics. They provide a base of sweetness and earthiness. I recommend a “large dice” for a long braise; if you cut them too small, they will dissolve into mush before the meat is finished.
- Tomato Paste: This is your umami concentrate. By browning the paste (a technique called pinçage), you develop a deep, rusty color and a savory foundation that anchors the sauce.
- Dry Red Wine (The Acid): Do not reach for a “cooking wine.” You need a robust, tannic red like a Cabernet Sauvignon or a Malbec. The acidity in the wine helps denature the tough protein fibers, while the tannins provide a structural “grip” to the sauce.
- Beef Bone Broth: If possible, use a gelatin-rich, unsalted bone broth. Since the sauce will be reduced, using a salted stock will result in an inedible, briny finish.
- Aromatics (Garlic, Thyme, Rosemary, Bay Leaves): These are the “high notes.” They cut through the heavy, fatty profile of the beef and provide a floral, resinous finish.
Preparation Strategy: The Science of the Sear
Success in a braise is determined in the first ten minutes of cooking. The most common mistake is failing to achieve a proper sear.
The Dry-Surface Principle: Moisture is the enemy of the Maillard reaction. If your ribs are damp when they hit the oil, they will steam rather than sear. Pat the ribs bone-dry with paper towels. Season them with kosher salt at least 30 minutes before cooking; this allows the salt to penetrate and reorganize the protein structure, helping the meat retain moisture.
The Cold-Oil Myth: You want your oil shimmering—almost at the smoking point. We aren’t cooking the meat through at this stage; we are creating a crust. This caramelized exterior is where 80% of your flavor lives. Use a heavy-bottomed Dutch oven (cast iron is king) to ensure the temperature doesn’t plummet when the meat is added.
Cooking Instructions: The “Low and Slow” Mastery
Phase 1: The Maillard Phase
- The Sear: Heat 2 tablespoons of high-smoke-point oil (like grapeseed or avocado oil) in your Dutch oven over medium-high heat. Sear the ribs in batches. Do not crowd the pan. You want a deep, mahogany crust on all four sides. Remove the meat and set it aside on a plate.
- The Render: You’ll notice a pool of beef fat in the pan. If there’s more than 3 tablespoons, spoon some out. Add your diced onions, carrots, and celery. Sauté until the onions are golden and the “fond” (the brown bits on the bottom) begins to loosen.
- The Pinçage: Stir in 2 tablespoons of tomato paste. Cook for 3–4 minutes, stirring constantly, until the paste turns a dark brick red and smells slightly sweet.
Phase 2: The Deglaze and Submerge
- The Wine: Pour in 2 cups of red wine. Use a wooden spoon to scrape every last bit of flavor off the bottom of the pan. Reduce the liquid by half. This concentrates the flavor and cooks off the “boozy” harshness.
- The Return: Nestle the ribs back into the pot. Add enough beef broth to come about three-quarters of the way up the sides of the meat. Do not fully submerge them. A braise is half-steaming, half-simmering. If you drown the meat, you lose that beautiful top-side caramelization.
- The Aromatics: Toss in 4 smashed garlic cloves, 3 sprigs of thyme, 2 sprigs of rosemary, and 2 bay leaves.
Phase 3: The Oven Transformation
- The Seal: Cover the pot with a tight-fitting lid. If your lid is a bit loose, place a piece of parchment paper or foil over the pot before putting the lid on to create an airtight seal.
- The Temp: Place in a preheated oven at 275°F (135°C). High heat is the enemy of collagen. We want a gentle, consistent heat that coaxes the connective tissue into melting.
- The Time: Bake for 3 to 3.5 hours. At the 3-hour mark, check for “probe tenderness.” A fork should slide in and out of the meat with absolutely no resistance.
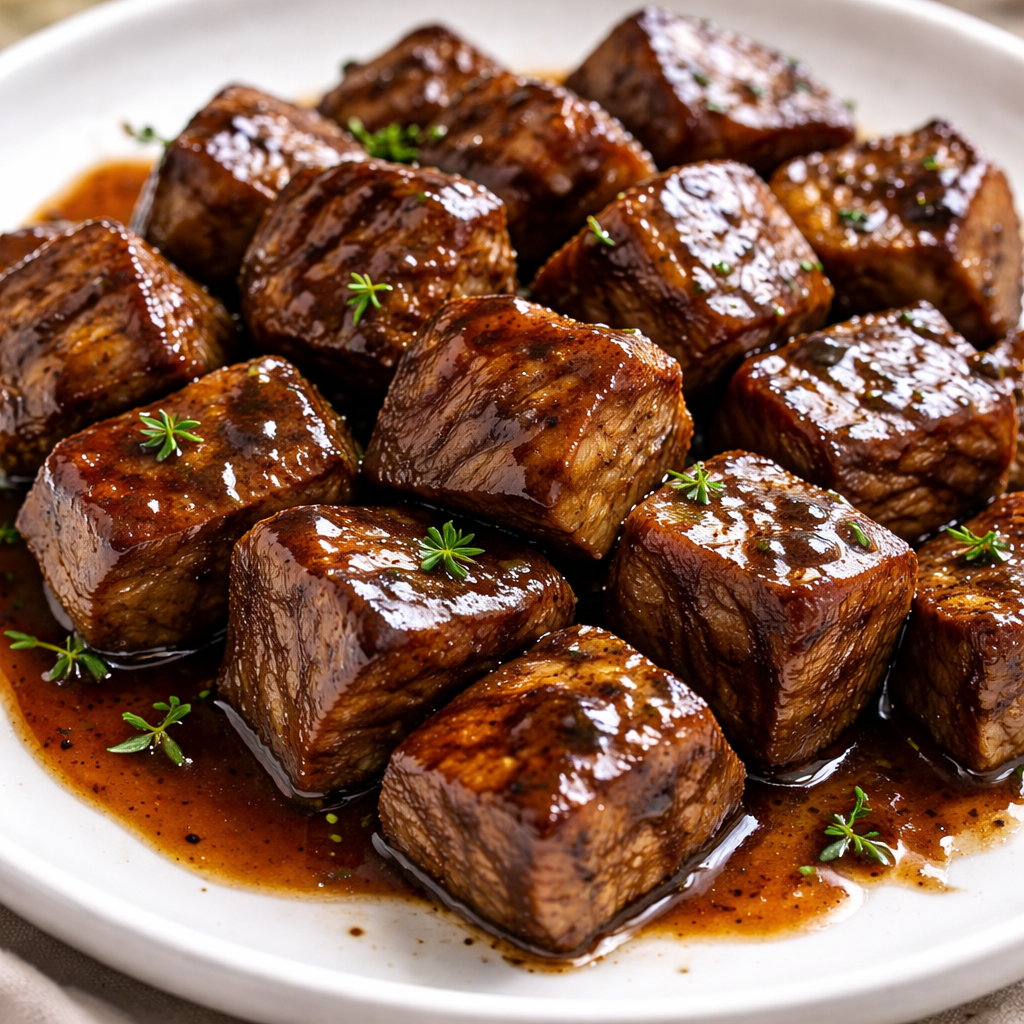
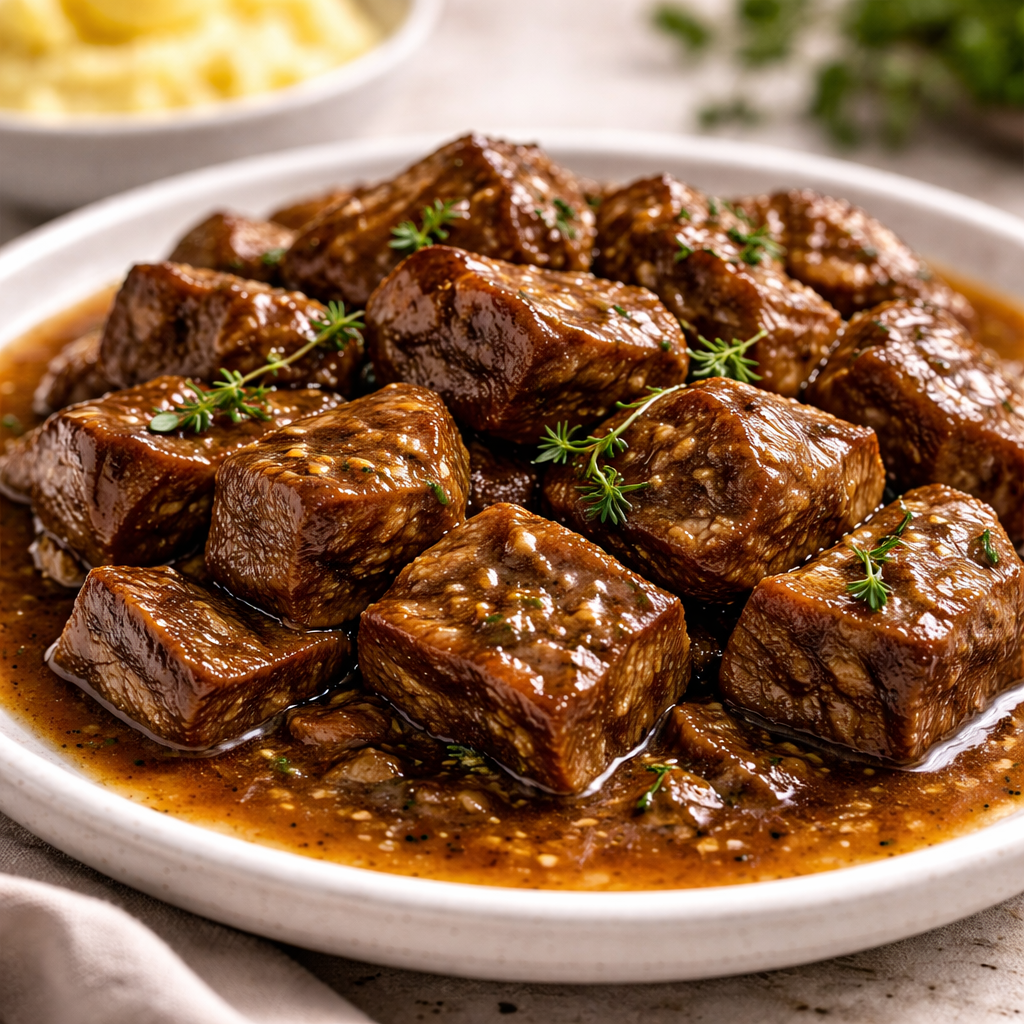
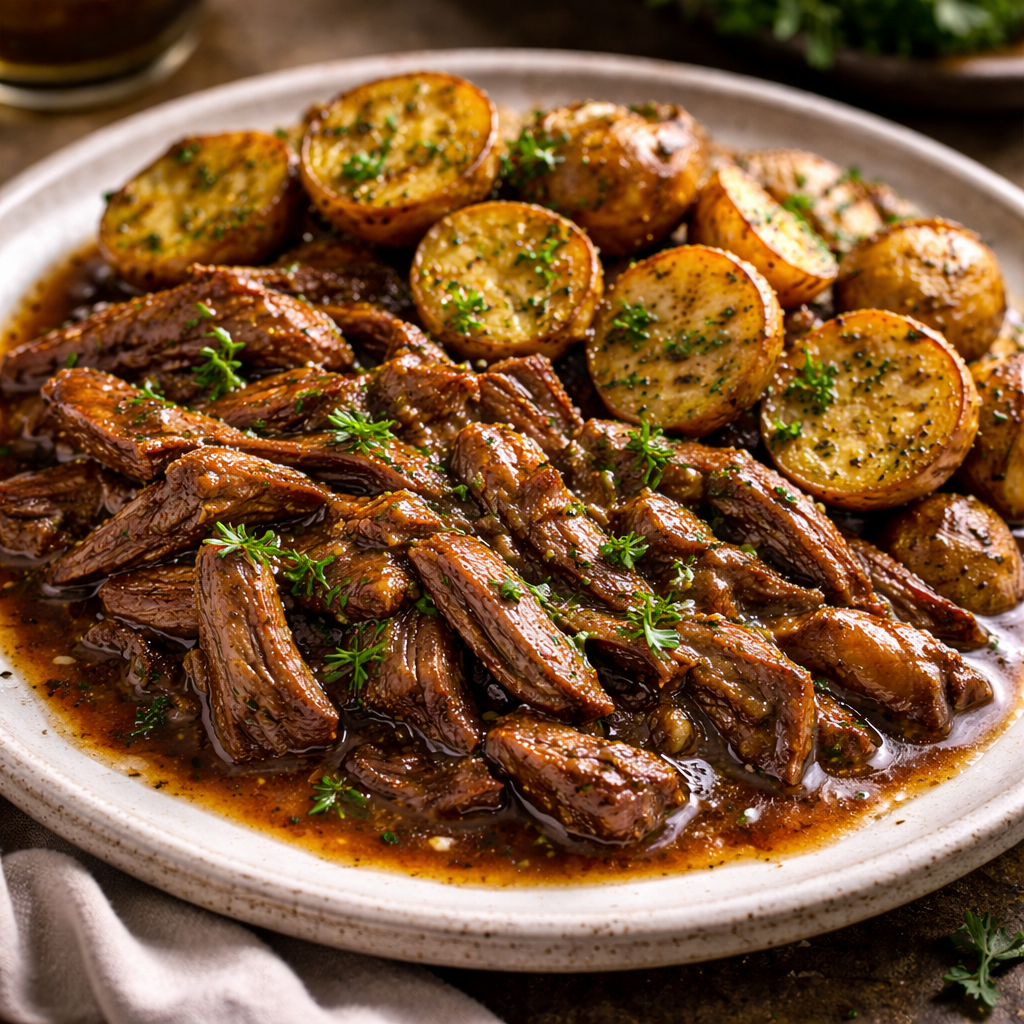
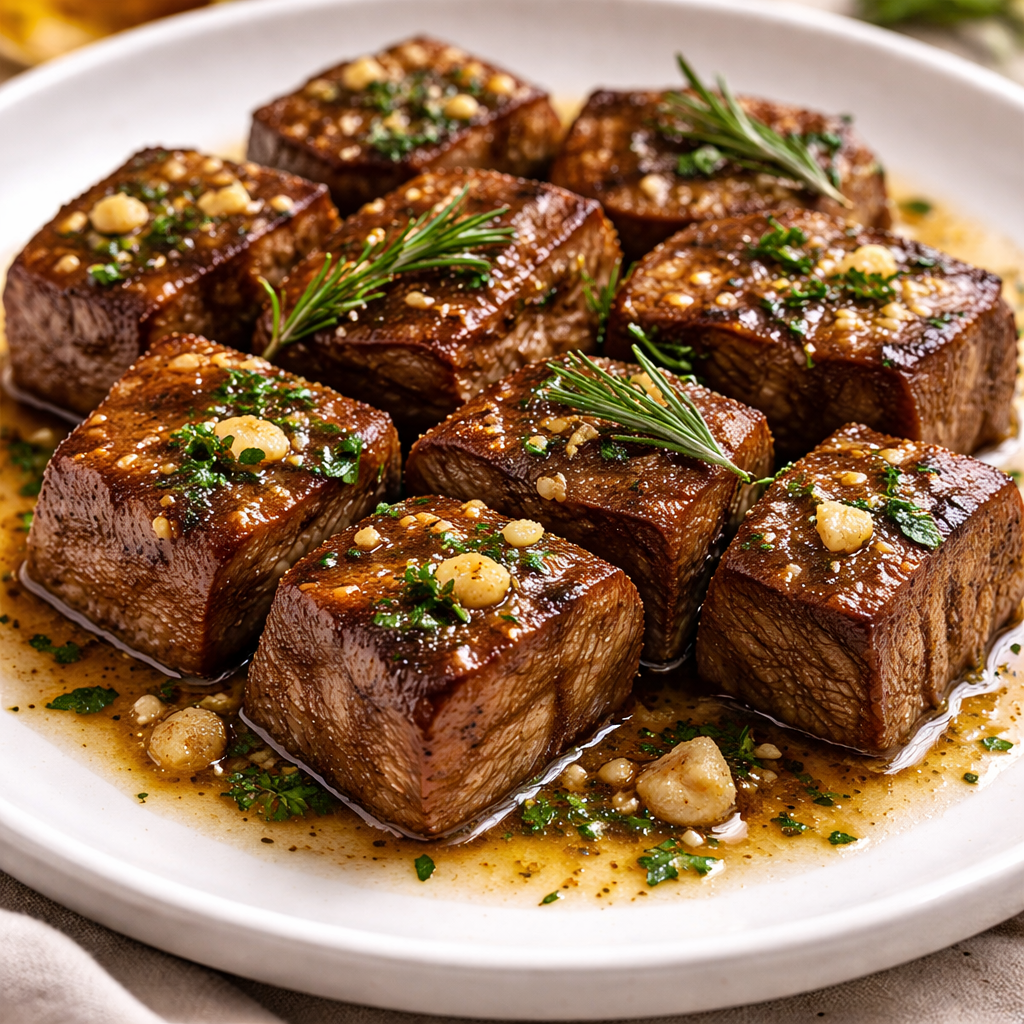
Flavor & Texture Indicators
When the ribs are finished, they should look nearly black and glistening. This is the result of the wine and beef juices reducing into a natural glaze.
- The Texture: The meat should be “fork-tender” but not “mush.” If the meat has completely disintegrated into the sauce, it was cooked too long or at too high a temperature. There should be a distinct, buttery resistance.
- The Sauce: The braising liquid should be thick enough to coat the back of a spoon. If it’s too thin, remove the meat and reduce the liquid on the stovetop for 10 minutes. It should taste deeply savory, slightly acidic, and rich with the essence of thyme and beef.
Adjustments for Different Skill Levels
- The Novice: Use a Slow Cooker. Follow the searing and deglazing steps in a skillet (do not skip this!), then transfer everything to the slow cooker on “Low” for 7–8 hours. It’s more hands-off and very forgiving.
- The Intermediate: Focus on the Reduction. Once the meat is cooked, strain the braising liquid through a fine-mesh sieve, discarding the spent vegetables. Chill the liquid, remove the solidified fat from the top, and then reduce the remaining liquid in a wide pan until it reaches a syrupy, demi-glaze consistency. Pour this over the ribs right before serving.
- The Advanced: Experiment with Flavor Profiles. Instead of red wine and beef broth, try a “Stout Braise” using a heavy Guinness, molasses, and a hint of star anise. The bitter notes of the stout provide a complex counterpoint to the rich beef fat.
Storage & Shelf Life: The “Day After” Rule
Short ribs are one of the few dishes that are objectively better the next day. As the meat cools in its liquid, it reabsorbs the concentrated juices it pushed out during the cooking process.
- Refrigeration: Store the ribs submerged in their liquid for up to 4 days. This prevents the exterior of the meat from oxidizing and turning grey.
- The Reheat: Do not microwave. Reheat gently in a covered pot on the stove over low heat. If the sauce has turned into a solid jelly (which is a sign of high gelatin content—congratulations!), add a splash of water or stock to loosen it up.
- Freezing: These freeze beautifully. Wrap individual ribs in plastic wrap, then store them in a freezer bag with the sauce. They will keep for 3 months.
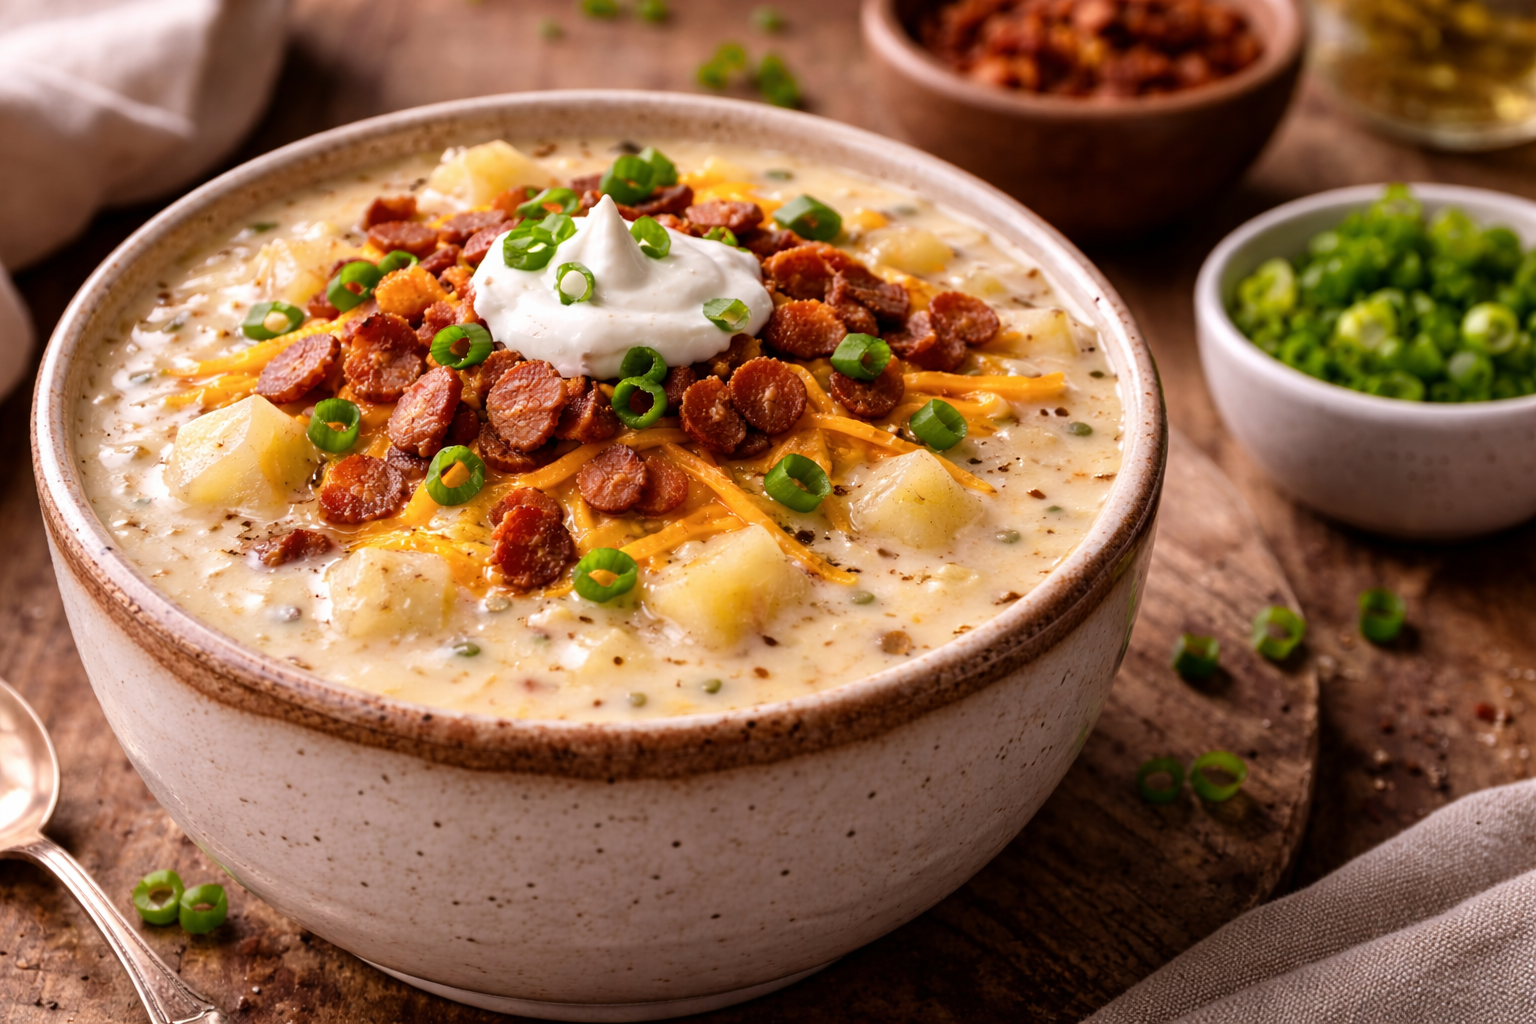
Healthy Easy Beef and Broccoli Recipe
Reader Questions
“Why did my short ribs come out tough despite cooking them for 3 hours?” This is usually a result of “under-cooking,” not over-cooking. Connective tissue needs time and a specific temperature to melt. If the meat is tough, it likely needs another 30–45 minutes in the oven. If it’s dry and tough, your oven temperature might have been too high (over 300°F).
“Can I make this with bone-in ribs?” Absolutely. The process is identical, though bone-in ribs usually take about 30 minutes longer to reach tenderness. The bone adds a bit more body to the sauce.
“What is the best way to degrease the sauce?” The most effective way is to make the dish a day in advance. Once chilled, the fat will form a hard white disc on the surface that you can simply lift off. If you’re serving it immediately, use a “fat separator” cup or gently blot the surface of the sauce with a clean paper towel.
“Do I have to use wine?” If you prefer not to use alcohol, substitute the wine with an equal amount of beef stock plus 2 tablespoons of balsamic vinegar. You need that acidity to balance the fat and tenderize the fibers.