So, your tiny human is turning one. Congratulations! You survived twelve months of sleep deprivation, mystery stains, and the “Baby Shark” song on a loop. Now comes the best part: the smash cake. If you aren’t familiar, a smash cake is a small, dedicated cake meant for a one-year-old to absolutely demolish with their bare hands while you take a thousand photos.Smash Cake Recipe
You’re going to love this recipe because it strikes the perfect balance between “actually edible” and “parent-approved.” We’re skipping the massive sugar crash (because nobody wants a vibrating toddler at 2:00 PM) and sticking to wholesome ingredients like bananas and applesauce. It’s naturally sweet, incredibly moist, and soft enough for a baby with two teeth to navigate.
Most importantly, this recipe is virtually foolproof. You don’t need to be a professional pastry chef to pull this off. Even if the layers are slightly lopsided, who cares? It’s literally designed to be destroyed. It’s the only time in your life where “total destruction” is the goal of the meal.
What You Need to Get Started
Before you start preheating, let’s check the pantry. We’re keeping the ingredient list clean and simple. No weird stabilizers or artificial dyes here—just the good stuff.
- The Fruit: 2 very ripe bananas (the spottier, the better) and 1/2 cup of unsweetened applesauce. This provides the moisture and the “sugar.”
- The Dry Goods: 1 1/2 cups of oat flour or all-purpose flour. Oat flour is great if you want to keep it a bit more “whole grain.”
- The Lift: 1 teaspoon of baking soda and a pinch of cinnamon.
- The Fat: 1/4 cup of melted coconut oil or unsalted butter.
- The Liquid: 2 large eggs and a splash of vanilla extract.
- The Frosting: 1 cup of full-fat Greek yogurt and a drizzle of maple syrup or honey. (Note: Only use honey if your baby is officially 12 months or older!)
- The Gear: Two 4-inch mini cake pans. If you don’t have those, a small ramekin or a jumbo muffin tin works in a pinch.
How to Prepare the Ingredients
First, get those bananas ready. Peel them and mash them in a bowl until they look like a questionable smoothie. You want zero lumps here because a chunk of banana can act like a little moisture bomb in the cake, making it soggy.
Melt your coconut oil but let it cool for a minute. If you pour piping hot oil into your eggs, you’ll end up with scrambled egg cake, and that is a vibe we are definitely not going for today.
FYI: Room temperature eggs are a game-changer. If they’re too cold, they’ll cause the coconut oil to seize up and turn into little solid beads. Just pop the eggs in a bowl of warm water for five minutes to take the chill off.
Step-by-Step Cooking Instructions
Ready to build a masterpiece? Let’s get baking.
- Prep the Oven: Heat that bad boy to 350°F. Grease your mini pans with a little extra coconut oil.
- Mix the Wet: Whisk the mashed bananas, applesauce, eggs, oil, and vanilla in a large bowl. It should look creamy and smell like a tropical vacation.
- Add the Dry: Fold in the flour, baking soda, and cinnamon. Stir until just combined. If you over-mix, the cake will turn out like a hockey puck.
- The Pour: Divide the batter evenly between your two mini pans.
- The Bake: Slide them into the oven for 20–25 minutes.
- The Test: Poke the center with a toothpick. If it comes out clean, you’re golden.
- The Cool Down: Let the cakes cool in the pan for 10 minutes, then flip them onto a wire rack. The cake must be completely cold before frosting. If it’s even slightly warm, the Greek yogurt frosting will slide right off like a sad melted candle.
- The Frosting: Whisk the yogurt and sweetener together. Stack your layers with a bit of frosting in the middle, then coat the outside.

Best Time to Serve This Dish
When is the best time for a smash cake? Ideally, about 30 minutes before bath time. This is a high-mess event. There will be frosting in ears. There will be crumbs in the carpet. Embrace the chaos.
This is the main event of the first birthday party. Set the cake on a high chair tray or a clean floor mat, strip the baby down to their diaper (or a very washable outfit), and let the cameras roll. IMO, the best photos happen about three minutes in, right when they realize they’re allowed to use their feet.
Flavor Tips for Better Results
Want to make sure the baby actually likes it? Here is how to level up:
- The Ripeness Factor: Use bananas that are almost black. They have the highest sugar content and will make the cake much tastier without added refined sugar.
- The Spice Balance: Don’t be afraid of the cinnamon. It adds a “warmth” that makes the cake taste like a professional bakery item.
- Strain the Yogurt: If your Greek yogurt is a bit watery, let it sit in a coffee filter over a bowl for an hour. This makes the “frosting” thicker and easier to spread.
- The Vanilla Secret: Use pure vanilla extract, not the “imitation” stuff. It makes a huge difference in the aroma.
Optional Add-Ins and Variations
Think of this cake as a base layer. You can totally customize it to fit your party theme.
- The Berry Burst: Fold a handful of smashed blueberries into the batter. It adds little purple pops of color.
- The Pumpkin Twist: Swap the applesauce for canned pumpkin purée. It’s perfect for a fall birthday.
- The Chocolate (ish) Version: Add a tablespoon of unsweetened cocoa powder. It gives the cake a rich color without the sugar rush.
- The Colorful Frosting: Use beet juice or smashed raspberries to tint the yogurt frosting pink without using artificial dyes.
How to Store and Reheat Properly
Let’s be real: usually, there isn’t much “cake” left to store after a one-year-old is done with it. But if you made an extra one for the adults or the baby didn’t go full-Hulk on it, here is what to do.
Storage: Because of the yogurt frosting, this cake must live in the fridge. It’ll stay fresh in an airtight container for 2 to 3 days.

Reheating: You actually shouldn’t reheat the whole cake once it’s frosted (warm yogurt? Yikes). If you have an unfrosted layer, you can zap it in the microwave for 10 seconds to soften it back up. Always check the temperature before giving it to the baby! We don’t want any hot spots burning those little mouths.
Serving Ideas for a Beautiful Presentation
You want that “Pinterest-perfect” look before the destruction begins?
- The Topper: Use a single “1” candle or a small wooden cake topper. Keep it simple; the cake is small, so a giant topper will make it look like it’s about to tip over.
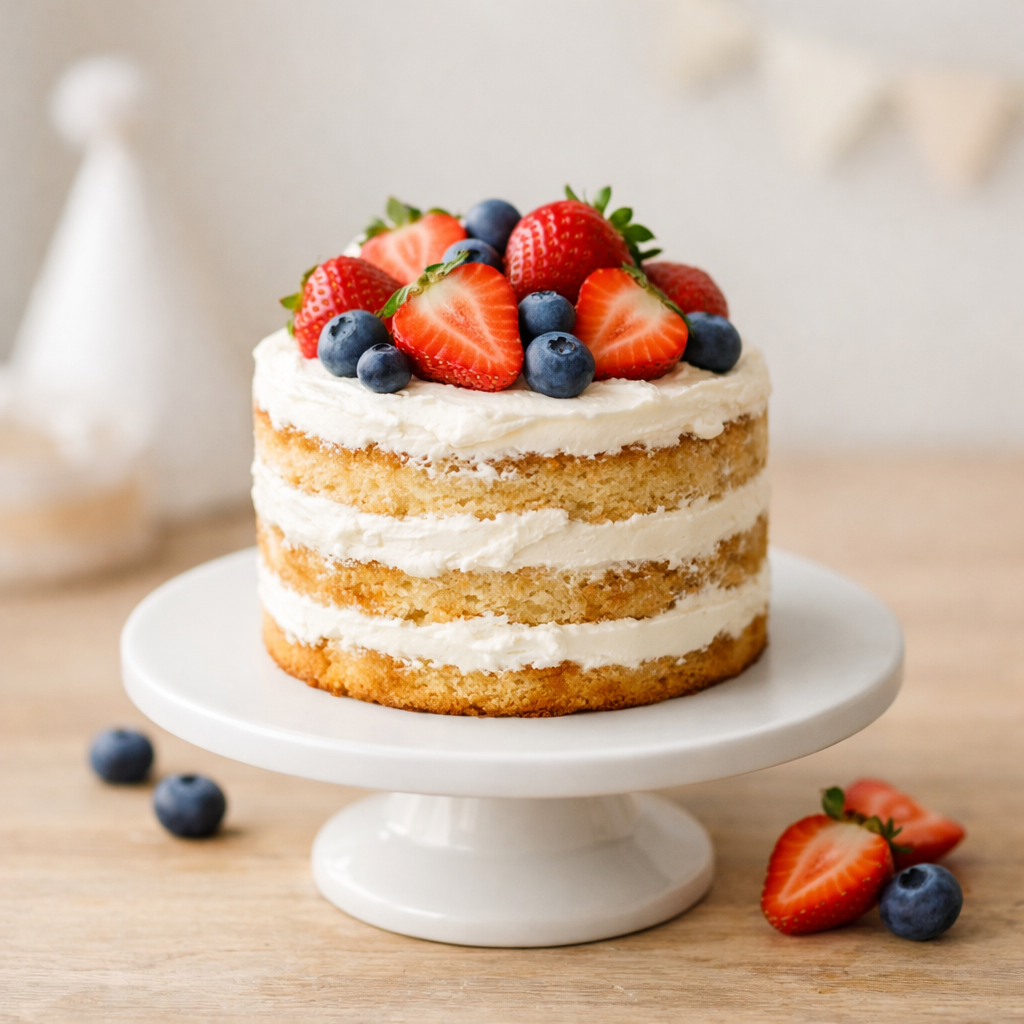
- The Fruit Garnish: Ring the base of the cake with fresh strawberries or banana slices. It adds color and gives the baby something to grab first.
- The Naked Look: Don’t worry about perfectly smooth frosting. A “naked cake” look (where some of the cake shows through the frosting) is very trendy and much easier to achieve with yogurt.
- The Background: Place the cake on a simple white cake stand. It makes the “smash” look much more dramatic in photos.
Helpful Tips and Common Mistakes
Don’t let these “birthday busters” ruin the big moment:
- The “Stage Fright” Factor: Some babies hate the texture of frosting. If your baby starts crying, don’t force it. Just give them a piece of the cake without the goo.
- Over-Baking: These mini cakes are small, so they dry out fast. Start checking them at the 18-minute mark.
- The Honey Rule: Seriously, no honey for babies under one. It’s a safety thing (botulism). Use maple syrup or just the sweetness of the fruit instead.
- Forgetting the “After” Plan: Have a wet washcloth or a warm bath ready to go the second the “smash” is over. Trust me on this.
You’re all set! You’ve got the recipe, the tips, and the game plan. Now, go make that cake, grab your camera, and get ready for the cutest mess you’ve ever seen. Happy birthday to the little one!
Homemade Butterfinger Cake Recipe
Classic Bacardi Rum Cake Recipe