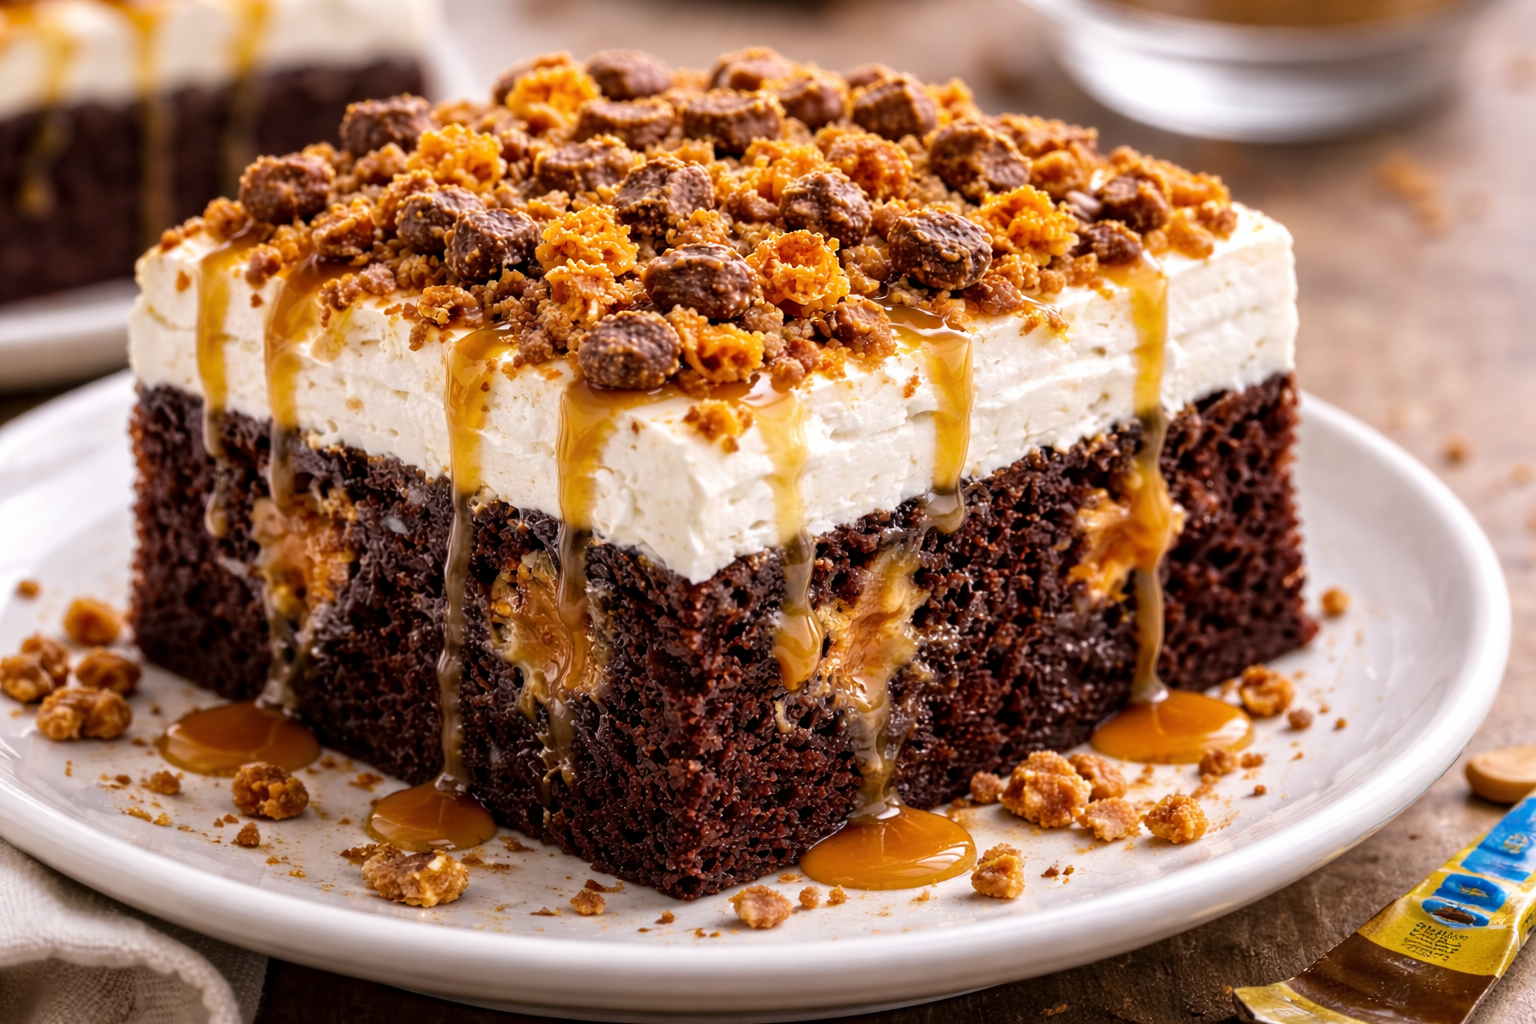
Butterfinger Cake Recipe The great tragedy of the modern dessert table is the “dry cake.” We have all experienced it: a visually stunning layer cake that, upon the first bite, reveals itself to be a crumbly, thirsty sponge that requires a gallon of milk just to swallow. This frustration is precisely why the Butterfinger Cake—often affectionately categorized as a “poke cake”—remains a cornerstone of the experienced baker’s repertoire.
It is a recipe designed to eliminate the possibility of a dry crumb. By utilizing a technique that forces moisture into the heart of the sponge, we create a dessert that isn’t just “wet,” but structurally sound and deeply infused with the salty-sweet complexity of peanut butter and toasted honeycomb. This isn’t just a sugar bomb; it is a masterclass in texture management
Why This Recipe Works
To understand why this cake is so consistently successful, we have to look at the capillary action of a sponge. When you bake a standard cake, the heat creates a network of tiny air pockets. In a traditional cake, those pockets remain filled with air. In a poke cake, we physically bridge the gap between the exterior and the interior.
By poking holes while the cake is still warm, we create channels for a viscous liquid—in this case, a mixture of sweetened condensed milk and caramel—to seep in. As the cake cools, it “locks” that moisture in place. The Butterfinger candy itself provides the final, crucial element: textural contrast. The candy’s unique flaky, peanut-butter-toffee core provides a “crunch” factor that offsets the silkiness of the whipped topping and the density of the soaked sponge.
Ingredients & Measurements
Precision in your mise en place prevents the frantic “cupboard scramble” mid-bake. While this recipe utilizes a few convenience items, the quality of your additions is what elevates it.
The Foundation
- 1 box (15.25 oz) Moist Yellow or Chocolate Cake Mix: (Note: Choose a “pudding in the mix” variety for extra structural integrity).
- Ingredients required by the box: Typically 3 large eggs, 1/2 cup vegetable oil, and 1 cup water.
- 1/4 teaspoon Kosher Salt: Even if using a mix, a pinch of salt sharpens the chocolate and peanut butter notes.
The Infusion (The “Soak”)
- 1 can (14 oz) Sweetened Condensed Milk: This provides the creamy “fat” that keeps the cake moist for days.
- 1 jar (12.25 oz) High-Quality Caramel Sauce: Look for a “salted caramel” if you want a more sophisticated flavor profile.
The Topping & Textures
- 8 oz Frozen Whipped Topping (thawed) or 2 cups Heavy Cream: If using heavy cream, whip it with 2 tablespoons of powdered sugar until stiff peaks form.
- 6-8 Full-Sized Butterfinger Candy Bars: Do not skimp here. You want a thick layer of crushed candy to ensure every bite has that signature “shatter.”
- Optional: 1/4 cup creamy peanut butter, melted, for a final decorative drizzle.
Step-by-Step Cooking Guide
1. The Strategic Bake
Follow the package instructions for a 9×13-inch pan. However, here is the professional touch: grease the pan with butter rather than spray. This allows the edges of the cake to slightly caramelize, creating a sturdy “crust” that can handle the heavy liquid infusion without collapsing. Bake until a skewer comes out with just a few moist crumbs. Do not overbake; the cake will continue to set as it cools.
2. The “Poke” Phase
This is the most critical window. Let the cake rest for exactly 5 to 8 minutes after removing it from the oven. If you poke the holes immediately, the cake is too fragile and will tear. If you wait until it’s cold, the crumb “seals,” and the liquid won’t penetrate.
Using the handle of a wooden spoon (roughly 1/2 inch in diameter), poke holes across the entire surface of the cake, spaced about an inch apart. You want deep wells, but don’t hit the absolute bottom of the pan, or the liquid will just pool underneath the cake rather than soaking into it.
3. The Emulsion Pour
In a small bowl, whisk together the sweetened condensed milk and the caramel sauce until completely smooth. While the cake is still warm, pour this mixture slowly over the top. Focus on the holes first, allowing them to fill up, then spread the remaining liquid over the surface.
Cooking Science Tip: The warmth of the cake reduces the viscosity of the caramel mixture, allowing it to travel deeper into the sponge through osmosis.
4. The Chill Factor
Do not add the whipped topping yet. If you put cold cream on a warm, liquid-soaked cake, it will melt into an oily mess. Cover the pan and refrigerate for at least 2 hours. This allows the liquid to redistribute and the starch in the cake to “set.”
5. The Topping & Garnish
Once chilled, spread your whipped topping in an even layer. Crush your Butterfinger bars—aim for a mix of fine dust and pea-sized chunks. Sprinkle them generously over the top. For a professional finish, microwave a bit of peanut butter for 15 seconds and drizzle it in a zigzag pattern across the candy layer.
Common Mistakes to Avoid
- Poking Too Small: Using a fork or a toothpick won’t work. The caramel mixture is too thick to enter tiny holes. You need substantial “wells” to hold the infusion.
- The “Soggy Bottom” Syndrome: This happens when you pour all the liquid in one spot. Move the bowl constantly as you pour to ensure an even distribution.
- Warm Topping: As mentioned, patience is a virtue. Adding the cream to a warm cake is the fastest way to ruin the aesthetics of this dessert.
- Pre-Crushing the Candy: If you crush the Butterfingers hours before serving and leave them on the cake, the humidity from the fridge will turn the candy sticky. For the best “crunch,” add the crushed bars right before you plan to serve.
Timing & Doneness Indicators
| Stage | Duration | Indicator |
| Baking | 28–32 mins | Golden brown, springs back when touched. |
| Resting | 5–8 mins | Warm to the touch, but not piping hot. |
| Initial Chill | 2 hours | Liquid is no longer visible on the surface. |
| Final Set | 4–24 hours | The cake feels “heavy” and flavors have married. |
Pro Tip: This cake is actually better on Day 2. The 24-hour mark is when the sweetened condensed milk has fully integrated into the crumb, resulting in a texture reminiscent of Tres Leches.
Serving Suggestions
Because this is a rich, dense cake, it benefits from a “bright” accompaniment.
- Balance with Coffee: Serve with a dark, bitter roast or an espresso. The tannins in the coffee cut through the intense sugar of the caramel.
- Temperature Contrast: Keep the cake cold until the very moment of service. The contrast between the cold, creamy interior and the room-temperature crunch of the candy is vital.
- Portion Control: Slice into smaller squares than you would a standard cake. The richness of the Butterfinger and condensed milk means a little goes a long way.
Classic Bacardi Rum Cake Recipe
Homemade Pig Pickin Cake Recipe
FAQ: Problem-Driven Solutions
“My cake is sticking to the bottom of the pan. How do I get a clean slice?”
This usually happens because the caramel has pooled at the bottom. To fix this, dip the bottom of your 9×13 pan in a shallow tray of warm water for 30 seconds before slicing. This slightly softens the caramel at the base, allowing the spatula to slide right under.
“The whipped topping looks ‘runny’ after a few hours. What did I do wrong?”
If you used real whipped cream, it may be “weeping.” To prevent this, stabilize your cream with a bit of powdered sugar or a teaspoon of instant vanilla pudding mix. If you used frozen topping, ensure it was fully thawed but still cold when applied.
“Can I make this in a Bundt pan?”
I would advise against it. Poke cakes rely on the “basin” of the 9×13 pan to hold the liquid. In a Bundt pan, the infusion will likely leak out the bottom or cause the cake to lose its structural integrity when you try to invert it.
“I don’t like yellow cake; can I use chocolate?”
Absolutely. A chocolate base creates a “Reese’s-adjacent” flavor profile. If using chocolate, I recommend using a salted caramel sauce to ensure the cocoa notes aren’t overwhelmed by sweetness.
“How do I crush the Butterfingers without making a huge mess?”
Keep the bars in their wrappers. Use a rolling pin to gently whack the bars while they are still sealed. This keeps the sticky dust contained until you are ready to sprinkle.