The aroma of a fresh apple cake recipe baking in the oven is one of those universal sensory experiences that signals comfort and home. Yet, for many home bakers, the actual result of that baking often falls short of the cozy expectation.
We’ve all been there: you follow a recipe to the letter, only to pull out a cake that is either unpleasantly soggy from the fruit’s moisture or, conversely, a dry, crumbly mess where the apples feel like intrusive, rubbery chunks. Achieving that elusive balance—a tender, buttery crumb that supports heavy pockets of jammy, softened fruit without collapsing—is the primary hurdle of fruit-based baking.This recipe solves the “soggy bottom” and “dry crumb” dilemmas by focusing on structural integrity and moisture management. We aren’t just making a cake with apples in it; we are creating a dessert where the fruit and the batter perform a perfectly choreographed dance.
Why This Recipe Works
Most traditional apple cakes rely on a high-liquid batter, which, when combined with the natural juice released by the apples during baking, leads to a dense, pudding-like texture. This recipe takes a different approach.
- The Creaming Method: By beating softened butter and sugar until aerated, we create a network of tiny air bubbles. This provides the structural “lift” needed to keep heavy apple chunks suspended rather than sinking to the bottom.
- Dual-Action Leavening: We use both baking powder and a touch of salt to balance the sweetness. The leavening ensures the cake rises quickly enough to “trap” the fruit in place.
- The Apple Choice: By using a mix of tart and sweet apples (like Honeycrisp and Granny Smith), we ensure a complex flavor profile. More importantly, these varieties hold their shape under heat, providing texture rather than turning into applesauce inside the cake.
- Macaration-Lite: We toss the apples in a bit of cinnamon-sugar and a dusting of flour before folding them in. The flour acts as a “velcro,” helping the batter grip the fruit.
Ingredients & Measurements
For the best results, use a kitchen scale. Volume measurements (cups) can vary wildly depending on how you pack your flour, leading to inconsistent results.
The Fruit Base
- Apples: 750g (about 3–4 large apples), peeled, cored, and cut into 1/2-inch cubes.
- Cinnamon: 2 tsp.
- Granulated Sugar: 30g (for tossing the apples).
The Batter
- Unsalted Butter: 225g (2 sticks), softened to room temperature ($20^\circ\text{C}$).
- Granulated Sugar: 200g.
- Light Brown Sugar: 50g (adds moisture and a hint of molasses).
- Large Eggs: 3 (room temperature).
- Vanilla Extract: 1 tbsp (don’t skimp here; it bridges the apple and butter flavors).
- All-Purpose Flour: 300g.
- Baking Powder: 2 tsp.
- Fine Sea Salt: 1/2 tsp.
- Whole Milk: 60ml (room temperature).
Step-by-Step Cooking Guide
1. Prep the Fruit
Start by prepping your apples. Consistency in size is key; if the chunks are too large, they won’t soften in time; too small, and they disappear. Once cubed, toss them in a bowl with the cinnamon and the 30g of sugar.
The Science: The sugar will begin to draw out just a tiny bit of surface moisture. This creates a sticky exterior on the apple that helps the batter adhere to it during the initial rise.
2. Creaming the Foundation
In a stand mixer fitted with the paddle attachment, beat the butter, granulated sugar, and brown sugar on medium-high speed for at least 3 to 5 minutes.
Pro Tip: You are looking for a “pale and fluffy” texture. If the mixture looks like grainy paste, keep going. You are literally beating air into the fat, which is the secret to a light cake.
3. Emulsifying the Eggs
Add the eggs one at a time, beating well after each addition. If the batter looks like it’s curdling, don’t panic—it’s just the fat and water (from the egg whites) struggling to bond. Adding a tablespoon of your measured flour will help bring the emulsion back together. Stir in the vanilla extract.
4. Incorporating Dry Ingredients
Whisk your flour, baking powder, and salt together in a separate bowl. With the mixer on low, add one-third of the dry ingredients to the butter mixture, followed by half of the milk. Repeat, ending with the dry ingredients.
Stop mixing the moment you see no more streaks of white flour. Overmixing develops gluten, which will turn your tender cake into something resembling a loaf of bread.
5. The Fold
Using a large silicone spatula, gently fold the prepared apples (and any juices that accumulated in the bowl) into the batter. The batter will be thick—this is intentional. A thick batter is necessary to support the weight of the fruit.
6. The Bake
Grease a 9-inch springform pan or a deep cake tin. Pour the batter in and smooth the top. Bake at for 55–65 minutes.
Common Mistakes to Avoid
- Using Cold Ingredients: If your butter or eggs are cold, the batter will not emulsify. The butter will stay in tiny clumps, leading to an uneven bake and “greasy” spots in the cake.
- Wrong Apple Variety: Avoid Red Delicious or Gala. They have a high water content and a soft cell structure; they will turn to mush and leave your cake with soggy voids.
- Opening the Oven Too Early: Resistance is key. If you open the oven in the first 30 minutes, you risk a temperature drop that can cause the cake to collapse before the structure has “set.”
Timing & Doneness Indicators
Because apples release steam, the “toothpick test” can be deceptive. If you hit an apple, the toothpick will come out wet even if the cake is done.
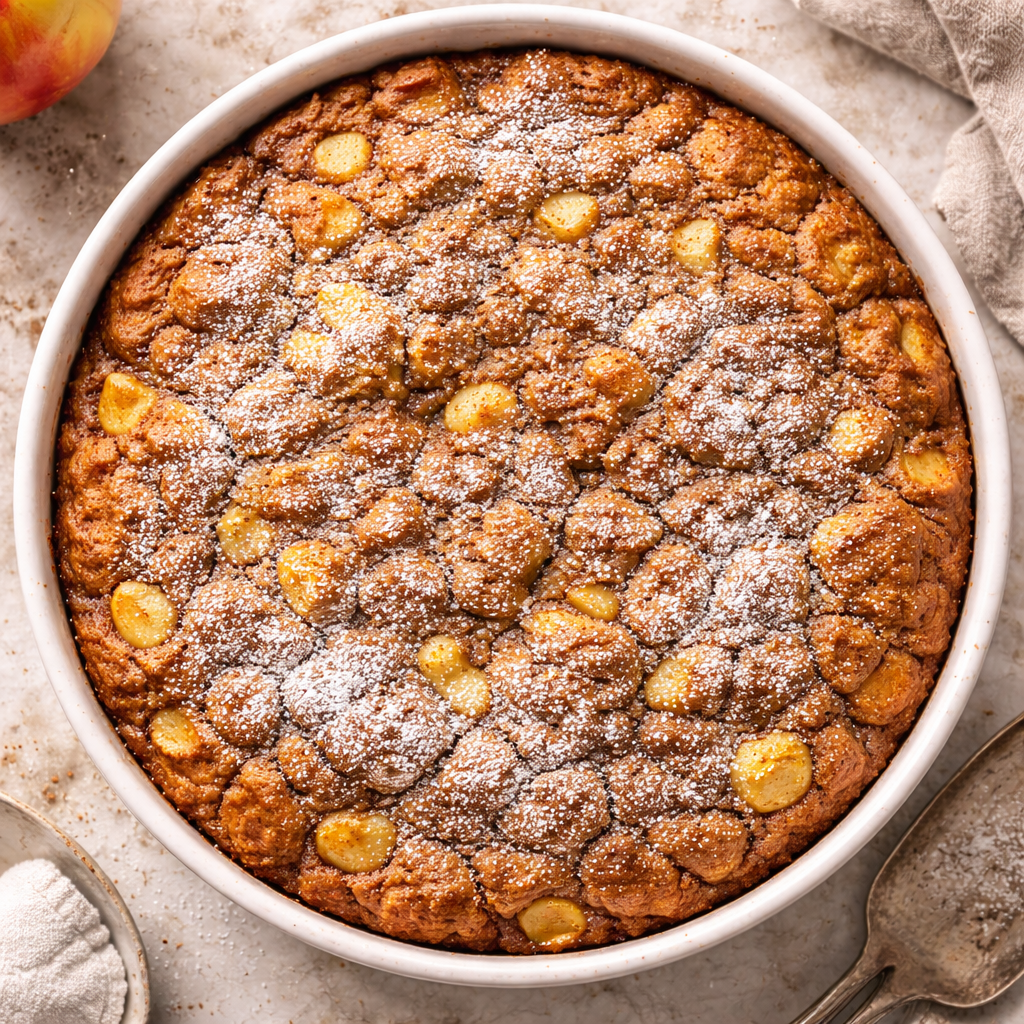
- The Visual: The cake should be a deep golden brown and the edges should be visibly pulling away from the sides of the pan.
- The Touch: Gently press the center of the cake. It should spring back firmly. If it leaves an indentation, it needs more time.
- The Temperature: For absolute precision, use an instant-read thermometer. The internal temperature of a perfectly baked sponge is between $98^\circ\text{C}$ and $100^\circ\text{C}$ ($208^\circ\text{F}$–$212^\circ\text{F}$).
Serving Suggestions
This cake is versatile enough to transition from a casual brunch to a formal dinner.
- The Classic: Serve warm with a scoop of high-quality vanilla bean ice cream. The cold cream melting into the warm, cinnamon-spiced crumb is unbeatable.
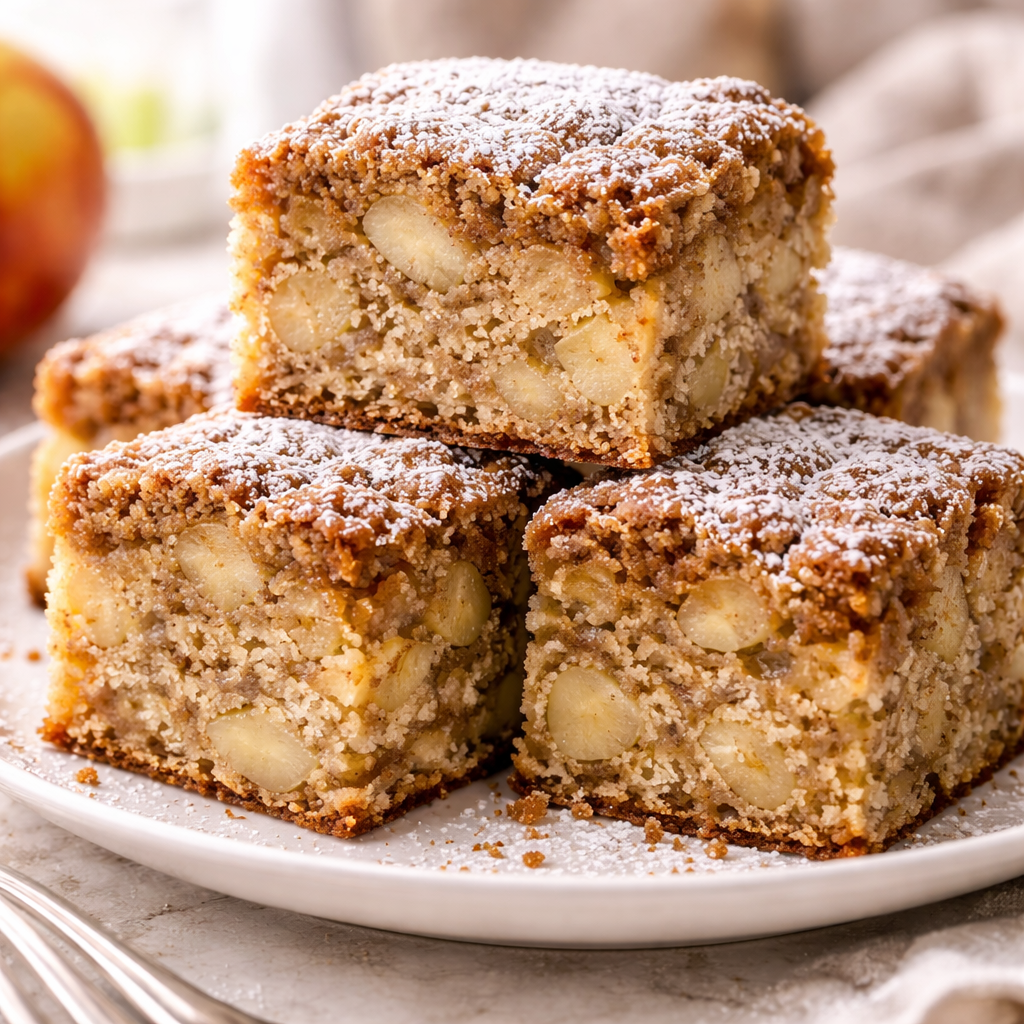
- The “High Tea”: A simple dusting of powdered sugar and a dollop of unsweetened whipped cream flavored with a pinch of cardamom.
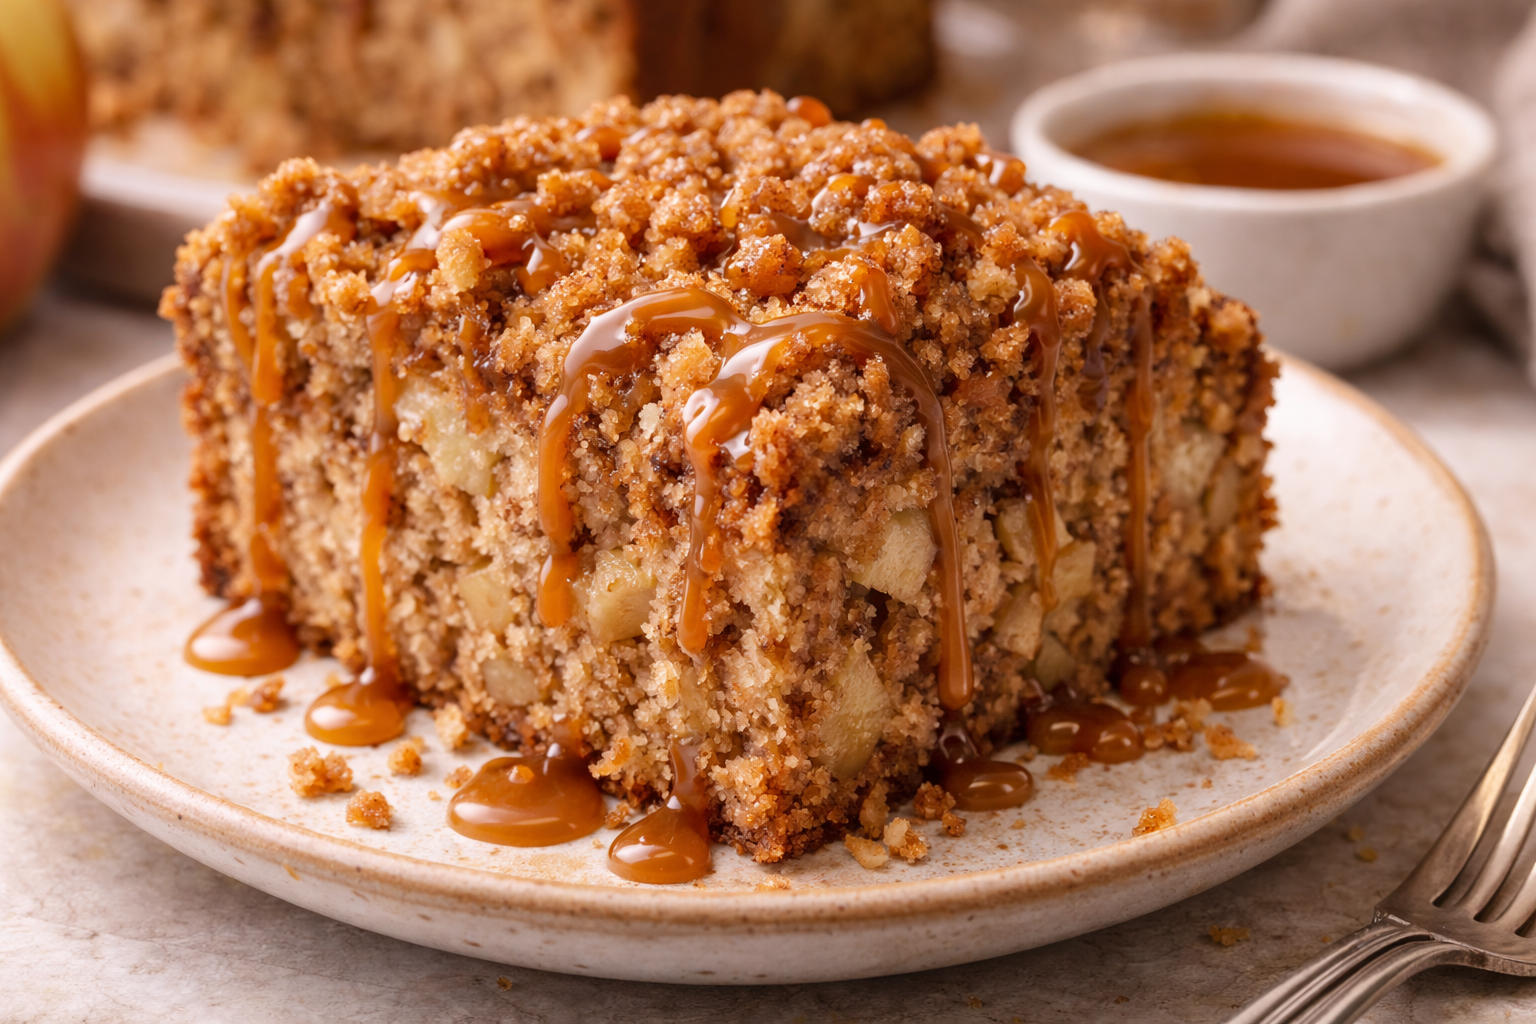
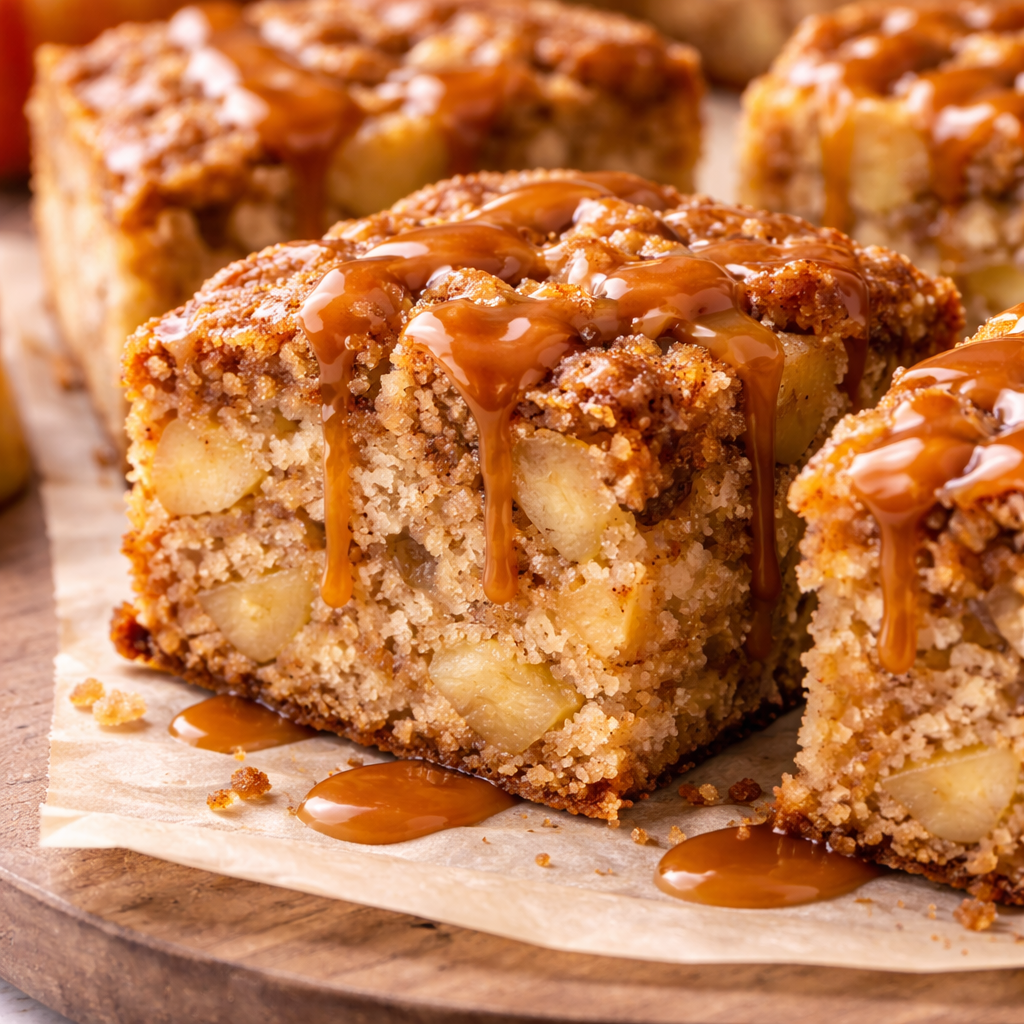
- The Decadent: Drizzle with a salted caramel sauce. The salt cuts through the sweetness and highlights the tartness of the Granny Smith apples.
FAQ
Why did my apples all sink to the bottom?
This usually happens if your batter is too thin or if you overbeat the eggs. A thick, creamed-butter base acts like a “net” to hold the fruit. Also, ensure your apple chunks aren’t larger than 1/2-inch.
Can I use whole wheat flour?
You can replace up to 50% of the all-purpose flour with whole wheat pastry flour. Avoid 100% whole wheat, as it will absorb too much moisture and make the cake “thirsty” and tough.
How do I store this without it getting soggy?
Fresh apple cake has high moisture content. Store it at room temperature in an airtight container for up to two days. If you need to keep it longer, refrigerate it, but be sure to bring slices back to room temperature (or give them a quick 10-second zap in the microwave) before eating to soften the butter in the crumb.
Can I make this dairy-free?
Yes. Substitute the butter with a high-quality vegan butter block (not the spreadable tub kind) and use almond or oat milk. The texture will be slightly less “rich,” but the apple flavor will actually shine through even more.
Homemade Butterfinger Cake Recipe
Classic Bacardi Rum Cake Recipe