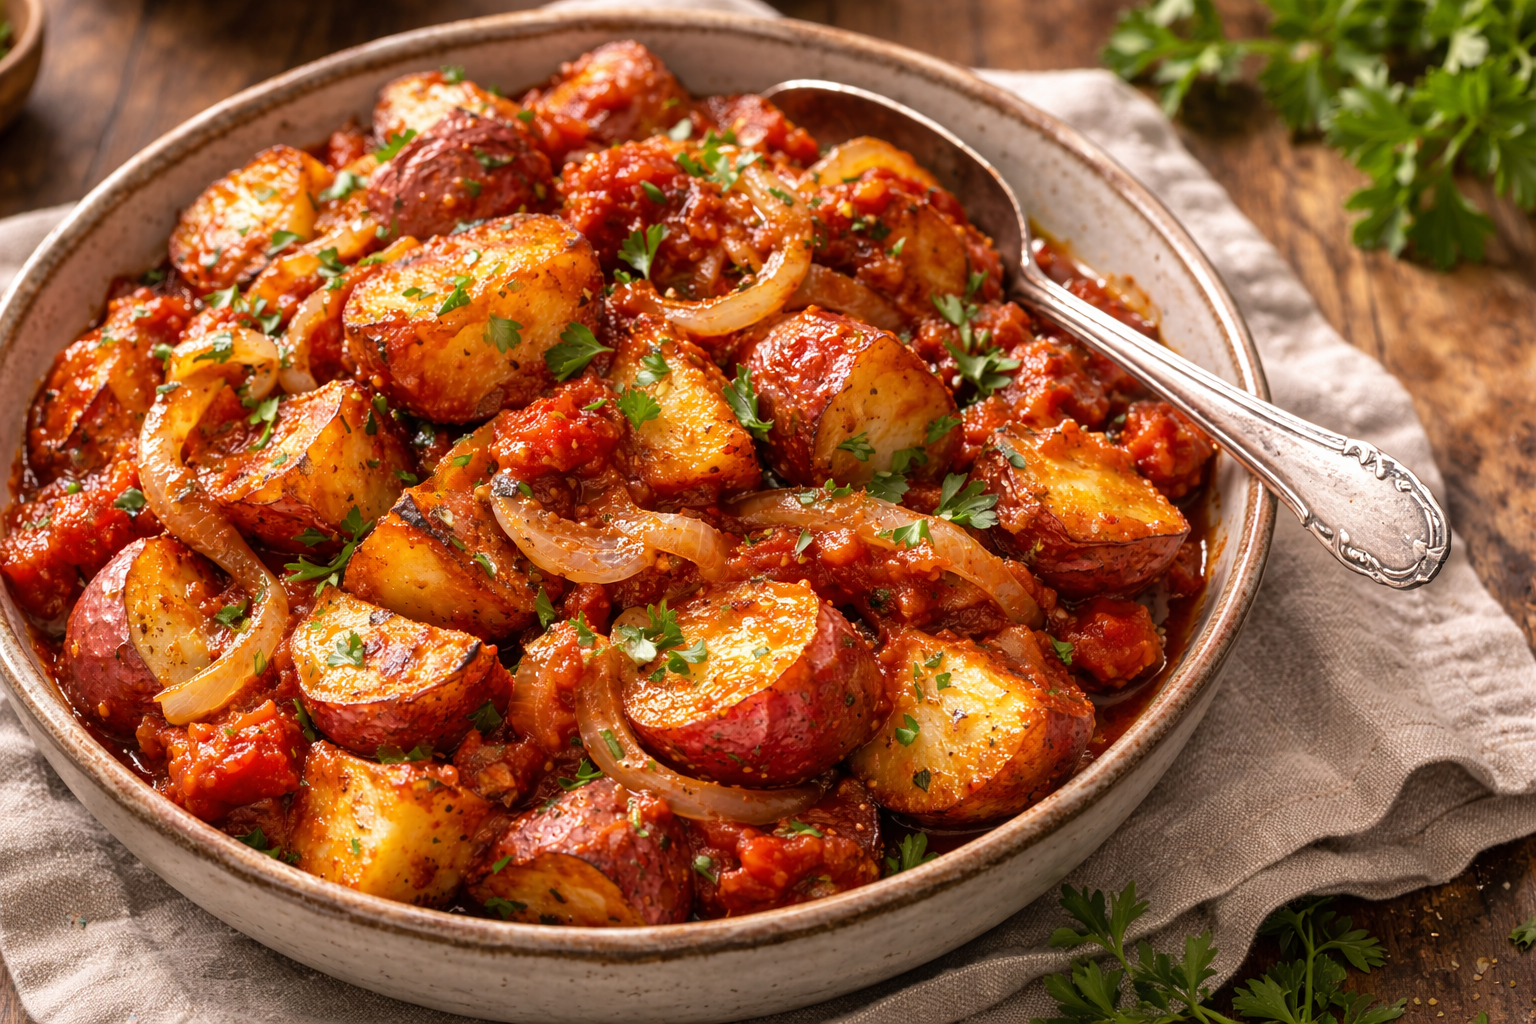
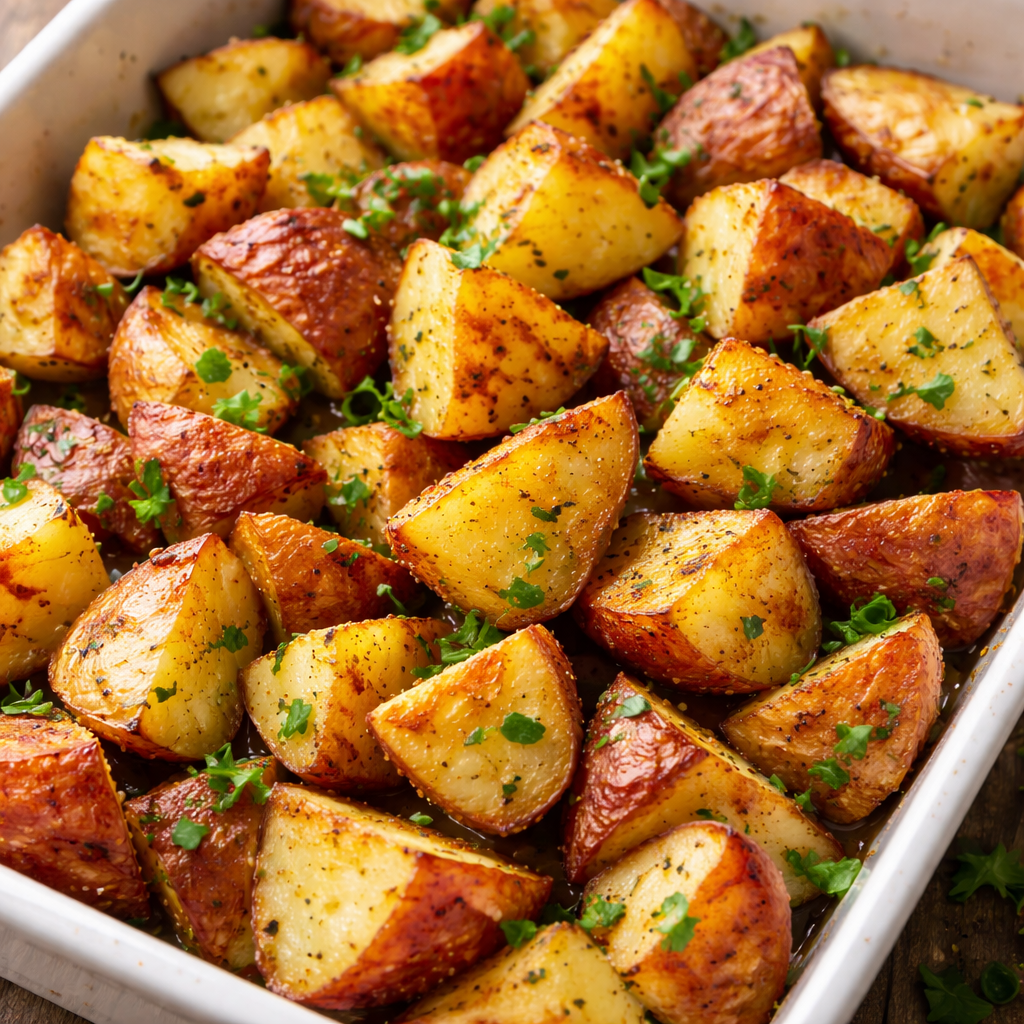
Red Potatoes Recipe Most home cooks have faced the “Potato Paradox.” You want a roasted red potato that offers a definitive, audible crunch on the outside, yet collapses into a buttery, velvet-like center the moment it hits your tongue. Instead, what often ends up on the dinner plate is a tray of lackluster spuds: either leathery and shriveled from over-roasting, or pale, steamed, and depressingly soft because they crowded the pan.
The frustration is real. You follow the bag’s instructions, toss them in a bit of oil, crank up the heat, and hope for the best. But hope isn’t a kitchen strategy. To achieve restaurant-quality roasted red potatoes, you have to understand the chemistry of the potato itself and how to manipulate heat to your advantage.
This guide isn’t just a recipe; it’s a definitive look at how to master the red-skinned potato, transforming it from a humble side dish into the undisputed star of the meal.
Why This Recipe Works
To get the perfect roast, we have to address the specific anatomy of the red potato. Unlike Russets, which are high-starch and “floury,” red potatoes are waxy. They have less starch and more moisture, which helps them hold their shape beautifully but makes them stubborn when you’re trying to achieve a thick, golden crust.
Here is why this method succeeds where others fail:
- The Parboil and Rough-Up: We start by partially cooking the potatoes in alkaline water. This breaks down the exterior surface just enough to create a starchy “slurry.” When tossed, this slurry dehydrates in the oven, creating a jagged, high-surface-area crust that fries in the fat.
- The Heat Gradient: We utilize a high-heat environment ($425^\circ F$ or $220^\circ C$) which triggers the Maillard reaction. This is the chemical reaction between amino acids and reducing sugars that gives browned food its distinctive flavor.
- Strategic Fat Selection: While butter tastes great, its water content can steam the potato. We use a high-smoke-point oil (or clarified fat) to ensure we are frying the exterior, not just warming it.
Ingredients & Measurements
Precision matters, but so does intuition. Use these measurements as your baseline for a standard rimmed baking sheet (about 4–6 servings).
The Potatoes
- 3 lbs (1.4 kg) Red Potatoes: Look for “B” size or “New” potatoes. They should be firm with smooth, unblemished skins.
- 2 tbsp Kosher Salt: This is for the boiling water. Do not skip this; you cannot season the inside of a potato once it’s roasted.
The Coating
- 1/4 cup Extra Virgin Olive Oil or Duck Fat: Duck fat provides the ultimate crunch, but a high-quality olive oil offers a cleaner, peppery finish.
- 1 tsp Baking Soda: This is the “secret weapon.” It raises the pH of the water, breaking down the potato’s pectin more efficiently.
- 1 tsp Flaky Sea Salt: For finishing.
- 1/2 tsp Freshly Cracked Black Pepper: Coarse grind is better for texture.
The Aromatics
- 4 cloves Garlic: Smashed and minced.
- 2 tbsp Fresh Rosemary and Thyme: Finely chopped. Woodier herbs stand up better to high heat than delicate herbs like parsley.
Step-by-Step Cooking Guide
1. The Prep and the Cut
Wash your potatoes thoroughly, but leave the skins on. The skin of a red potato is thin and provides a lovely textural contrast. Slice them into uniform 1-inch chunks. Uniformity is the soul of even cooking; if your sizes vary, the small pieces will char before the large ones soften.
2. The Alkaline Parboil
Bring a large pot of water to a boil. Add your 2 tablespoons of kosher salt and the baking soda. Drop the potatoes in and simmer for about 8 to 10 minutes.
The Science Note: You aren’t cooking them through. You want the edges to be soft enough that a knife meets just a bit of resistance in the center. The baking soda weakens the pectin in the skin, creating a starchy film on the surface.
3. The Dehydration and “Rough-Up”
Drain the potatoes in a colander and let them sit for 2 minutes. This allows the surface steam to escape. Now, give the colander a vigorous shake. You want the edges of the potatoes to look slightly “fuzzy” or mashed. This “fuzz” is what turns into the ultra-crispy crust in the oven.
4. Infusing the Fat
While the potatoes air-dry, mix your oil, minced garlic, and herbs in a small bowl. If you add the garlic too early to the oven, it will burn and turn bitter. To prevent this, some cooks prefer to toss the potatoes in oil first, then add the garlic and herbs for the final 10 minutes of roasting. I recommend the latter for the cleanest flavor.
5. The Roast
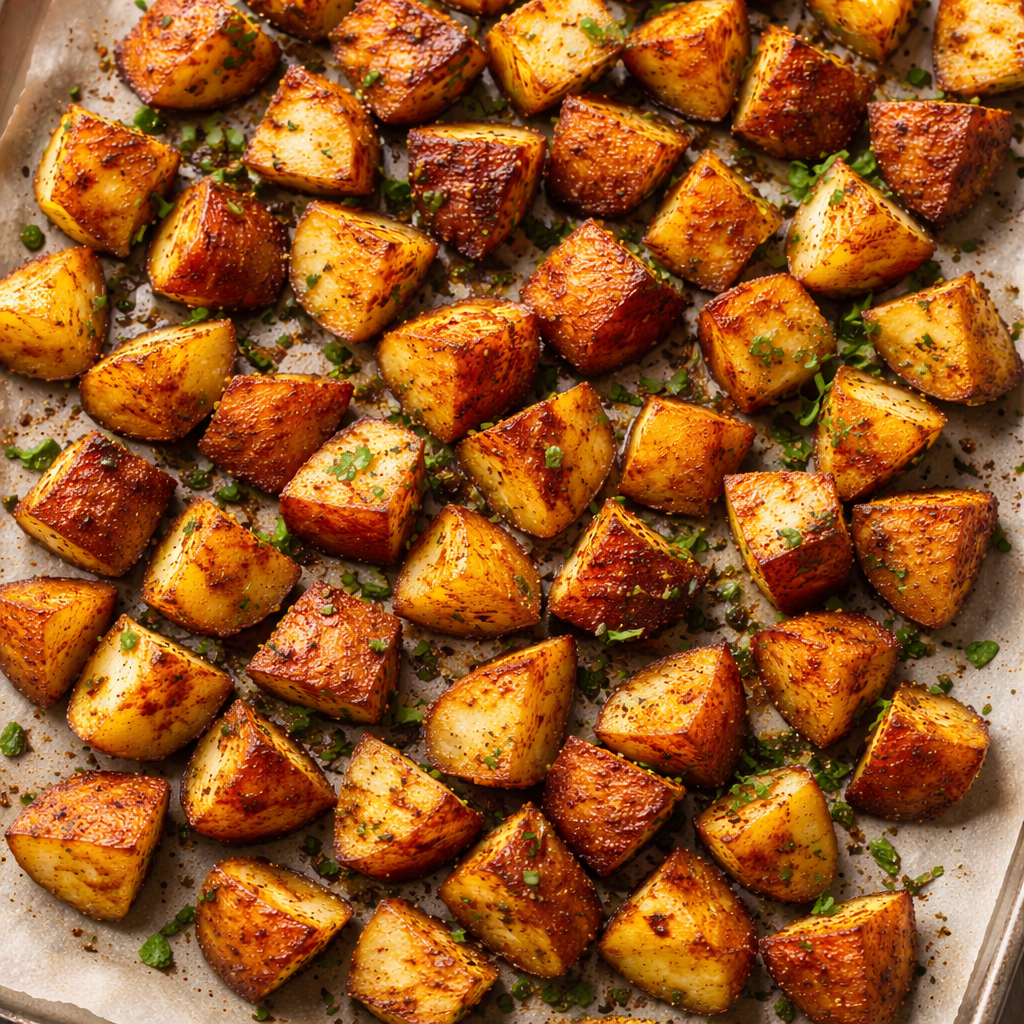
Preheat your oven to $425^\circ F$ ($220^\circ C$). Pour your oil/fat onto a large rimmed baking sheet and place it in the oven for 5 minutes. Adding cold potatoes to a hot pan prevents sticking. Carefully spread the potatoes onto the hot sheet. Ensure they are in a single layer with space between them. If they touch, they will steam. Roast for 20 minutes, then flip with a metal spatula. Roast for another 20–25 minutes until they are deep gold and sounding “hollow” when tapped.
6. The Finish
Remove from the oven and immediately toss with the fresh herbs and garlic (if you haven’t already). The residual heat will cook the garlic just enough to remove the “bite” without scorching it. Season with flaky sea salt.
Common Mistakes to Avoid
Crowding the Pan
This is the most frequent error. Potatoes release moisture as they cook. If they are packed tightly, that moisture creates a localized “cloud” of steam. Instead of roasting, the potatoes boil in their own vapor. Use two pans if you have to.
Skipping the Parboil
If you go straight from the cutting board to the oven, the outside of the potato will toughen into a leathery skin before the inside starch has time to gelatinize. Parboiling ensures the interior is creamy.
Using the Wrong Fat
Butter contains milk solids that burn at $350^\circ F$. Since we are roasting at $425^\circ F$, butter will smoke and turn acrid. Use fats with high smoke points like avocado oil, grapeseed oil, or clarified butter (ghee).
Timing & Doneness Indicators
Cooking times are estimates, as every oven has its own personality. Use these sensory cues instead:
- The Sound: When you stir the potatoes on the tray, they should sound like small pebbles or marbles clinking together. If they sound “thuddy,” they need more time.
- The Color: You are looking for GBD: Golden, Brown, and Delicious. A pale yellow potato is an under-flavored potato.
- The Fork Test: A fork should slide into the center with zero resistance, like sliding through room-temperature butter.
Serving Suggestions
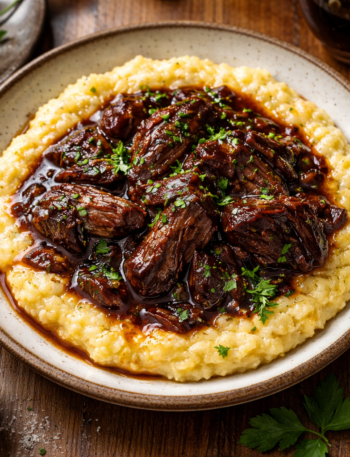
Red potatoes are incredibly versatile. While they shine as a side to a medium-rare ribeye, they also hold their own in these settings:
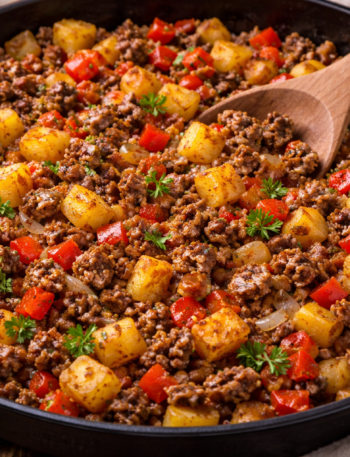
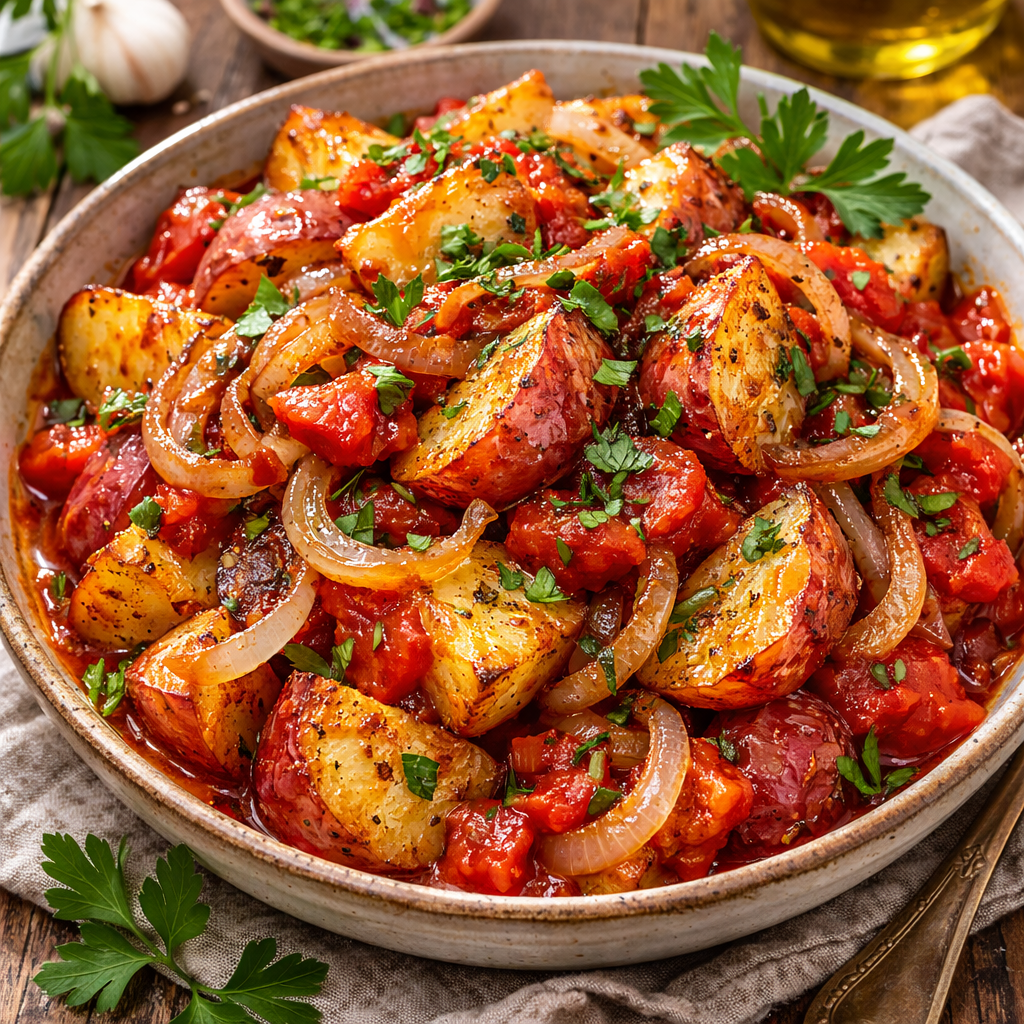
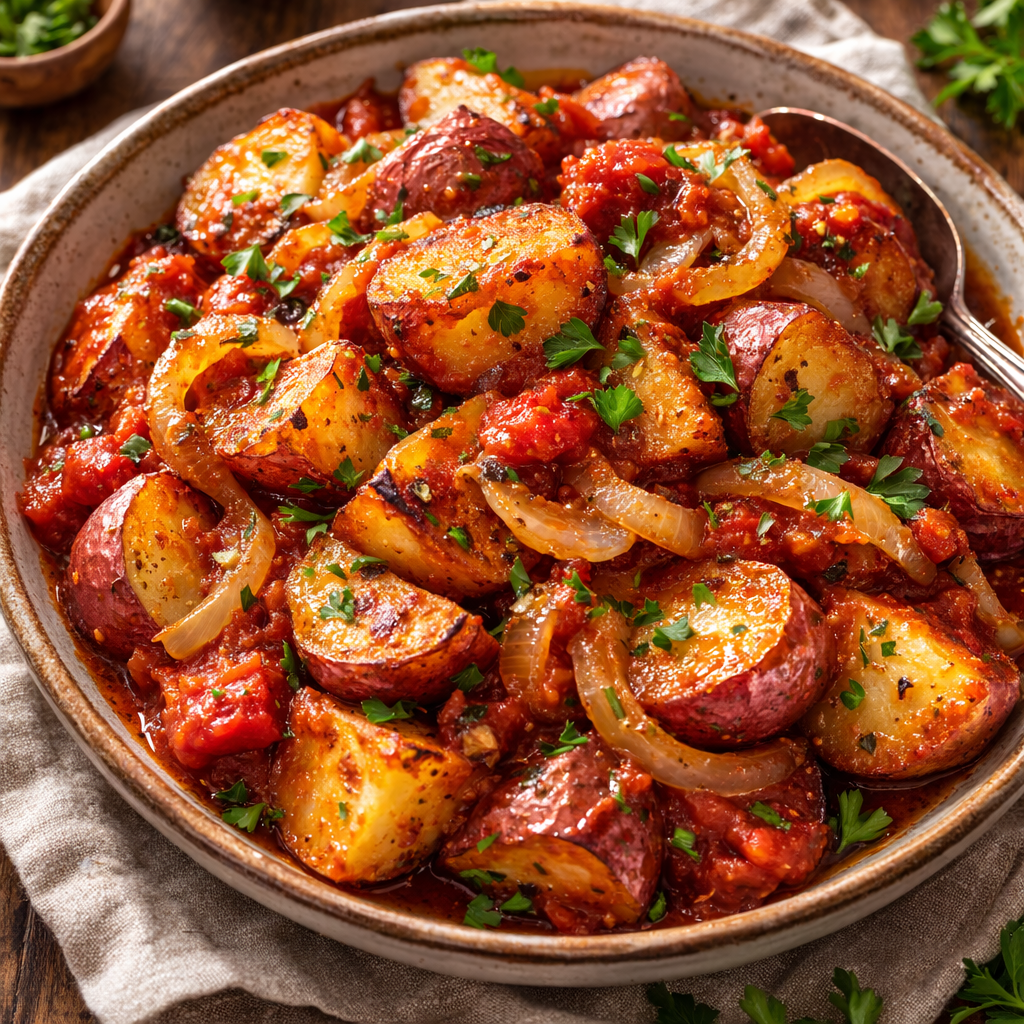
- The Breakfast Hash: Toss leftovers in a cast-iron skillet with sautéed onions and peppers, topped with a jammy poached egg.
- The Lemon-Feta Twist: After roasting, toss with lemon zest, fresh oregano, and crumbled feta for a Mediterranean flair.
- Aioli Dipping: Serve these as an appetizer with a roasted garlic aioli or a spicy chipotle mayo.
FAQ: Solving Your Potato Problems
Q: Why are my potatoes sticking to the baking sheet?
A: You likely put them on a cold pan or didn’t use enough fat. Always preheat the tray with the oil. Also, avoid using parchment paper if you want maximum crunch—direct contact with the metal is superior for heat transfer.
Q: Can I use this method for Russets or Yukon Golds?
A: Yes! This method actually works even better for Yukon Golds because they have a naturally buttery flavor. Russets will become even crunchier but will have a drier, more “mashed potato” interior.
Q: My garlic always burns. What am I doing wrong?
A: Garlic only needs about 5–10 minutes in a hot oven to cook. If you toss it in at the beginning of a 45-minute roast, it will turn into bitter black charcoal. Add your aromatics during the final stage of roasting.