Matcha Cake Recipe The world of matcha baking is fraught with a specific kind of disappointment. We’ve all been there: you buy a vibrant, expensive tin of ceremonial grade green tea powder, spend an afternoon in the kitchen, and emerge with a cake that is either a dull, muddy brown or tastes like you’ve taken a direct bite out of a lawnmower bag.
Matcha is a temperamental ingredient. It is sensitive to heat, prone to clumping, and possesses a delicate balance of umami and bitterness that can easily be overwhelmed by too much sugar or masked by poor technique. Most recipes fail because they treat matcha as a simple dry ingredient—like cocoa powder—without accounting for its unique chemical properties.
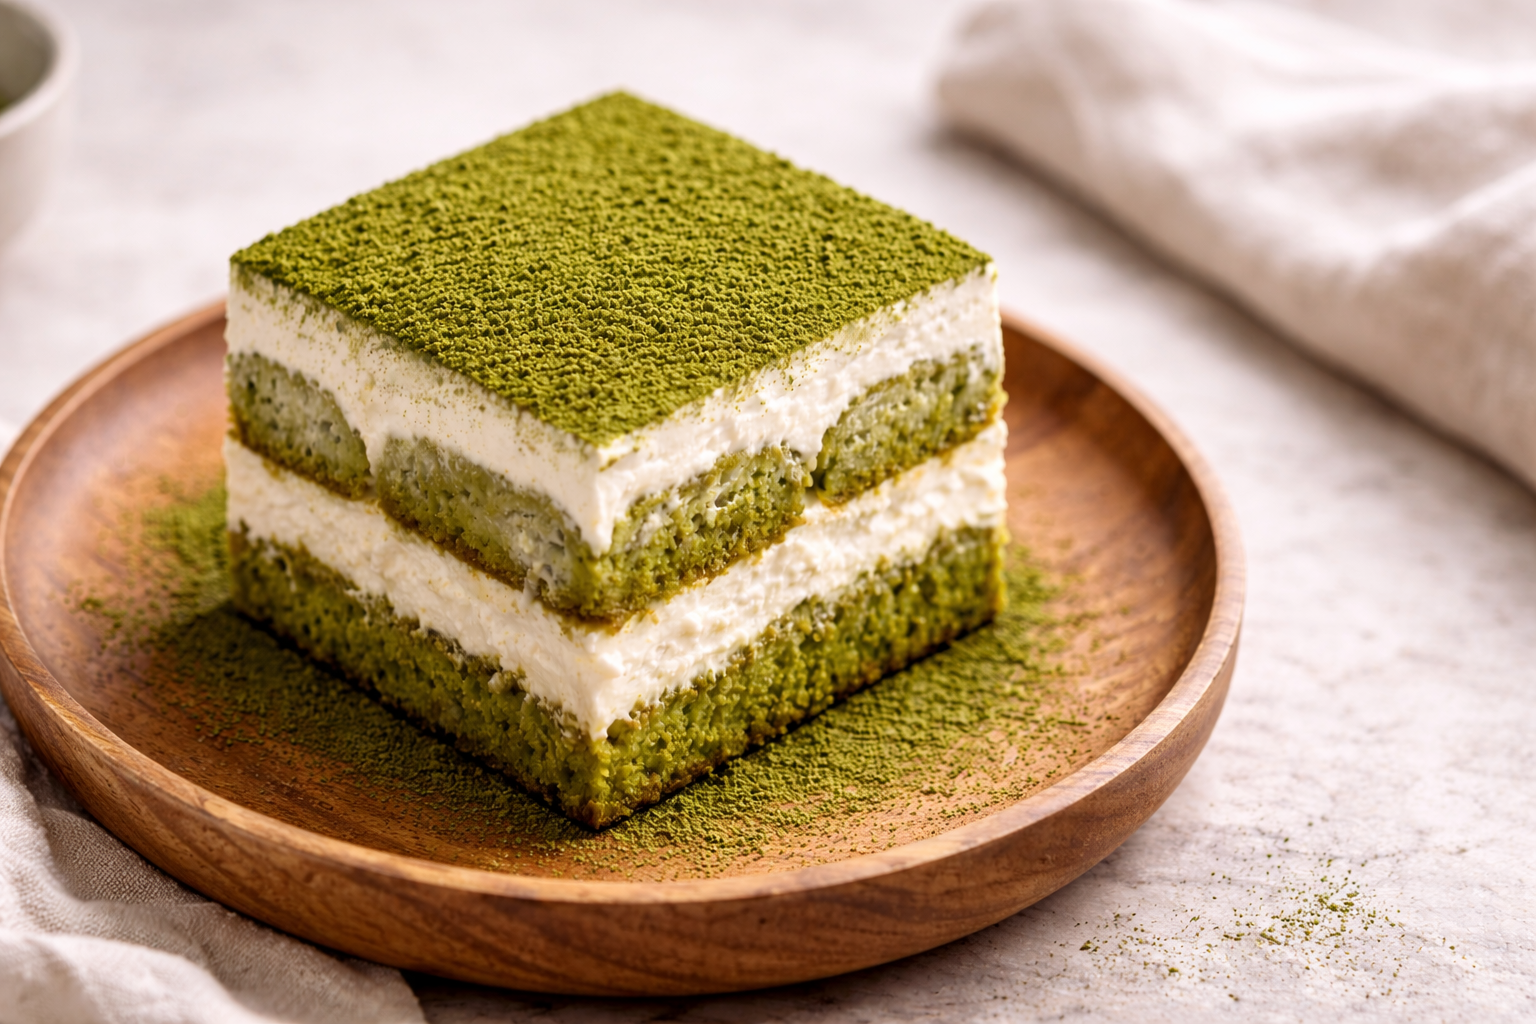
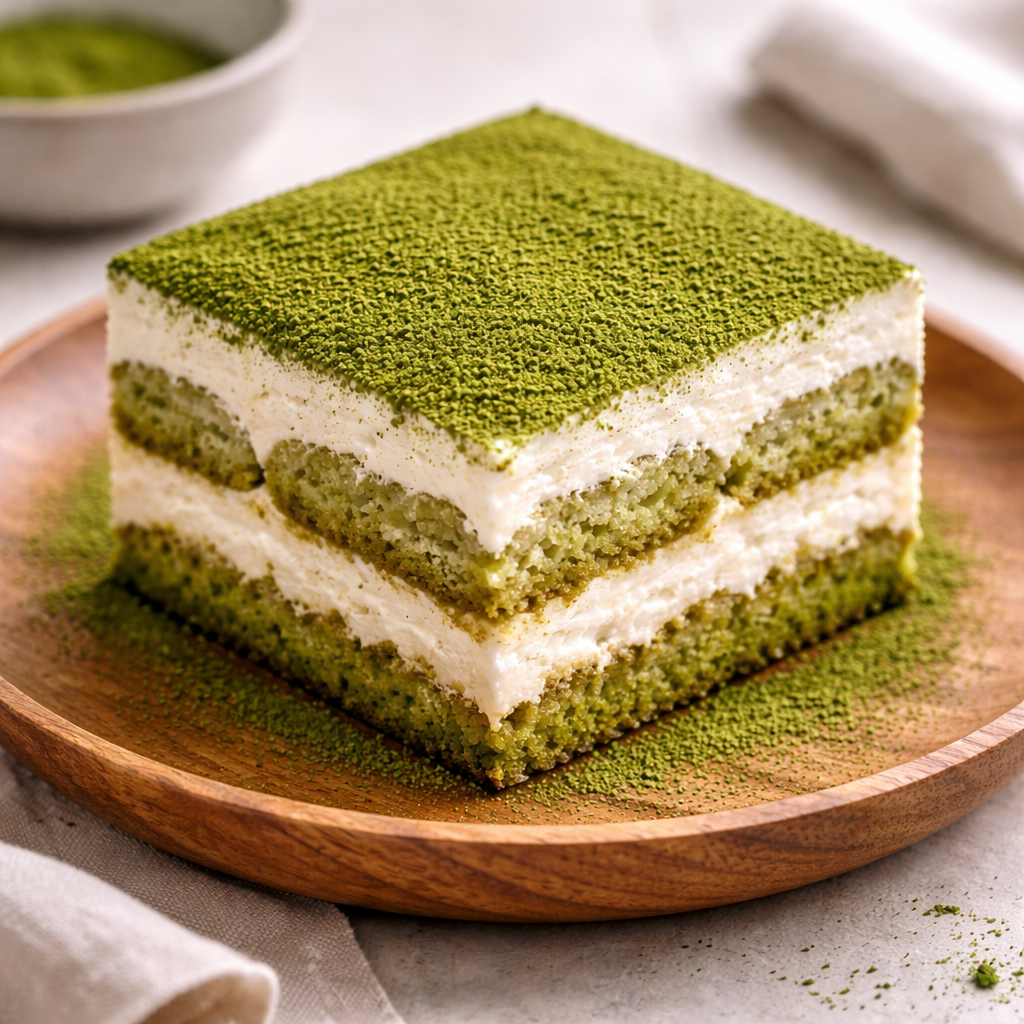
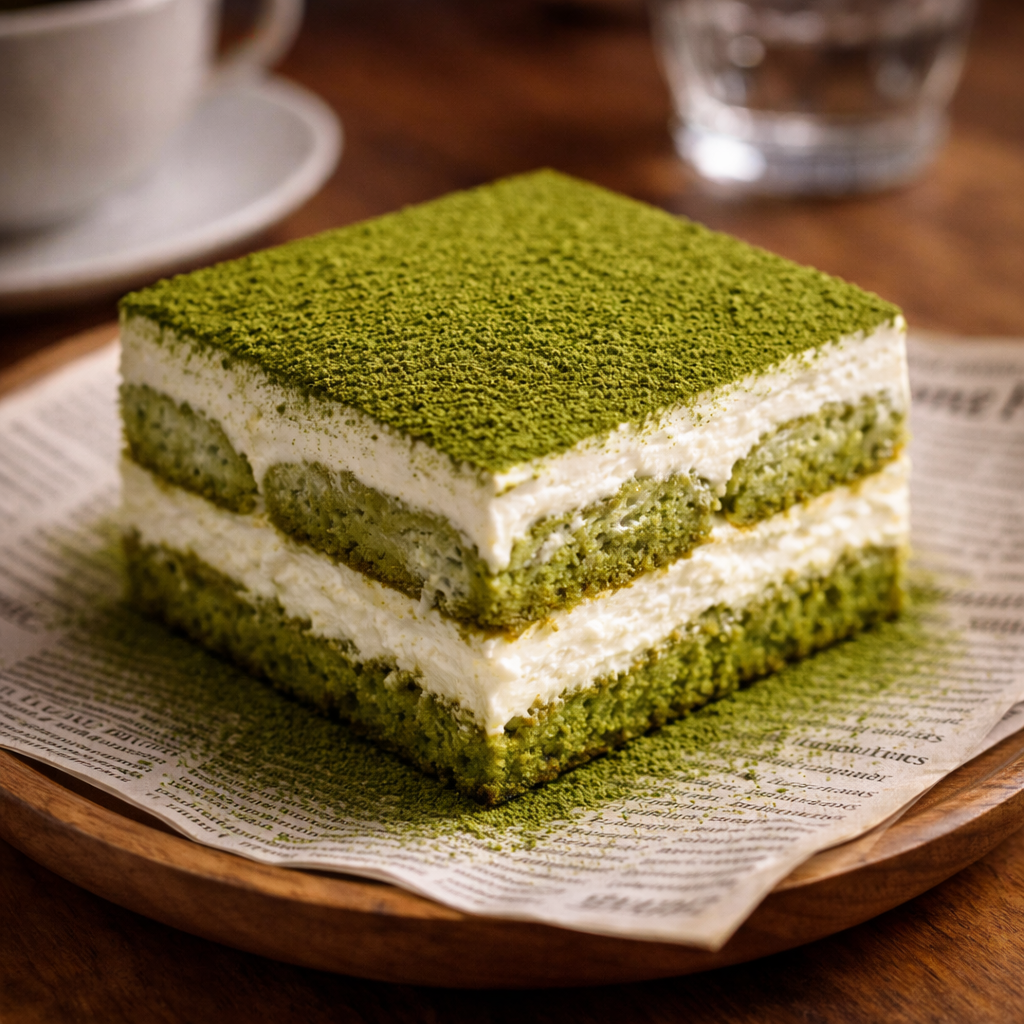
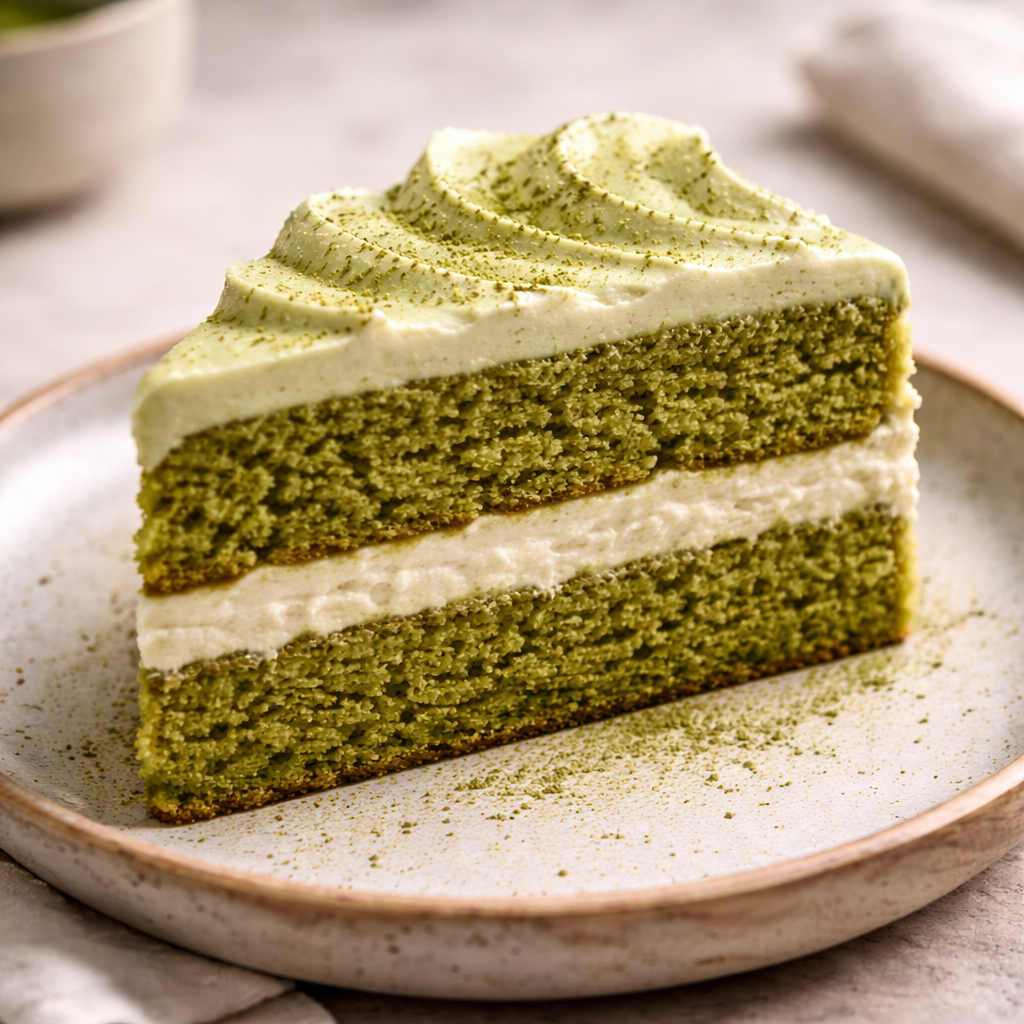
This guide isn’t just a list of instructions; it’s a masterclass in handling one of the most rewarding, yet misunderstood, ingredients in the pastry world. We are aiming for a Matcha Chiffon-Style Sponge with a White Chocolate Ganache, a cake that remains emerald-green after baking and offers a texture so light it practically defies gravity.
Why This Recipe Works
To achieve a professional-grade result, we have to look at the “why” behind the chemistry. Here is how we solve the common pitfalls of matcha baking:
- The Sifting and Slurry Method: Matcha is hydrophobic. If you toss it straight into a bowl of flour, you’ll end up with “green pockets” of bitter dust. By whisking the matcha into a small amount of warm liquid first, we create a concentrated slurry that ensures even distribution.
- pH Management: Matcha is highly sensitive to acidity. If your batter is too acidic (often caused by using too much baking powder or low-quality honey), the chlorophyll breaks down, turning your cake a sad olive-drab. We balance the leavening to keep the color “electric.”
- The Chiffon Technique: Unlike a dense pound cake, a chiffon base uses whipped egg whites to provide structure. This allows the subtle, earthy notes of the tea to shine through without being weighed down by excessive butter fat.
- White Chocolate Synergy: White chocolate contains cocoa butter and vanilla, which act as a “muffler” for matcha’s natural astringency. It rounds out the flavor profile without needing cups of granulated sugar.
Ingredients & Measurements
Precision is the difference between a “good” cake and a “memorable” one. I highly recommend using a digital scale for these measurements.
For the Matcha Sponge
- Cake Flour: 200g (Cake flour has lower protein than all-purpose, ensuring a tender crumb).
- Ceremonial Grade Matcha: 25g (Don’t skimp here; culinary grade is often too bitter for a delicate sponge).
- Granulated Sugar: 180g (Divided into 100g and 80g).
- Baking Powder: 6g (Ensure it’s fresh).
- Fine Sea Salt: 3g.
- Large Eggs: 6 (Separated into yolks and whites, at room temperature).
- Neutral Oil: 80ml (Grapeseed or sunflower work best; avoid olive oil).
- Whole Milk: 100ml (Warmed to roughly 40°C).
- Cream of Tartar: 1/2 tsp (This stabilizes the egg white foam).
For the Matcha White Chocolate Ganache
- Heavy Cream: 300ml (At least 35% fat).
- White Chocolate Couverture: 150g (High-quality buttons or finely chopped).
- Matcha Powder: 10g.
Step-by-Step Cooking Guide
1. Preparing the “Green Gold” Slurry
Begin by warming your milk. You don’t want it boiling—just warm enough to encourage the matcha to dissolve. Sift your 25g of matcha into a small bowl and slowly whisk in the warm milk. Use a bamboo whisk or a small milk frother if you have one. This step breaks down the microscopic clumps and activates the tea’s aromatics.
2. The Dry Foundation
In a large bowl, sift the cake flour, 100g of sugar, baking powder, and salt. Sifting twice is not vanity; it aerates the flour, which is crucial for the chiffon’s rise.
3. Emulsifying the Yolks
In a separate medium bowl, whisk the 6 egg yolks with the neutral oil until pale. Slowly stream in your matcha-milk slurry while whisking constantly. Once combined, fold this liquid mixture into your dry ingredients. Do not overmix; stop as soon as you see no more streaks of white flour. The batter should be a deep, vibrant forest green.
4. Mastering the Meringue
This is the most critical stage. In a clean, grease-free metal bowl, begin whisking your egg whites on low speed until they become frothy. Add the cream of tartar. Increase the speed to medium and gradually add the remaining 80g of sugar.
The Goal: You are looking for firm peaks. When you lift the whisk, the peak should stand straight up with just a slight curl at the very tip. If the peaks are stiff and jagged, you’ve gone too far; if they flop over immediately, they won’t support the weight of the flour.
5. The Fold
Take one-third of your meringue and stir it vigorously into the green yolk batter. This “sacrificial” scoop lightens the density of the batter, making the subsequent folds easier. Fold in the remaining egg whites in two batches using a silicone spatula. Use a “cut and turn” motion: cut through the center, scrape the bottom, and fold over. Stop the moment the white streaks disappear.
6. The Bake
Pour the batter into an ungreased 8-inch (20cm) chiffon tin or high-sided springform pan. Why ungreased? The batter needs to “climb” the walls of the pan to reach its full height.
Bake at 160°C (320°F) for 45–50 minutes.
Common Mistakes to Avoid
- The “Sunken Center” Syndrome: If you grease the pan, the cake will slip as it rises, leading to a collapse. Also, never open the oven door during the first 30 minutes. The sudden temperature drop can shatter the delicate air bubbles before they’ve set.
- Using Boiling Water: Never use boiling water or milk to mix your matcha. Water above 80°C (176°F) “scalds” the tea, bringing out an unpleasantly metallic, bitter taste.
- Over-whipping the Whites: If your meringue looks chunky or dry, the proteins have bonded too tightly. This will make it impossible to fold into the batter without deflating the air, resulting in a rubbery cake.
- Neglecting the Sieve: Matcha is electrically charged and naturally clumps. If you don’t sift it, you will find bitter green “explosions” in the finished crumb.
Timing & Doneness Indicators
Visual cues are more reliable than timers. Here is what to look for:
- The Rise: Around the 30-minute mark, the cake should have risen significantly above the rim of the pan.
- The Spring-Back: Gently press the surface of the cake with a finger. If it feels firm and springs back instantly without leaving an indentation, it’s done.
- The Skewer Test: A wooden skewer inserted into the thickest part should come out clean or with a few dry crumbs. If it’s sticky, give it another 5 minutes.
Crucial Cooling Step: Chiffon cakes must be cooled upside down. Most chiffon pans have “feet” for this purpose. If yours doesn’t, invert the center tube onto a glass bottle. This prevents the cake’s own weight from crushing the delicate air cells while the structure sets
Serving Suggestions
Once the cake is completely cool (usually 2 hours), run a thin offset spatula around the edges to release it.
The Matcha Ganache Drip
Heat 100ml of your heavy cream until simmering, then pour over the white chocolate and matcha. Let it sit for 2 minutes, then stir from the center outward until glossy. Let it thicken slightly before pouring over the cake.
Pairing
- Seasonal Fruit: Fresh raspberries or sliced strawberries provide a tart contrast to the earthy matcha.
- The Beverage: Serve with a light Roasted Kukicha (stem tea) or a cold-brew jasmine tea to complement the floral notes of the cake.
Homemade Butterfinger Cake Recipe
Classic Bacardi Rum Cake Recipe
Homemade Pig Pickin Cake Recipe
FAQ
Q: My cake turned brown on the outside. Is it burnt? Not necessarily. This is the Maillard reaction (caramelization of sugars). To minimize browning and keep the cake green, you can “shield” the cake by placing an empty baking tray on the rack above it halfway through baking, or lower the temperature to 150°C and bake for 10 minutes longer.
Q: Can I use All-Purpose flour if I don’t have Cake Flour? Yes, but the texture will be slightly tougher. To mimic cake flour, remove 2 tablespoons of All-Purpose flour from every cup and replace it with 2 tablespoons of cornstarch. Sift them together three times.
Q: Why did my matcha ganache break or turn oily? This usually happens if the cream was too hot or if you used low-quality white chocolate with high vegetable fat content. If it breaks, add a teaspoon of cold heavy cream and whisk vigorously to re-emulsify.